Eco Printing
Eco printing is a technique that transfers plant color and shape onto cloth. This technique is similar to bundle dyeing, but a bit different. With bundle dyeing, often the results are like watercolors or inks bled onto the fabric. With eco printing, not only does the color of the plant, but also the shape and many times, quite a bit of detail of the plant itself is printed onto the fabric.
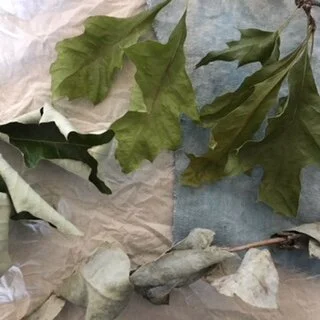
Oak and eucalyptus leaves and cotton fabrics.
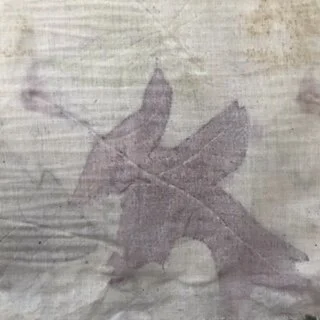
If you were to eco print an oak leaf, you would get, not only the color of the oak leaf (which might not be what you think!) and the actual print of the oak leaf.
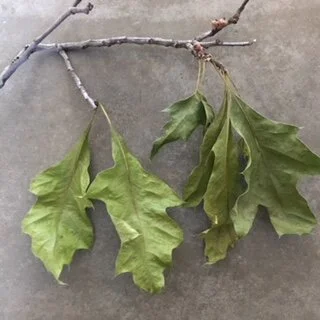
Oak leaves from a wind fallen branch.
While being a very simple technique, a lot of patience is required. The longer you can let your eco bundle rest, the better the results will be.
Dont give up. Many leaves may not leave a very intense color, but they have left tannins and plant chemicals on your fabric. This is a great opportunity to re print with new leaves on your already printed fabric.
Good options for printing are materials high in tannins such as oak leaves. Barks, Japanese maple leaves and eucalyptus are also great choices. Flowers and kitchen scraps will work too, experiment and see what works best for you.
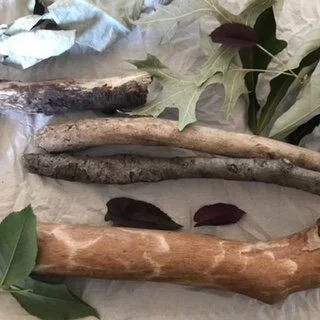
Foraging in my local city park. Oak leaves and sticks collected from the ground.
Remember when foraging for plant material to try to take what has already fallen to the ground. If you must pick from the plant take only a little and leave the rest for the butterflies and the bees.
Cotton is a great material for eco printing as it is sturdy enough to withstand heating for a few hours. You will need to mordant your cotton first for best results. Cloth napkins, flour sack dishtowels and bandanas are great for eco printing.
For this tutorial I have used an iron mordant. This will change the color of my prints to a bit darker as iron darkens or “saddens” natural dyes. For a more comprehensive look at how iron reacts to natural dyes, check out the pH modifiers tutorial HERE.
To mordant with iron, take a tablespoon of your iron liquor, recipe HERE, and add it to 3 liters of boiling water. Very carefully submerge your damp fabric in the iron solution. Make sure there is enough liquid in your container or pot for your fabric to move freely, and add more water if necessary. Give a few stirs and let your fabric sit until the liquid is completely cool, take the fabric out with gloved hands (iron is rough on the skin, and don’t let kids or pets around the iron solution. It can be deadly if ingested). Wring out and hang dry. Let to cure for at least 24 hours.
You can also mordant your cotton with alum sulfate, directions for doing so can be found HERE.
Two very safe ways to mordant your fabric are with copper pots and soy milk. Boil your fabric in a copper pot for one hour, then letting it sit in the pot with the cooled water for 24 hours.
With soy milk, make a 1:5 soy milk to water ratio in a pot. Soak your fabric in the soy water for 12-24 hours, wring out the fabric and let dry completely. Repeat this process at least 3 times and let cure for a day to a week, or more! Some places in Japan let their soy milk mordant cure a year before dyeing with the fabric.
Local leaf and stick collection with iron mordanted cotton.
Now that you have some mordanted fabric, some beautiful leaves, now it’s time to put it all together. The last things you will need are a dowel, pipe or stick at least one inch in diameter, string, and a dye pot, dye colander or grate, and lid.
Dampened fabric.
Dampen your fabric and lay the leaves out on one half of the fabric. Once the leaves are laid out, how many is entirely up to you, fold the free side of the fabric on top of the leaves, like a little sandwich.
If this is your first time eco printing, try a variety of leaves and barks as an experiment. Try printing as much as you can fit on your scrap fabric as a test print.
Fold the empty half of the fabric on top of your leaves, creating a little sandwich.
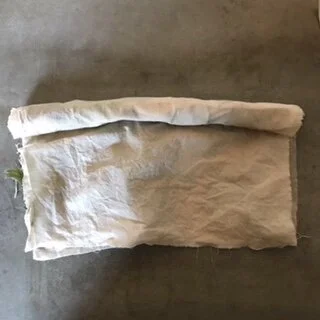
Place your dowel at the bottom edge of the fabric and roll the fabric with the leaves in the middle tightly around the dowel.
Place your dowel or stick on one edge of your fabric.
Tightly roll the fabric around the dowel.
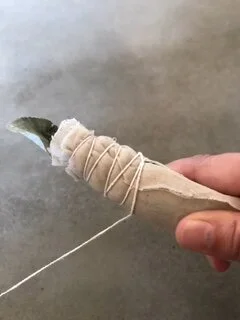
Now, using string or rubber bands, tightly wind and secure the fabric.
Using a string or rubber bands, tightly secure the fabric leaf sandwich on your dowel.
This technique works because the fabric is touching the plants, so when heat and steam release the color, the fabric is right there ready to catch it.
Eco print bundle.
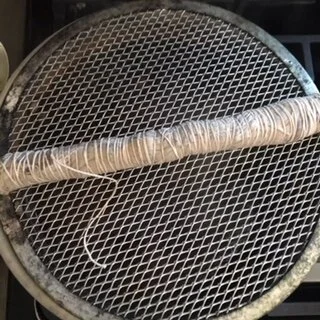
Fill your dye pot with a good amount of water, at least half way, and place you colander in your pot. Put your eco print bundle in the colander and cover with the lid. Turn the heat on and let your bundle steam for 2 hours.
Bundle on a grate or colander. Cover with a lid and steam for two hours.
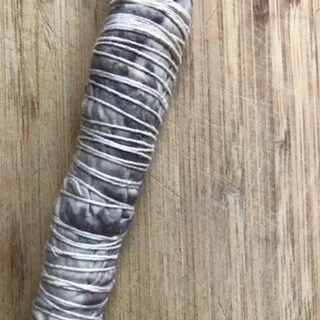
After two hours, let your bundle cool completely. Now here is the hard part… set your bundle somewhere safe and let sit for at least 48 hours. More time is better, if you can wait a week, wait a week.
Letting the steamed bundle rest. You can see the plant color peeking through the fabric. This will rest for at least three days or longer.
When you just can’t wait anymore, carefully snip the string and carefully un wrap. Ta-dah! How does your eco print look?
Remove all of the plant matter stuck to the fabric and hang to dry and let cure for 24 hours. After the cure, iron on the hottest steam setting of your iron to set the color.
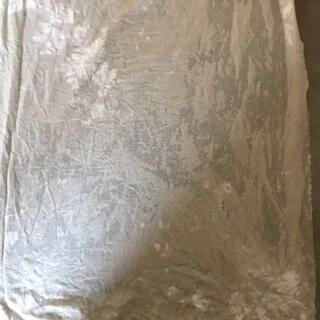
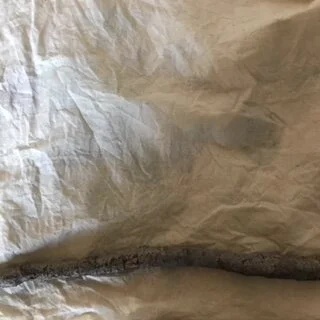
Printed oak leaf on iron mordanted fabric.
Treat this fabric as you would any of your naturally dyed items. Hand wash in cold water with pH neutral detergent if you must and air dry.
If you liked this tutorial, leave a comment below and check out our other tutorials HERE. Sign up for our newsletter to find out when we are teaching workshops and at events.
