Rust Dyeing
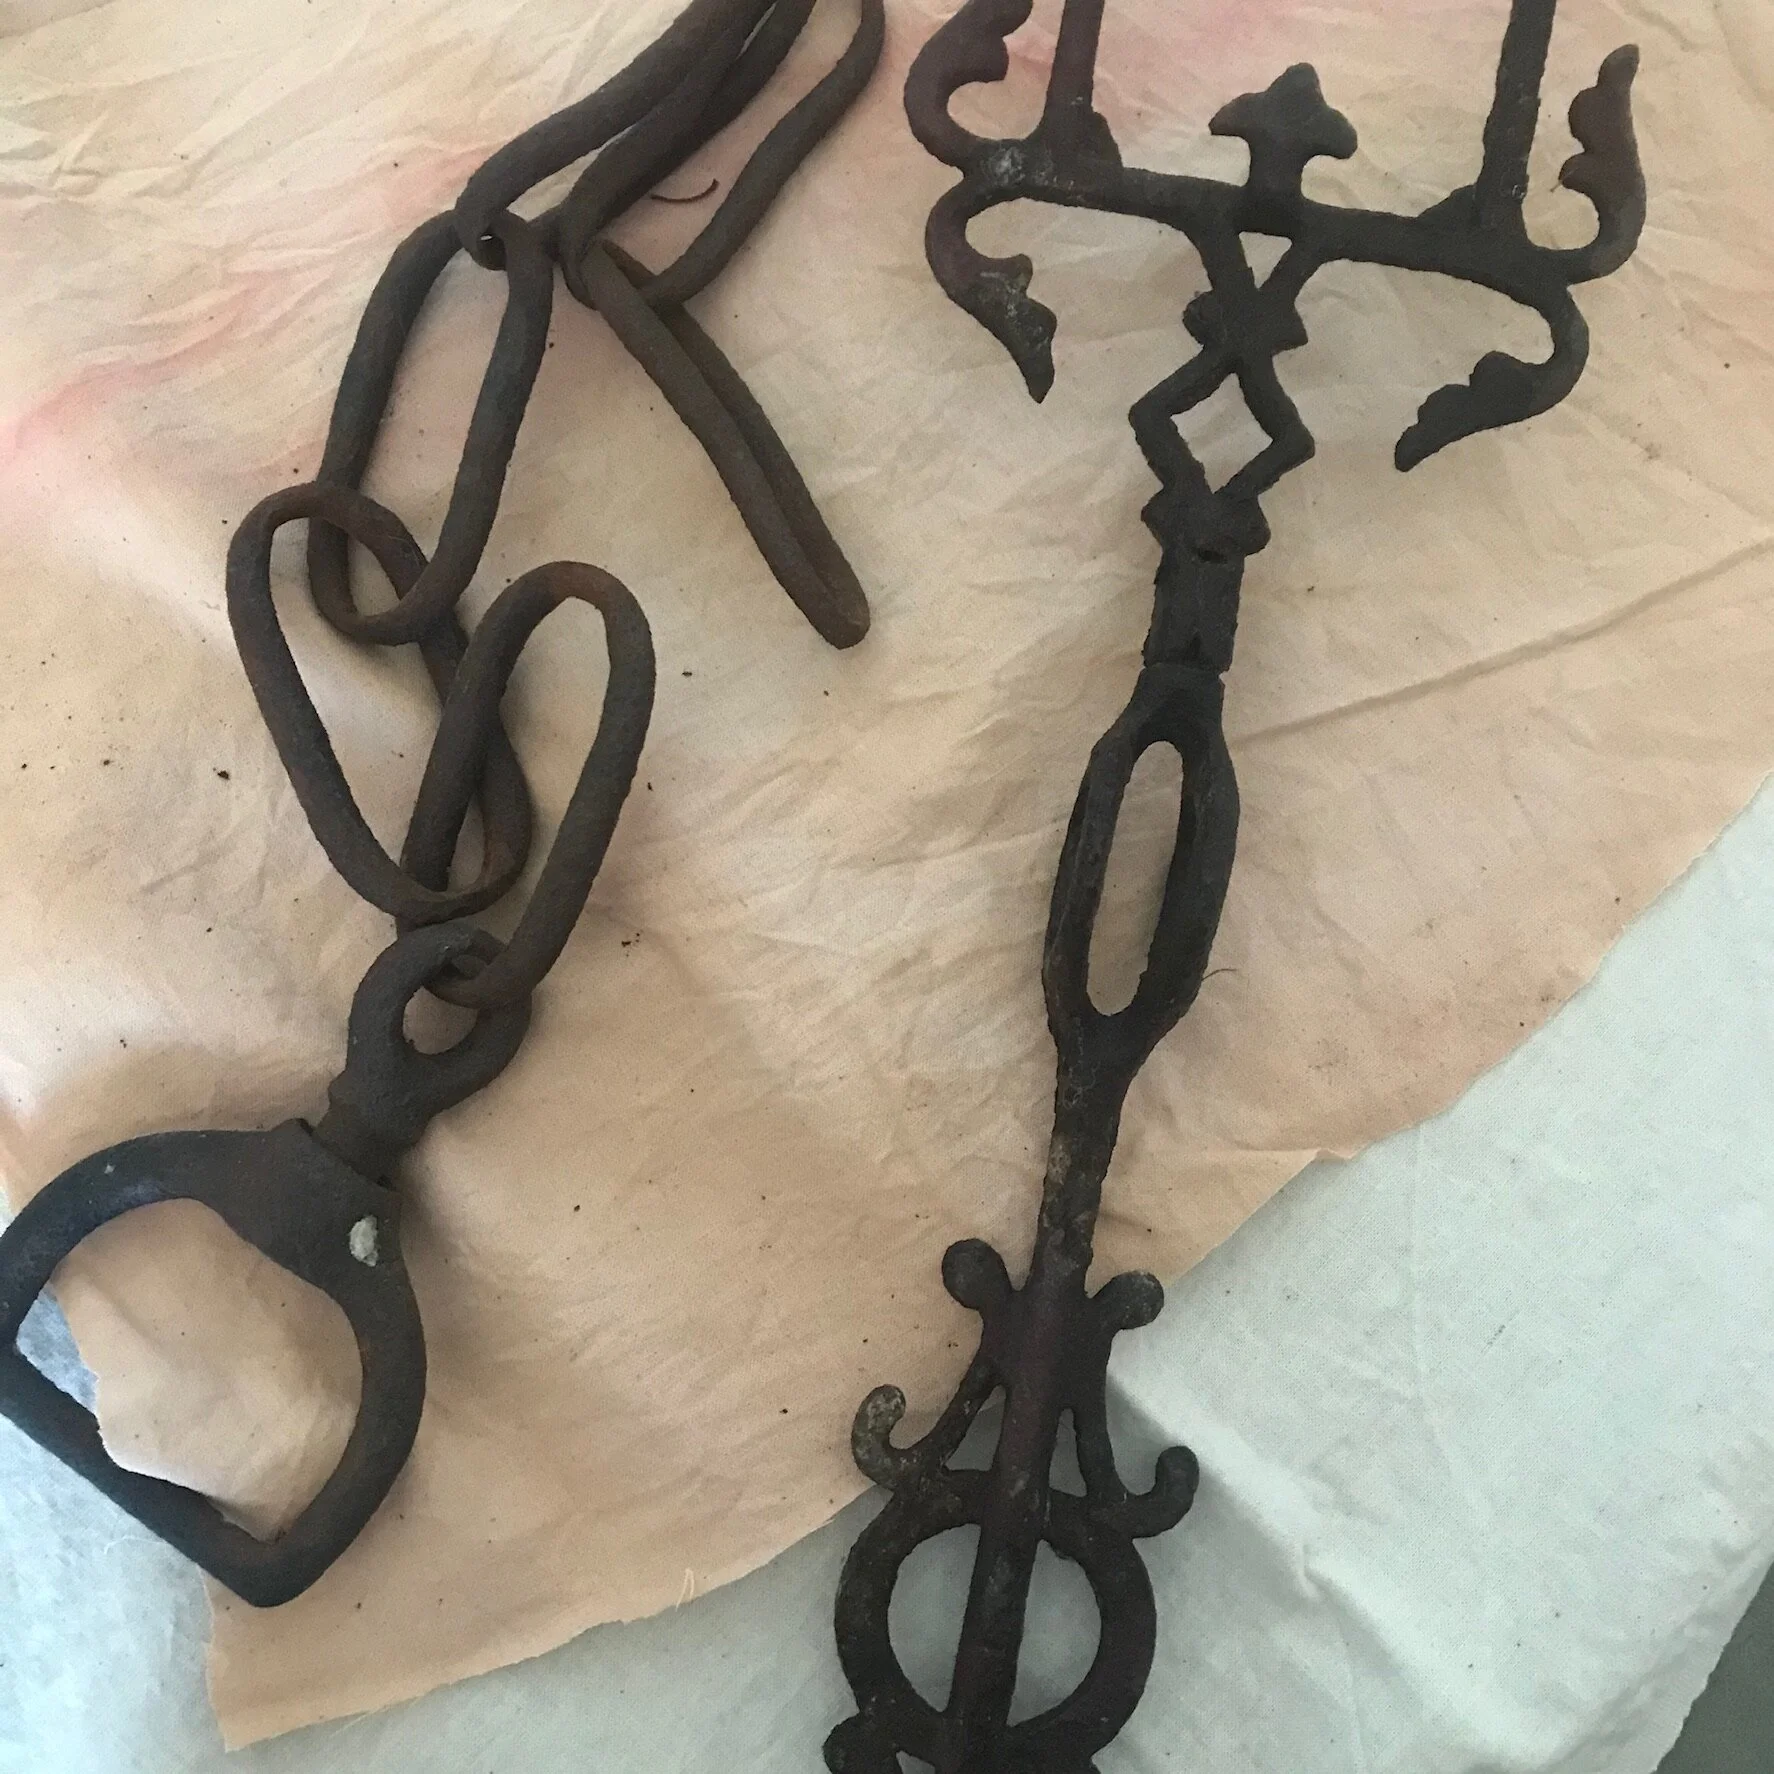
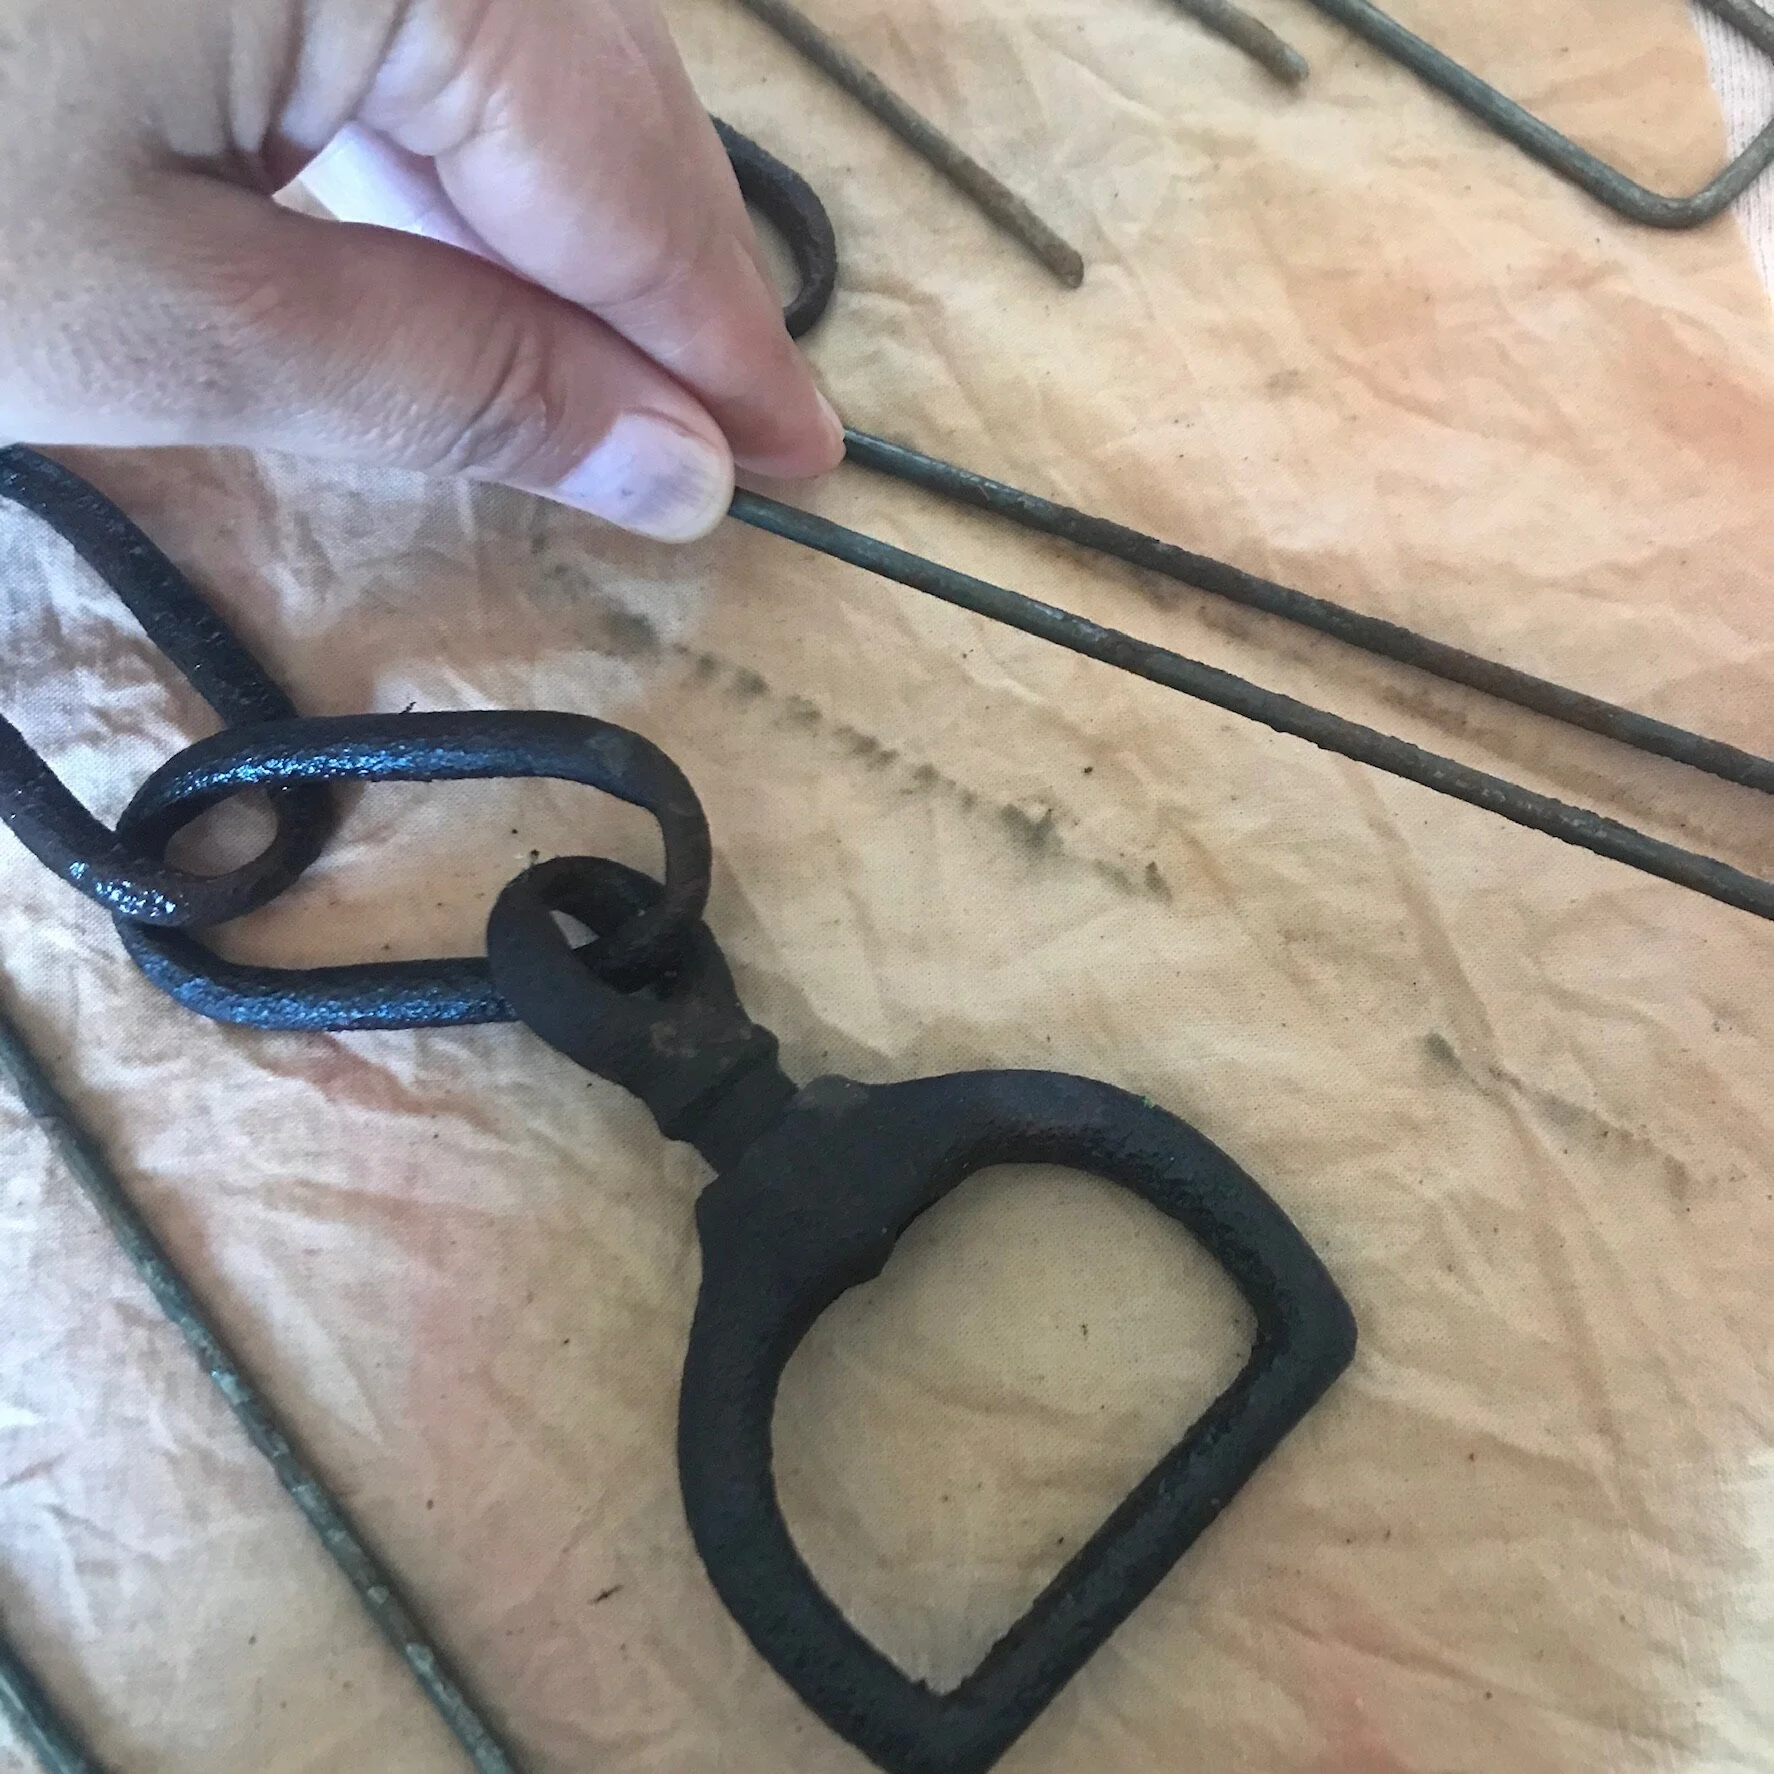
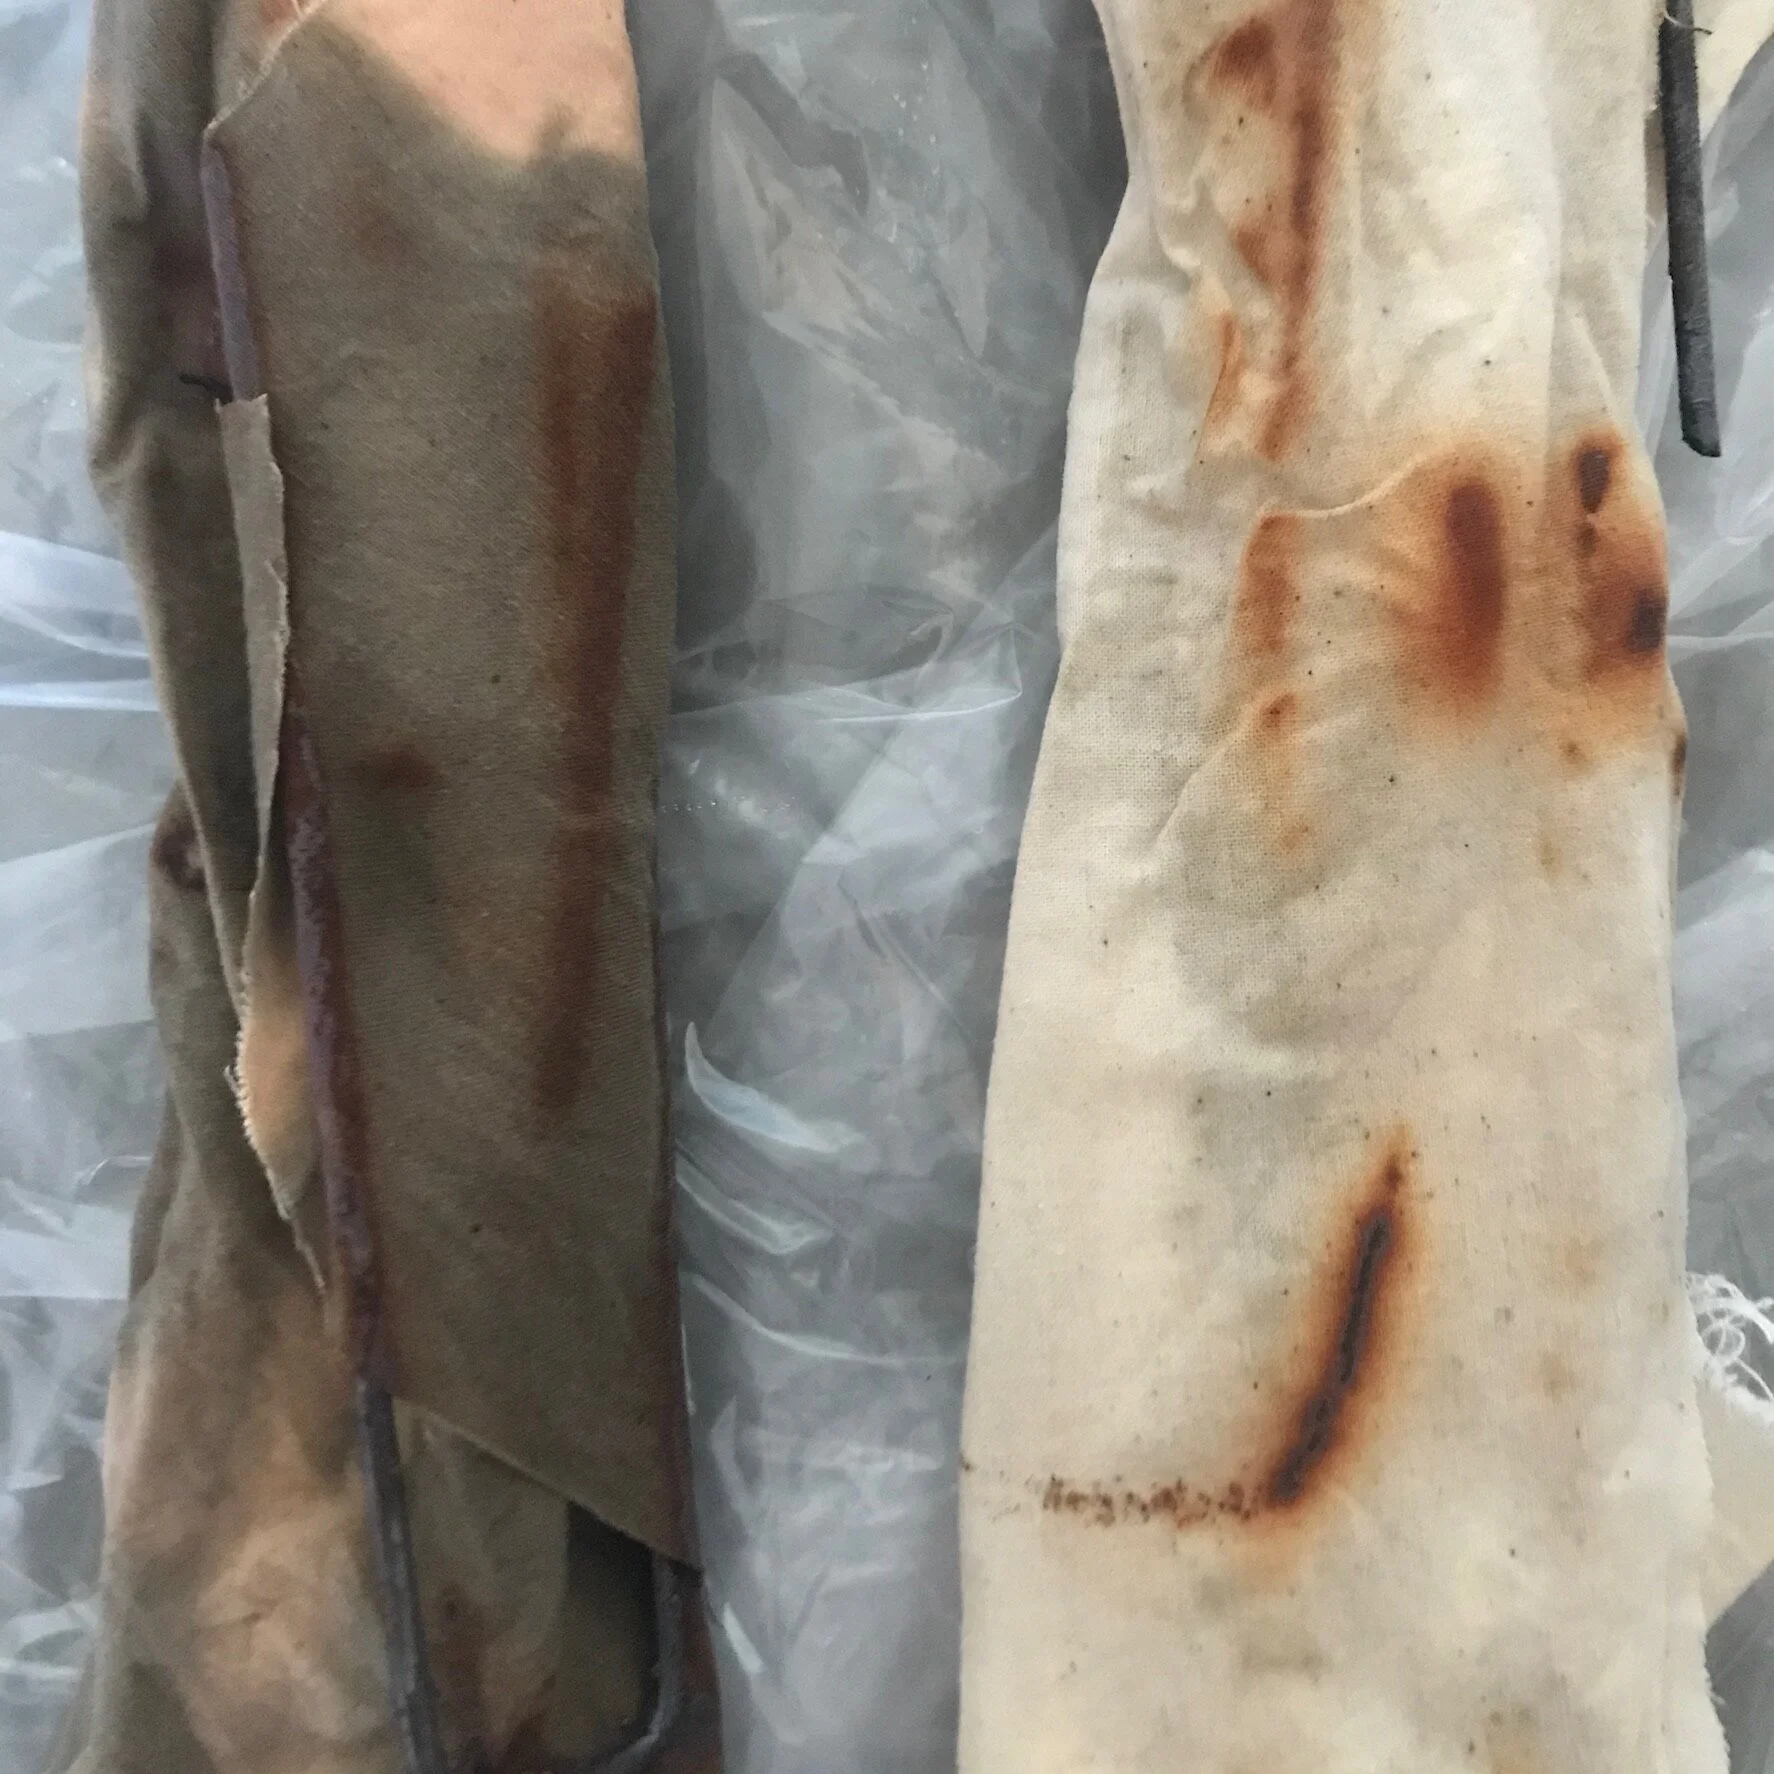
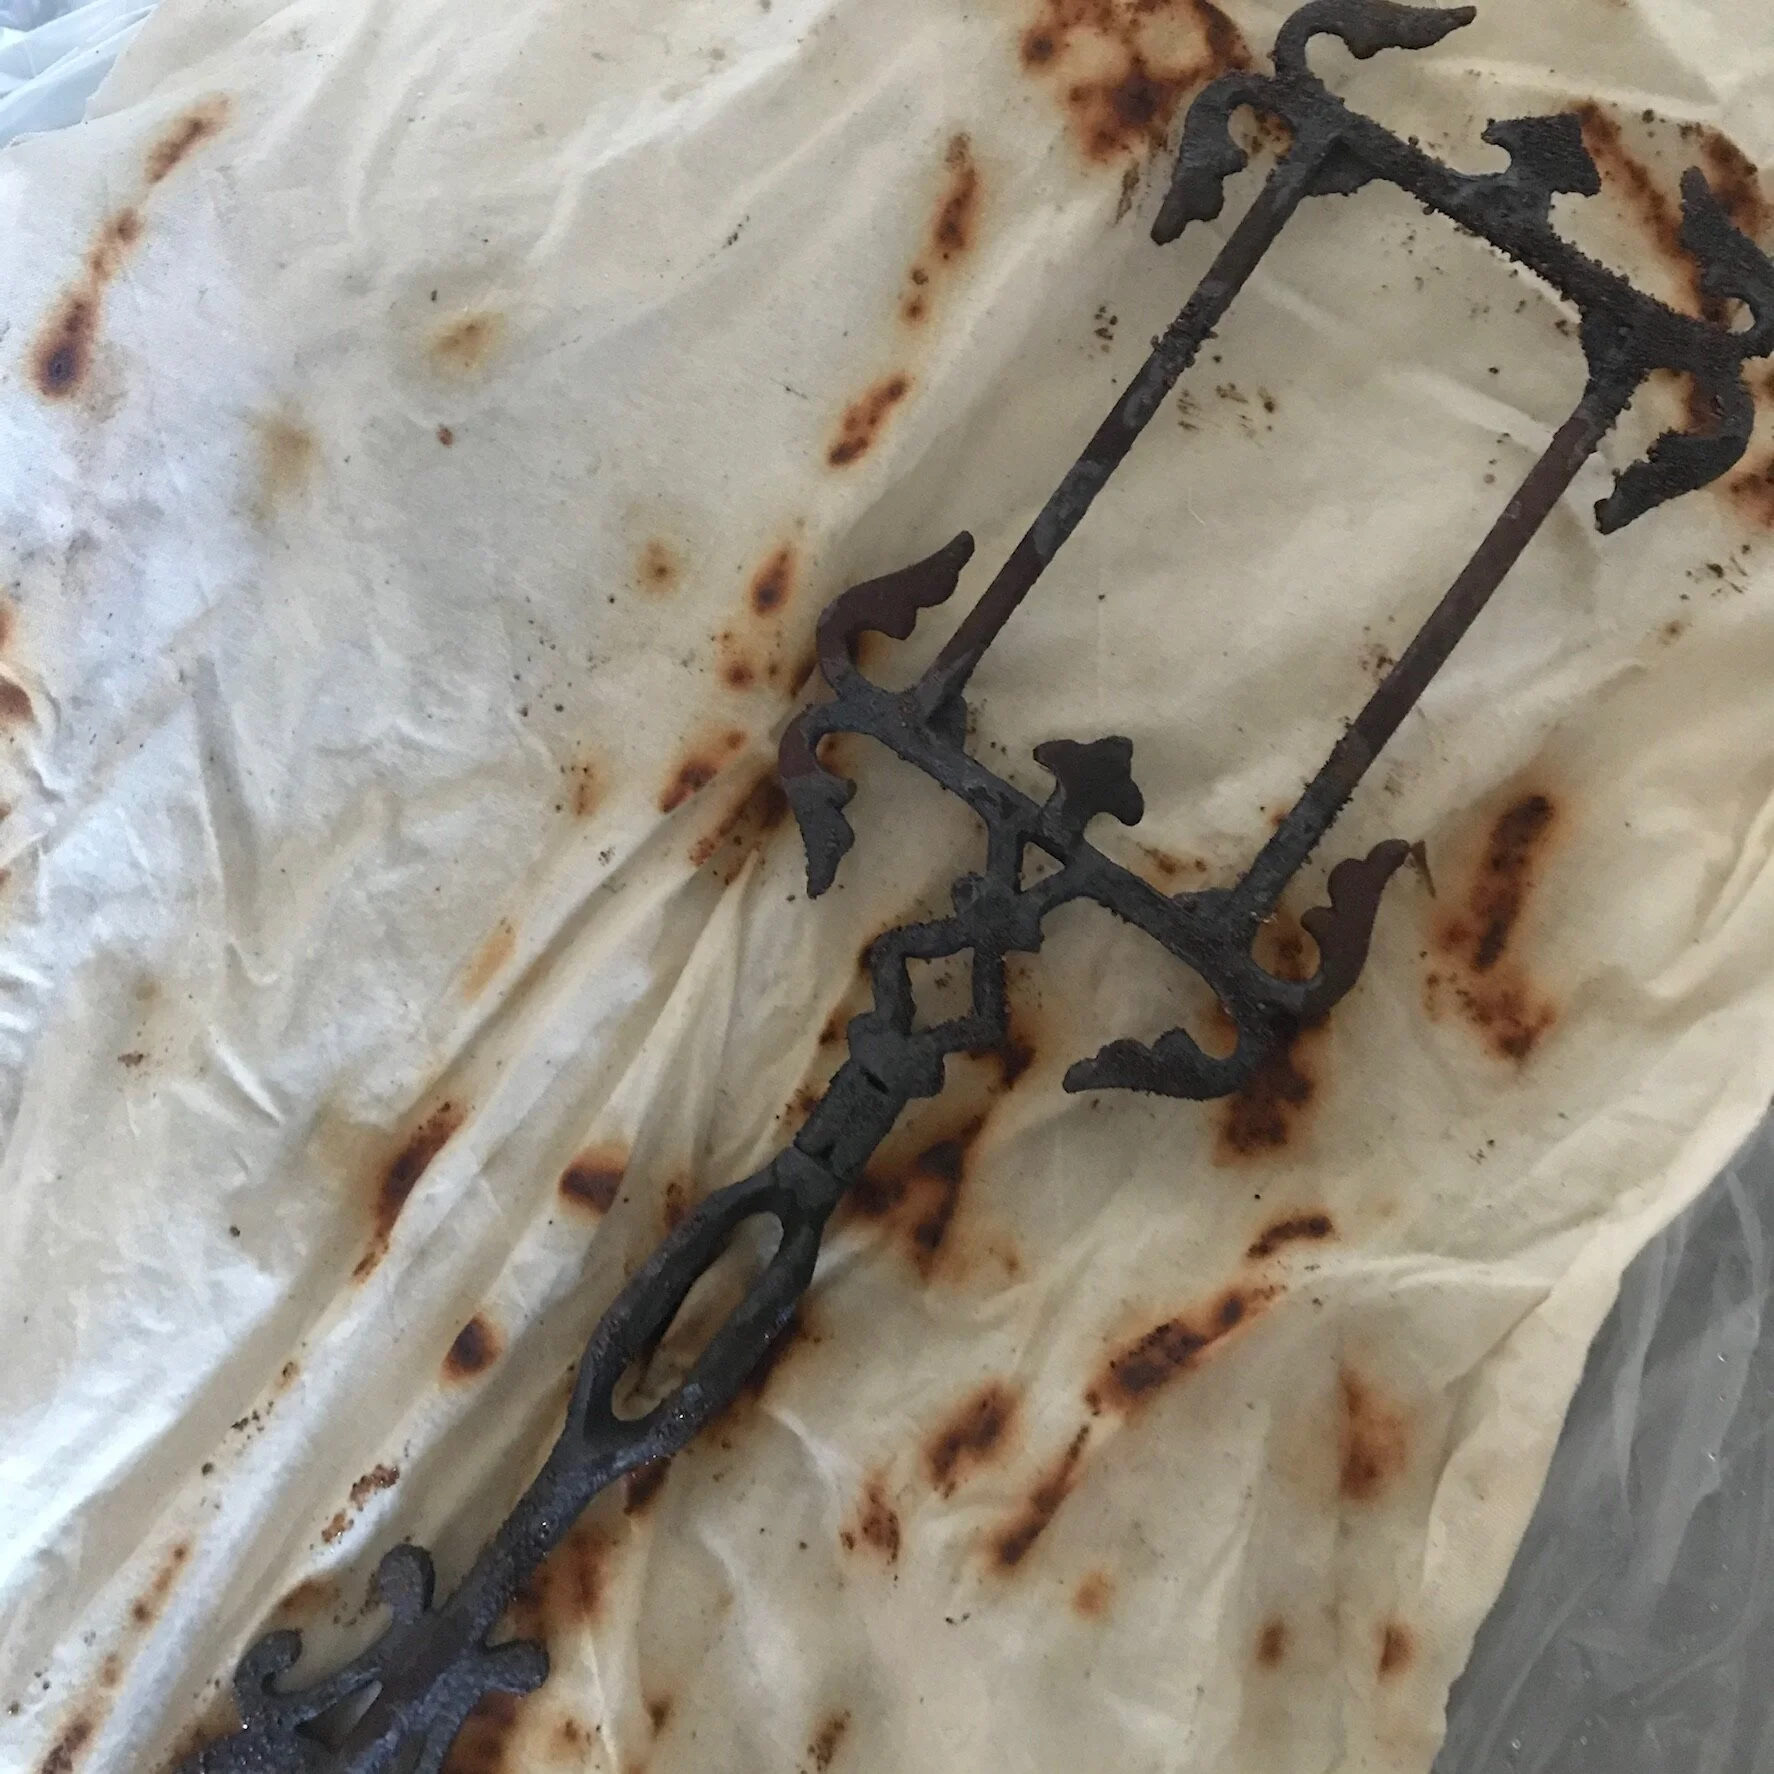
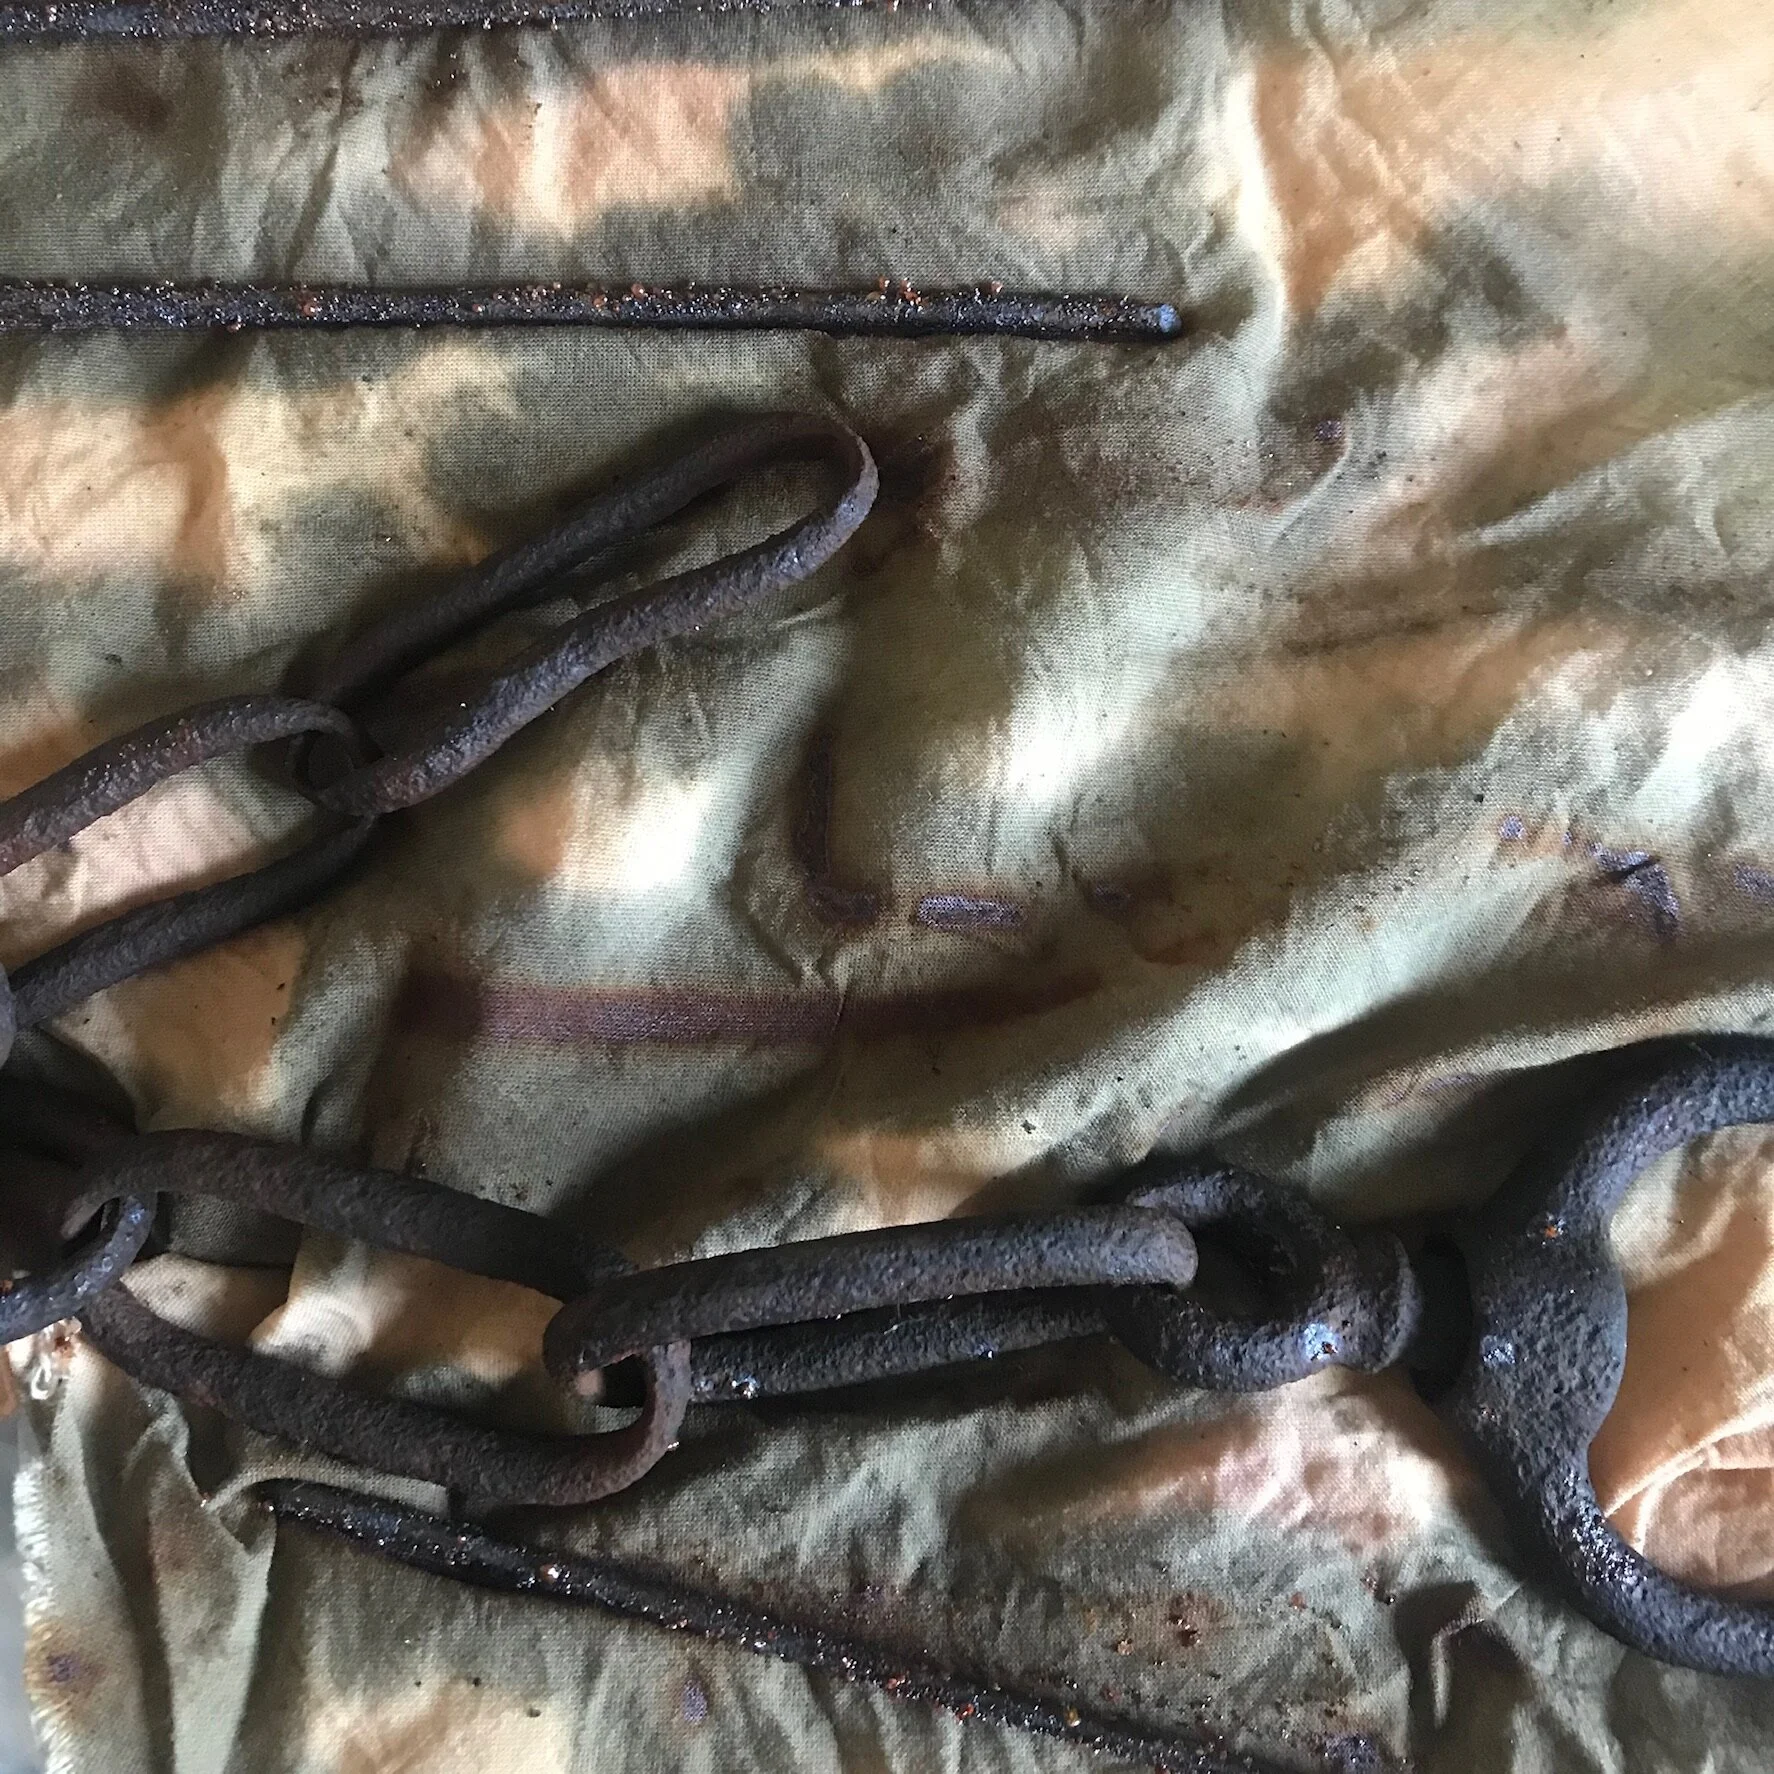
Rusty objects and cotton fabric. The fabric on the left has been dyed using cochineal and onion skins.
Rust dyeing is fun and easy. You just need a few items you already have lying around the house. You’ll need cotton or linen fabric, white vinegar and water in a spray bottle, baking soda, a plastic bag and some rusty objects.
Be careful when collecting rusty objects as no one wants tetanus while collecting for a dye project. Objects big and small work, it all depends on your vision for your final outcome.
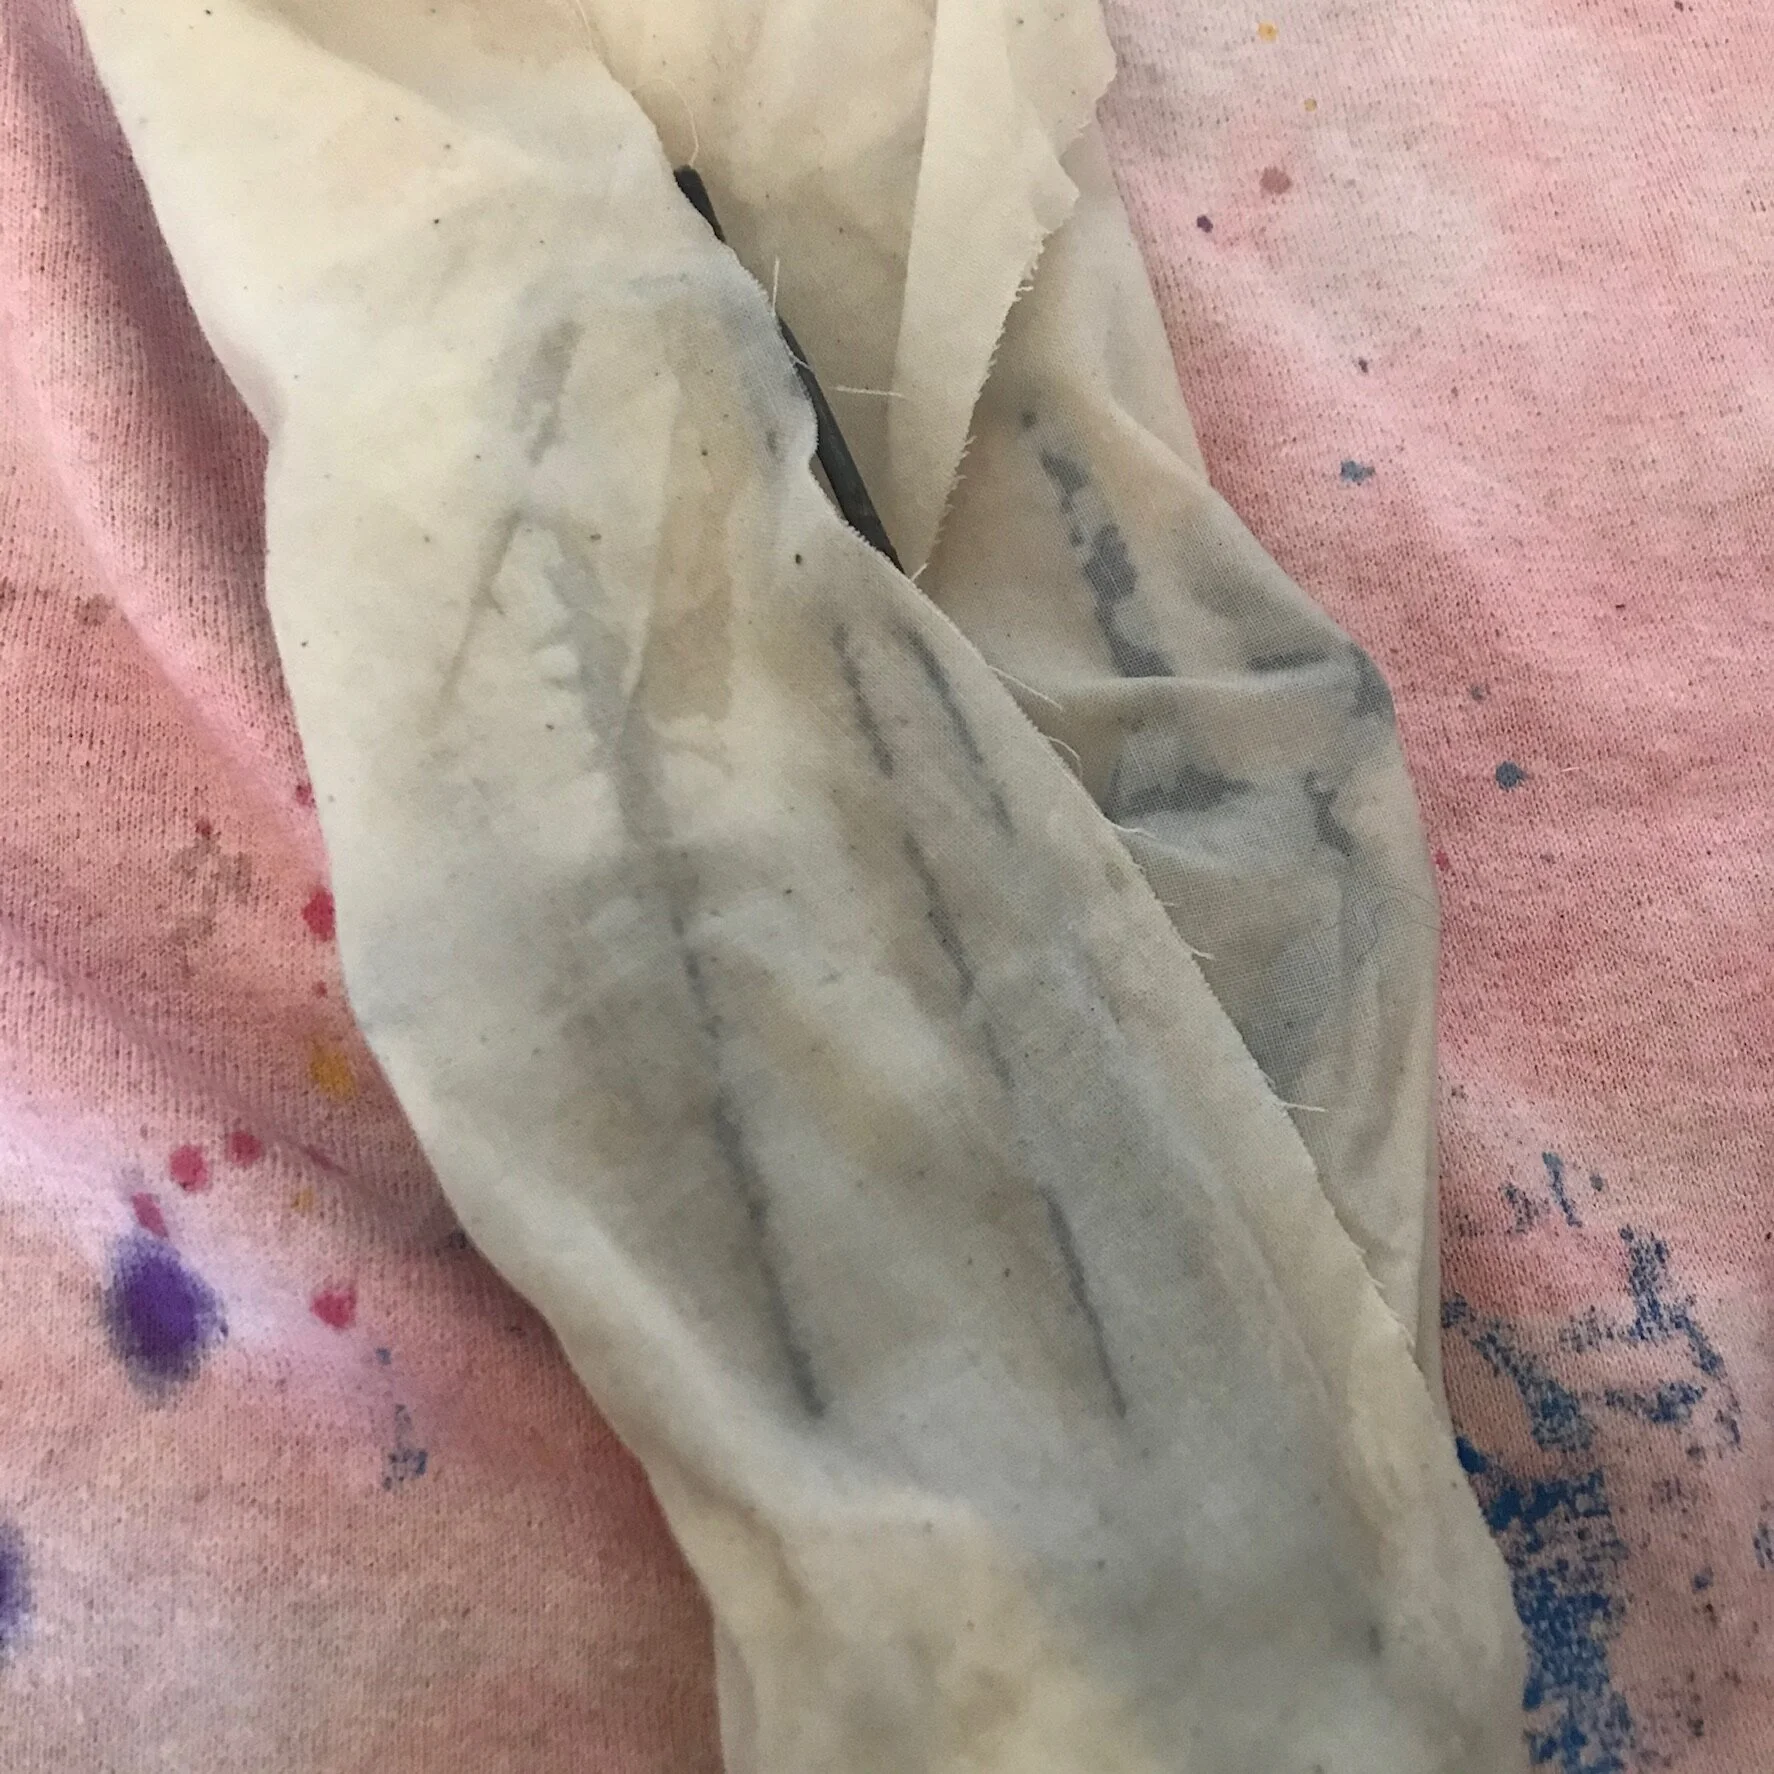
You can get an all over pattern from the objects you are collecting, or get a more random pattern. This will be determined by the objects themselves and how you lay out your fabric. For example, if you have a rusty grate, you can place the fabric over the grate, seal with plastic, and in a day or two the grate pattern will have transferred to your fabric. If you place rusty washers over a piece of cloth, you can get a polka dot pattern. Or by wrapping the cloth around objects, you can get something a little more random. As always, I encourage you to experiment and see what works for you. The more you experiment, the more control you’ll have over the process and outcome.
To begin, collect your objects. If there is a rusty object that is unmovable, for example a rusty wire fence, you can still use it, carefully, for this technique.
Place a drop cloth on your work surface. Rust is corrosive, you want to make sure you are not going to ruin a nice table or counter. Working on the ground is good too! Lay out your fabrics on your drop cloth. You can use dyed and undyed fabrics, both will yield varying results.
If you have seen our other tutorials such as the acorn dye tutorial or the pH modifier tutorial to see what rust does to naturally dyed fabrics.
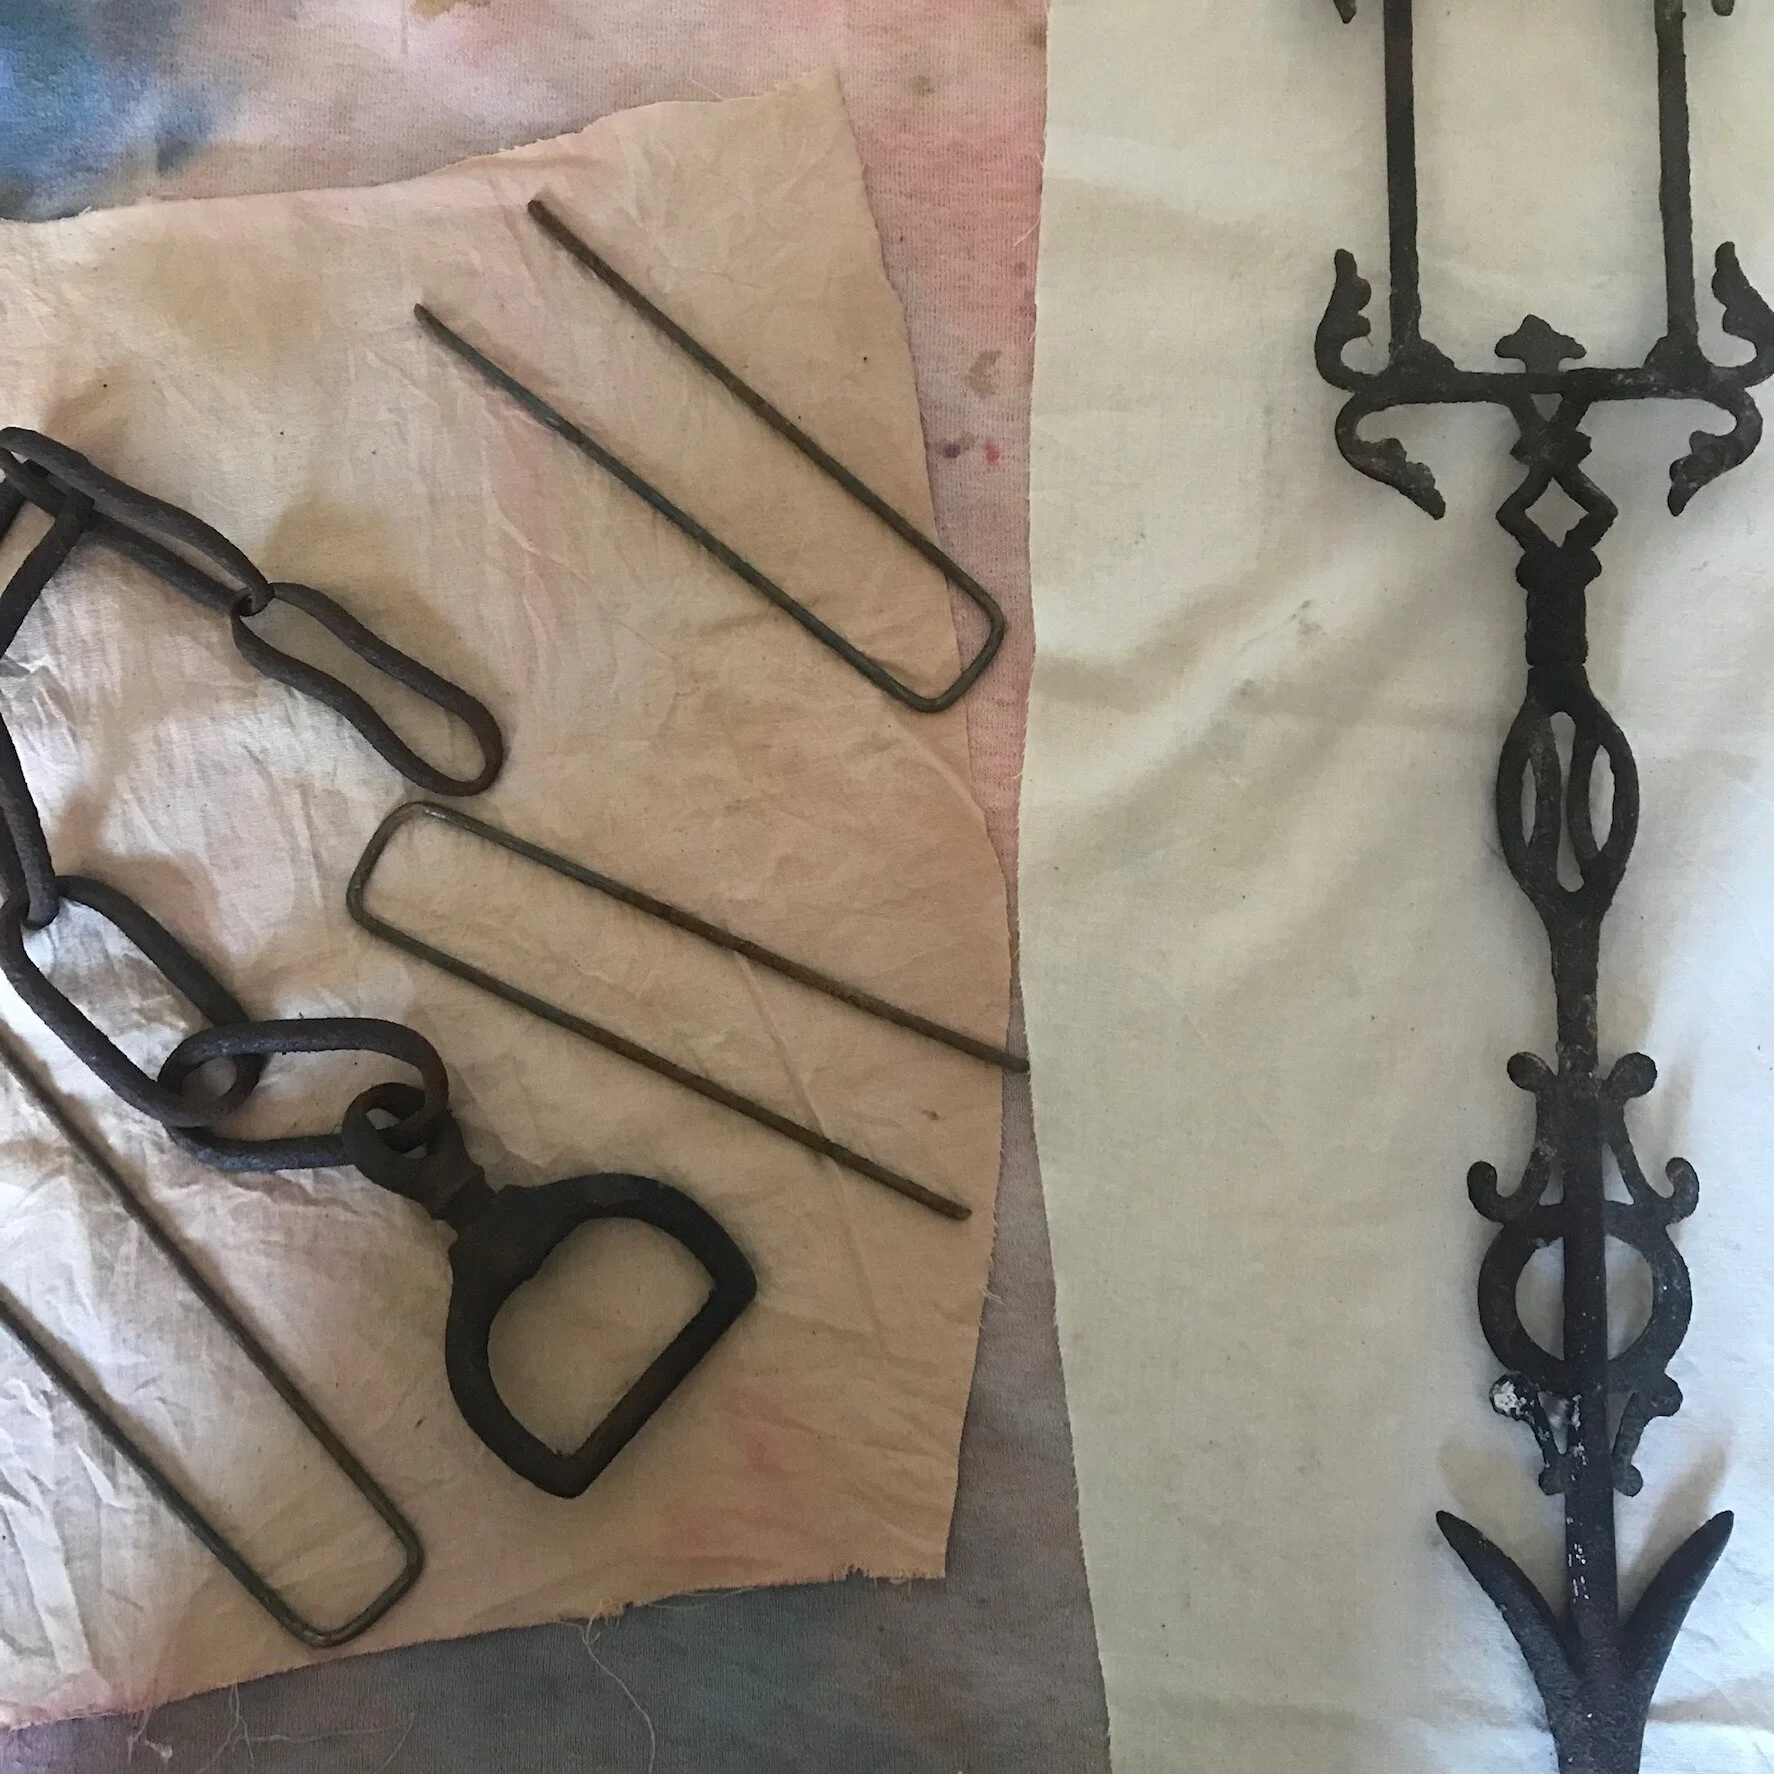
Place your rust objects on top of the fabric. If you are looking to get pattern, I recommend placing your fabric on a piece of cardboard big enough for your fabric. You will be able to cover and move your fabric with it all staying together.
Objects laid out on the fabric.
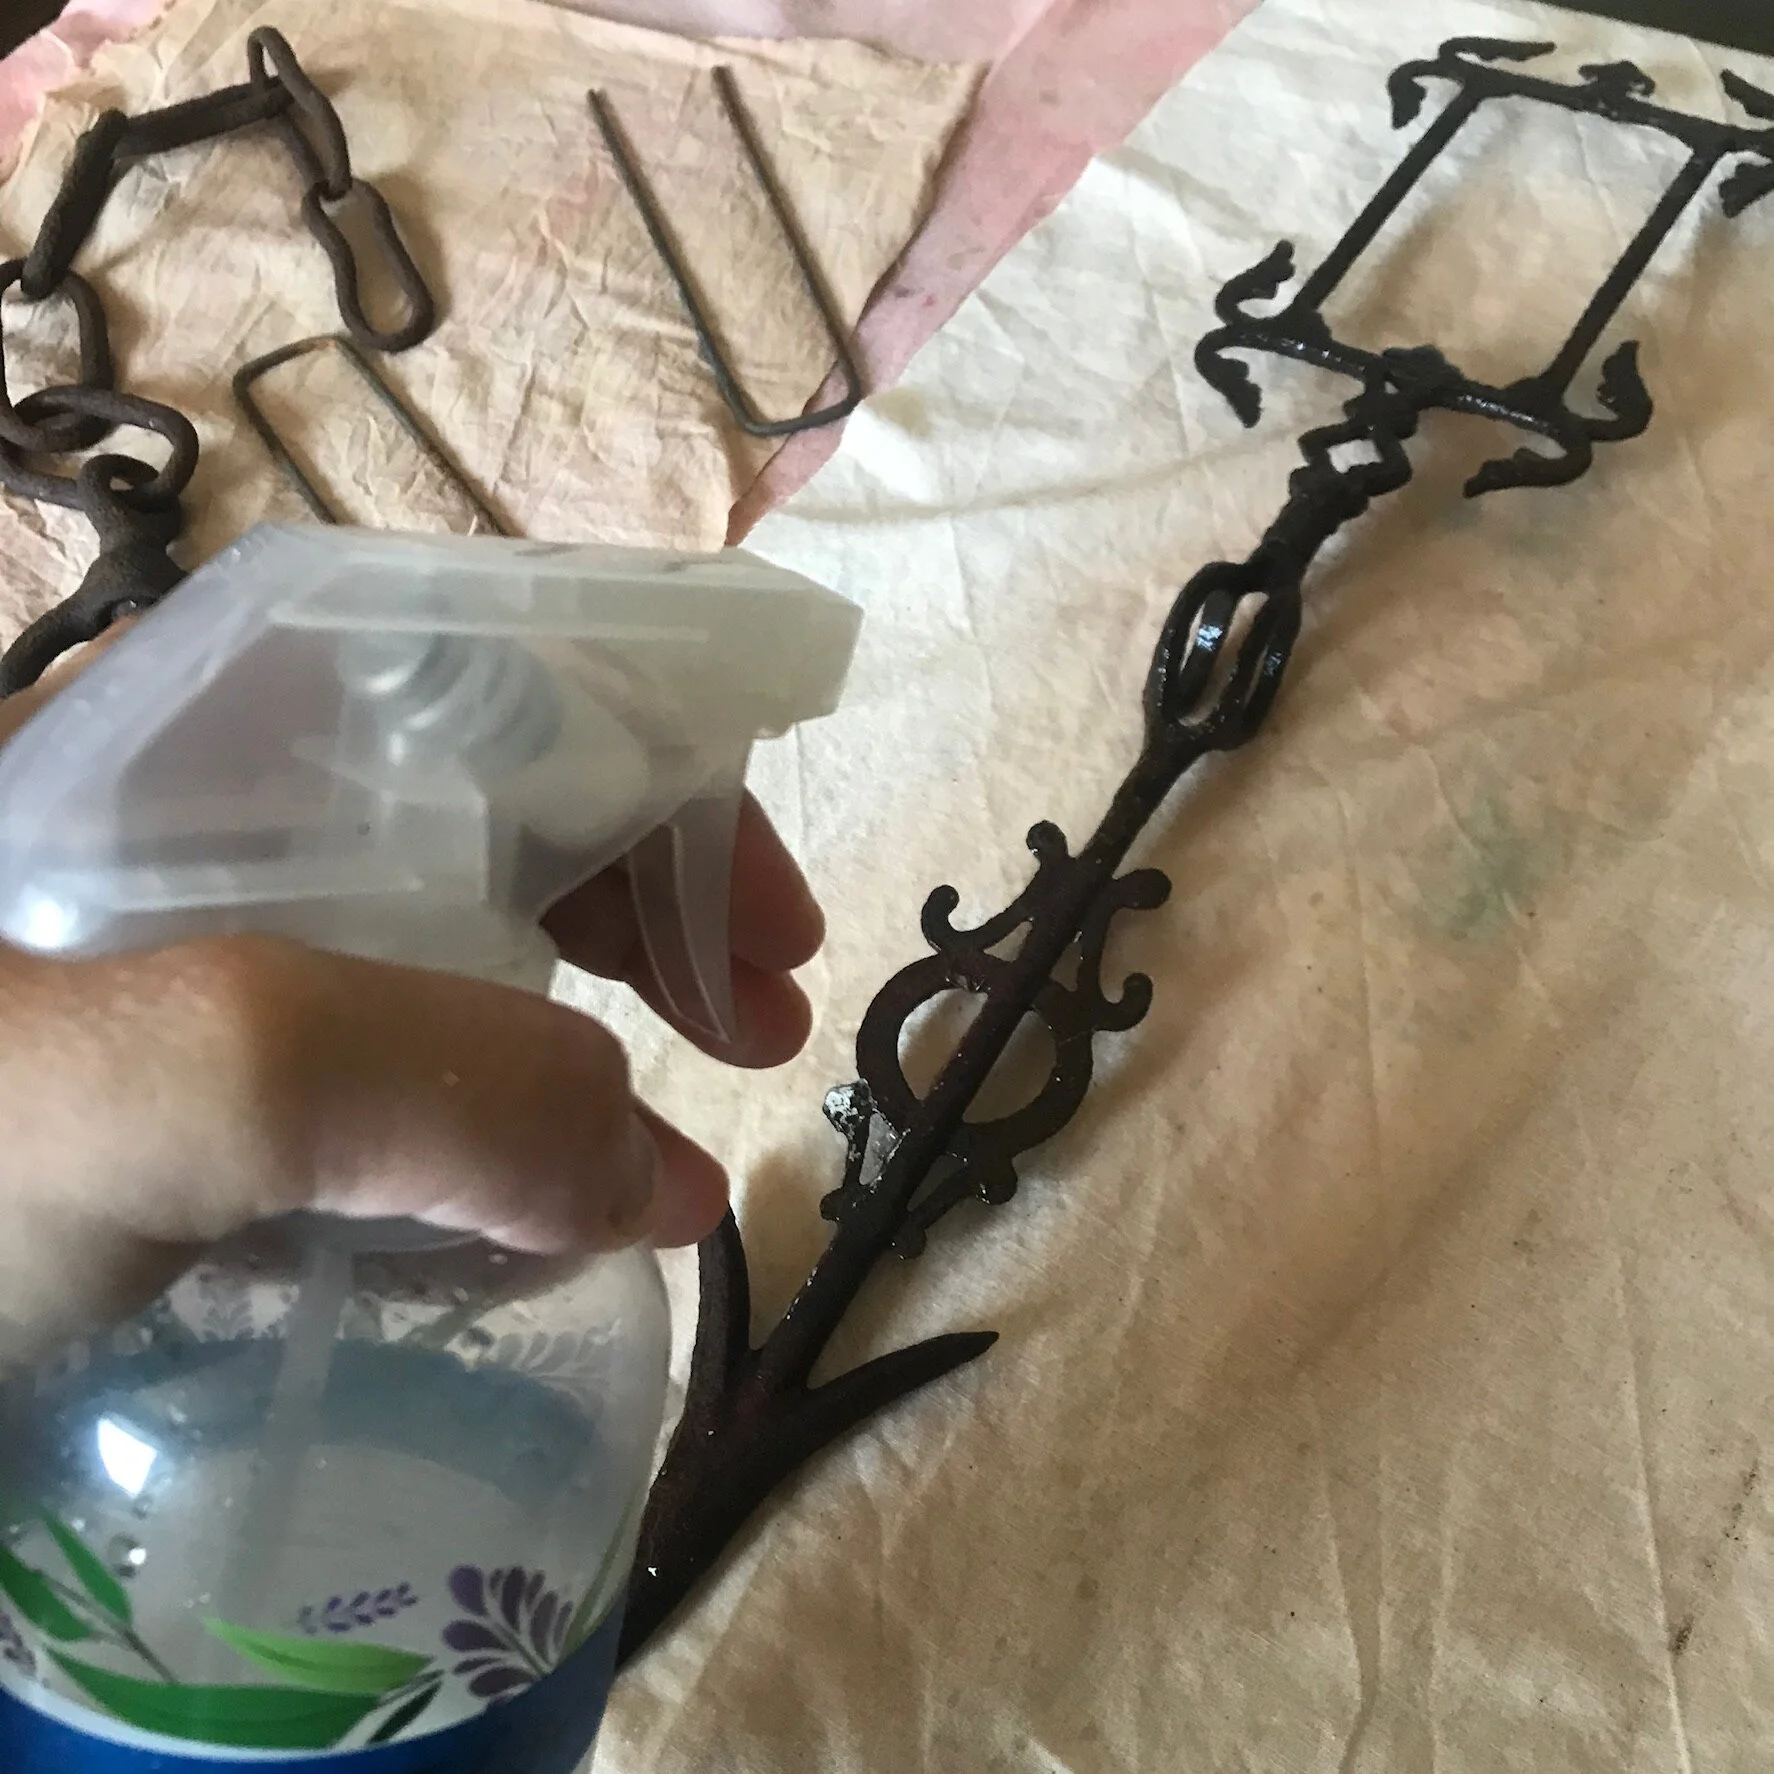
Once your objects are on the fabric, generously spray the fabric and the rusty objects with a 50/50 solution of vinegar and water.
Spray the fabric and rusty bits with a vinegar water solution.
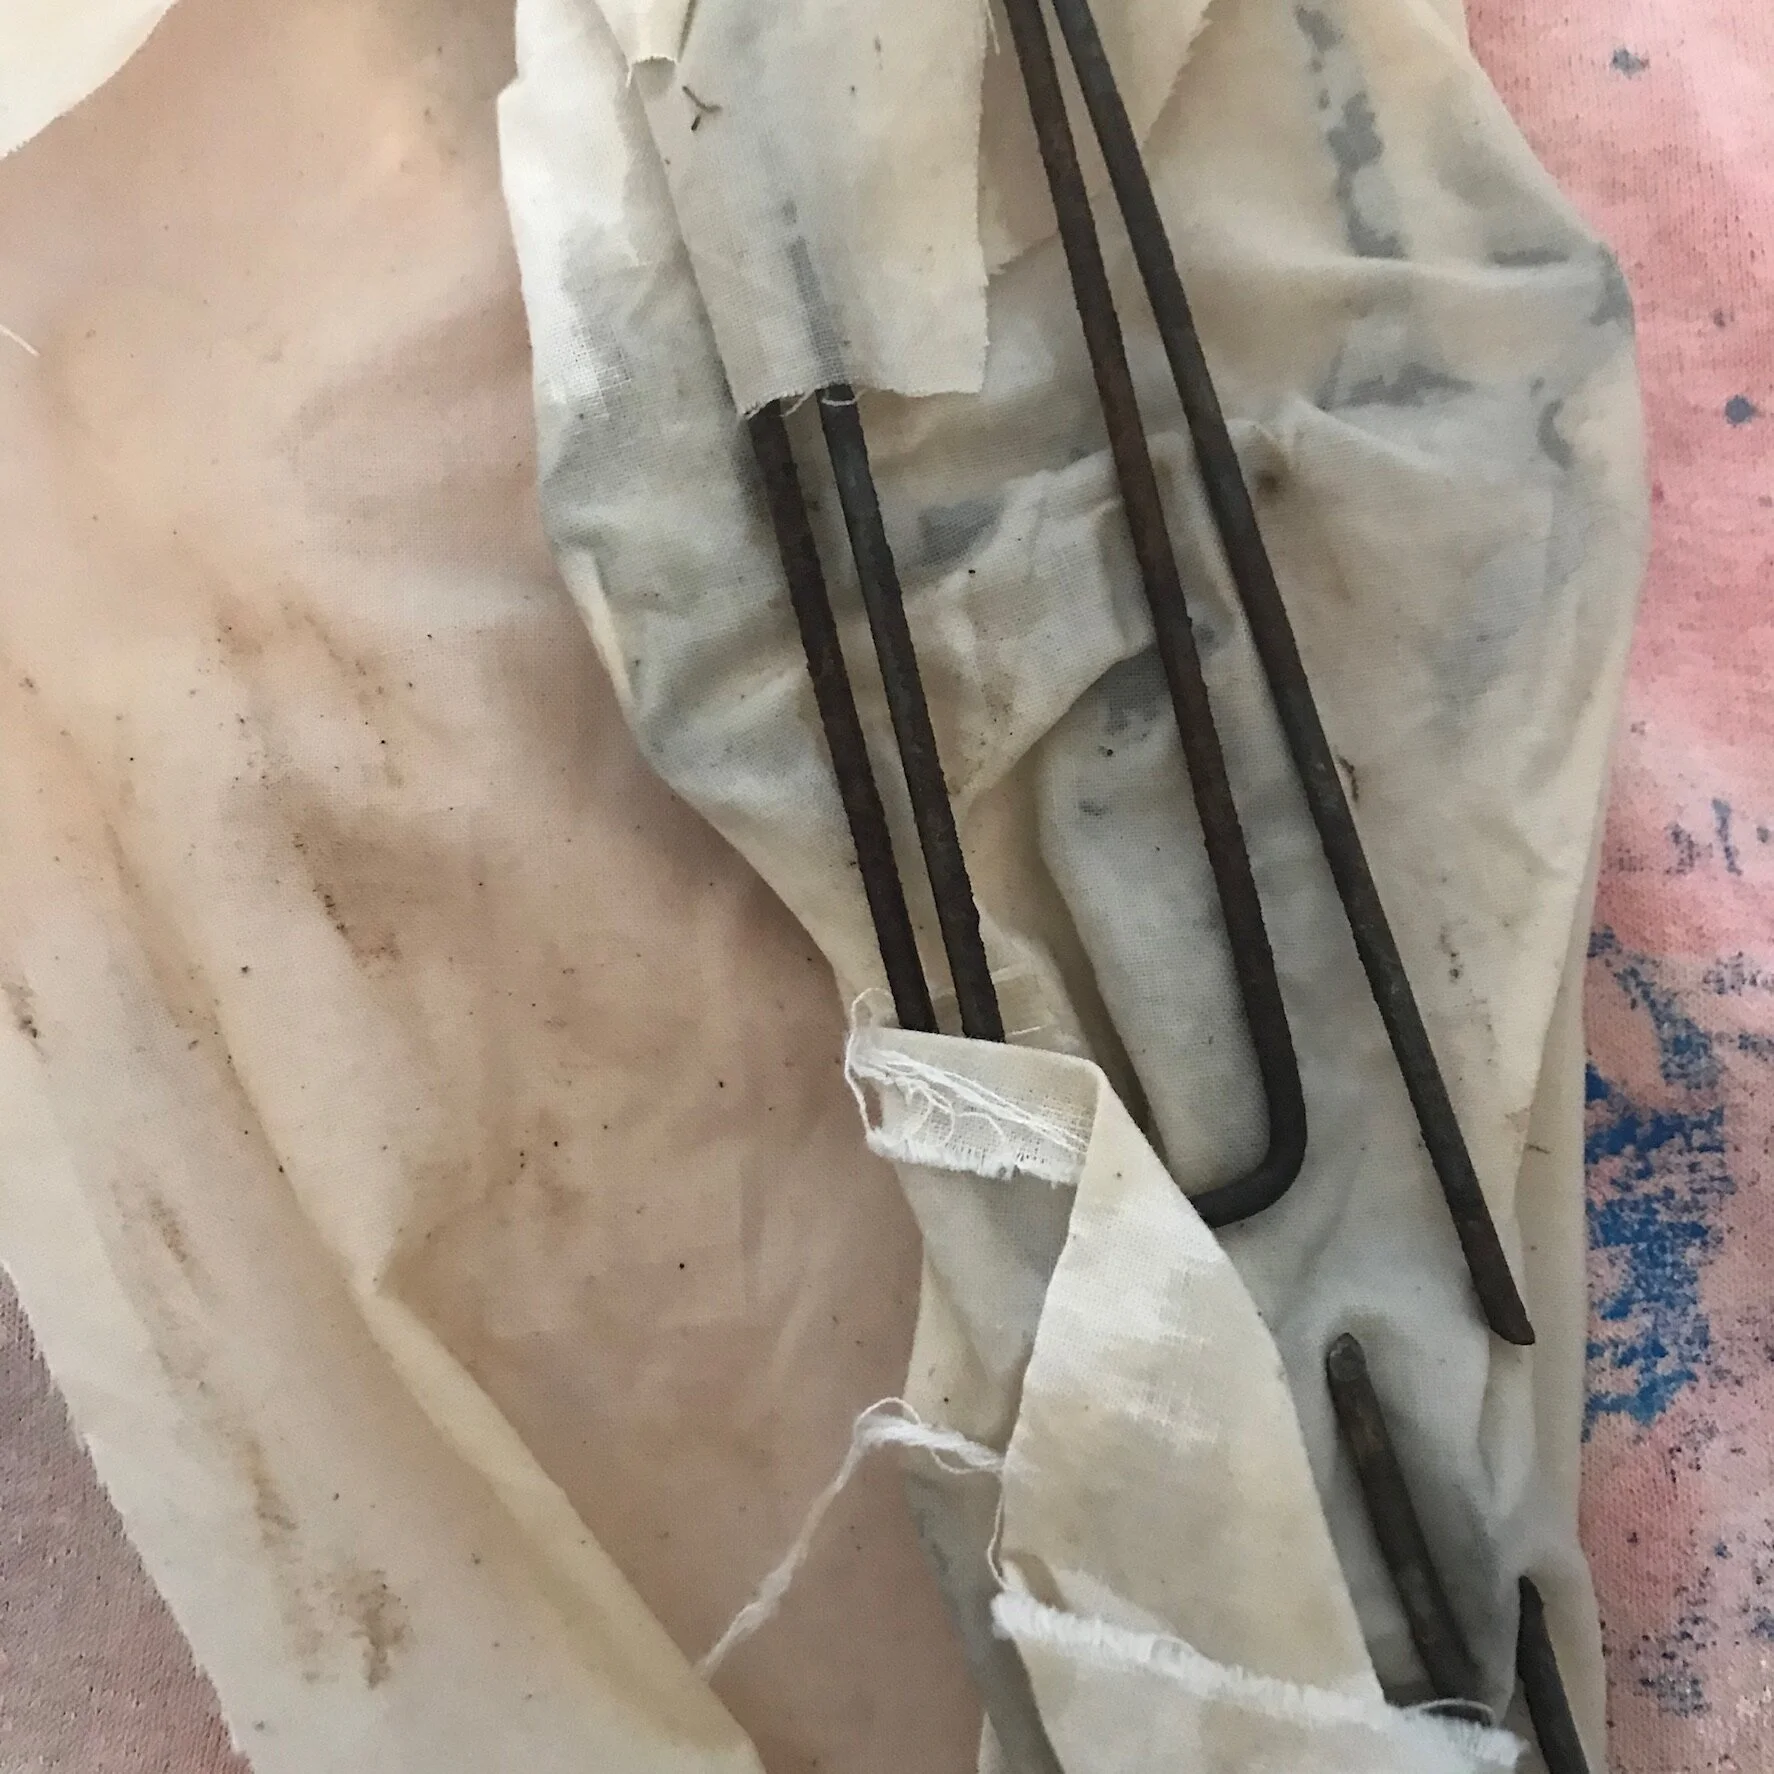
Once the fabric has been spayed with vinegar you can wrap the fabric around the object, or add more objects if you wish. Feel free to leave your object resting on the fabric for a print as is.
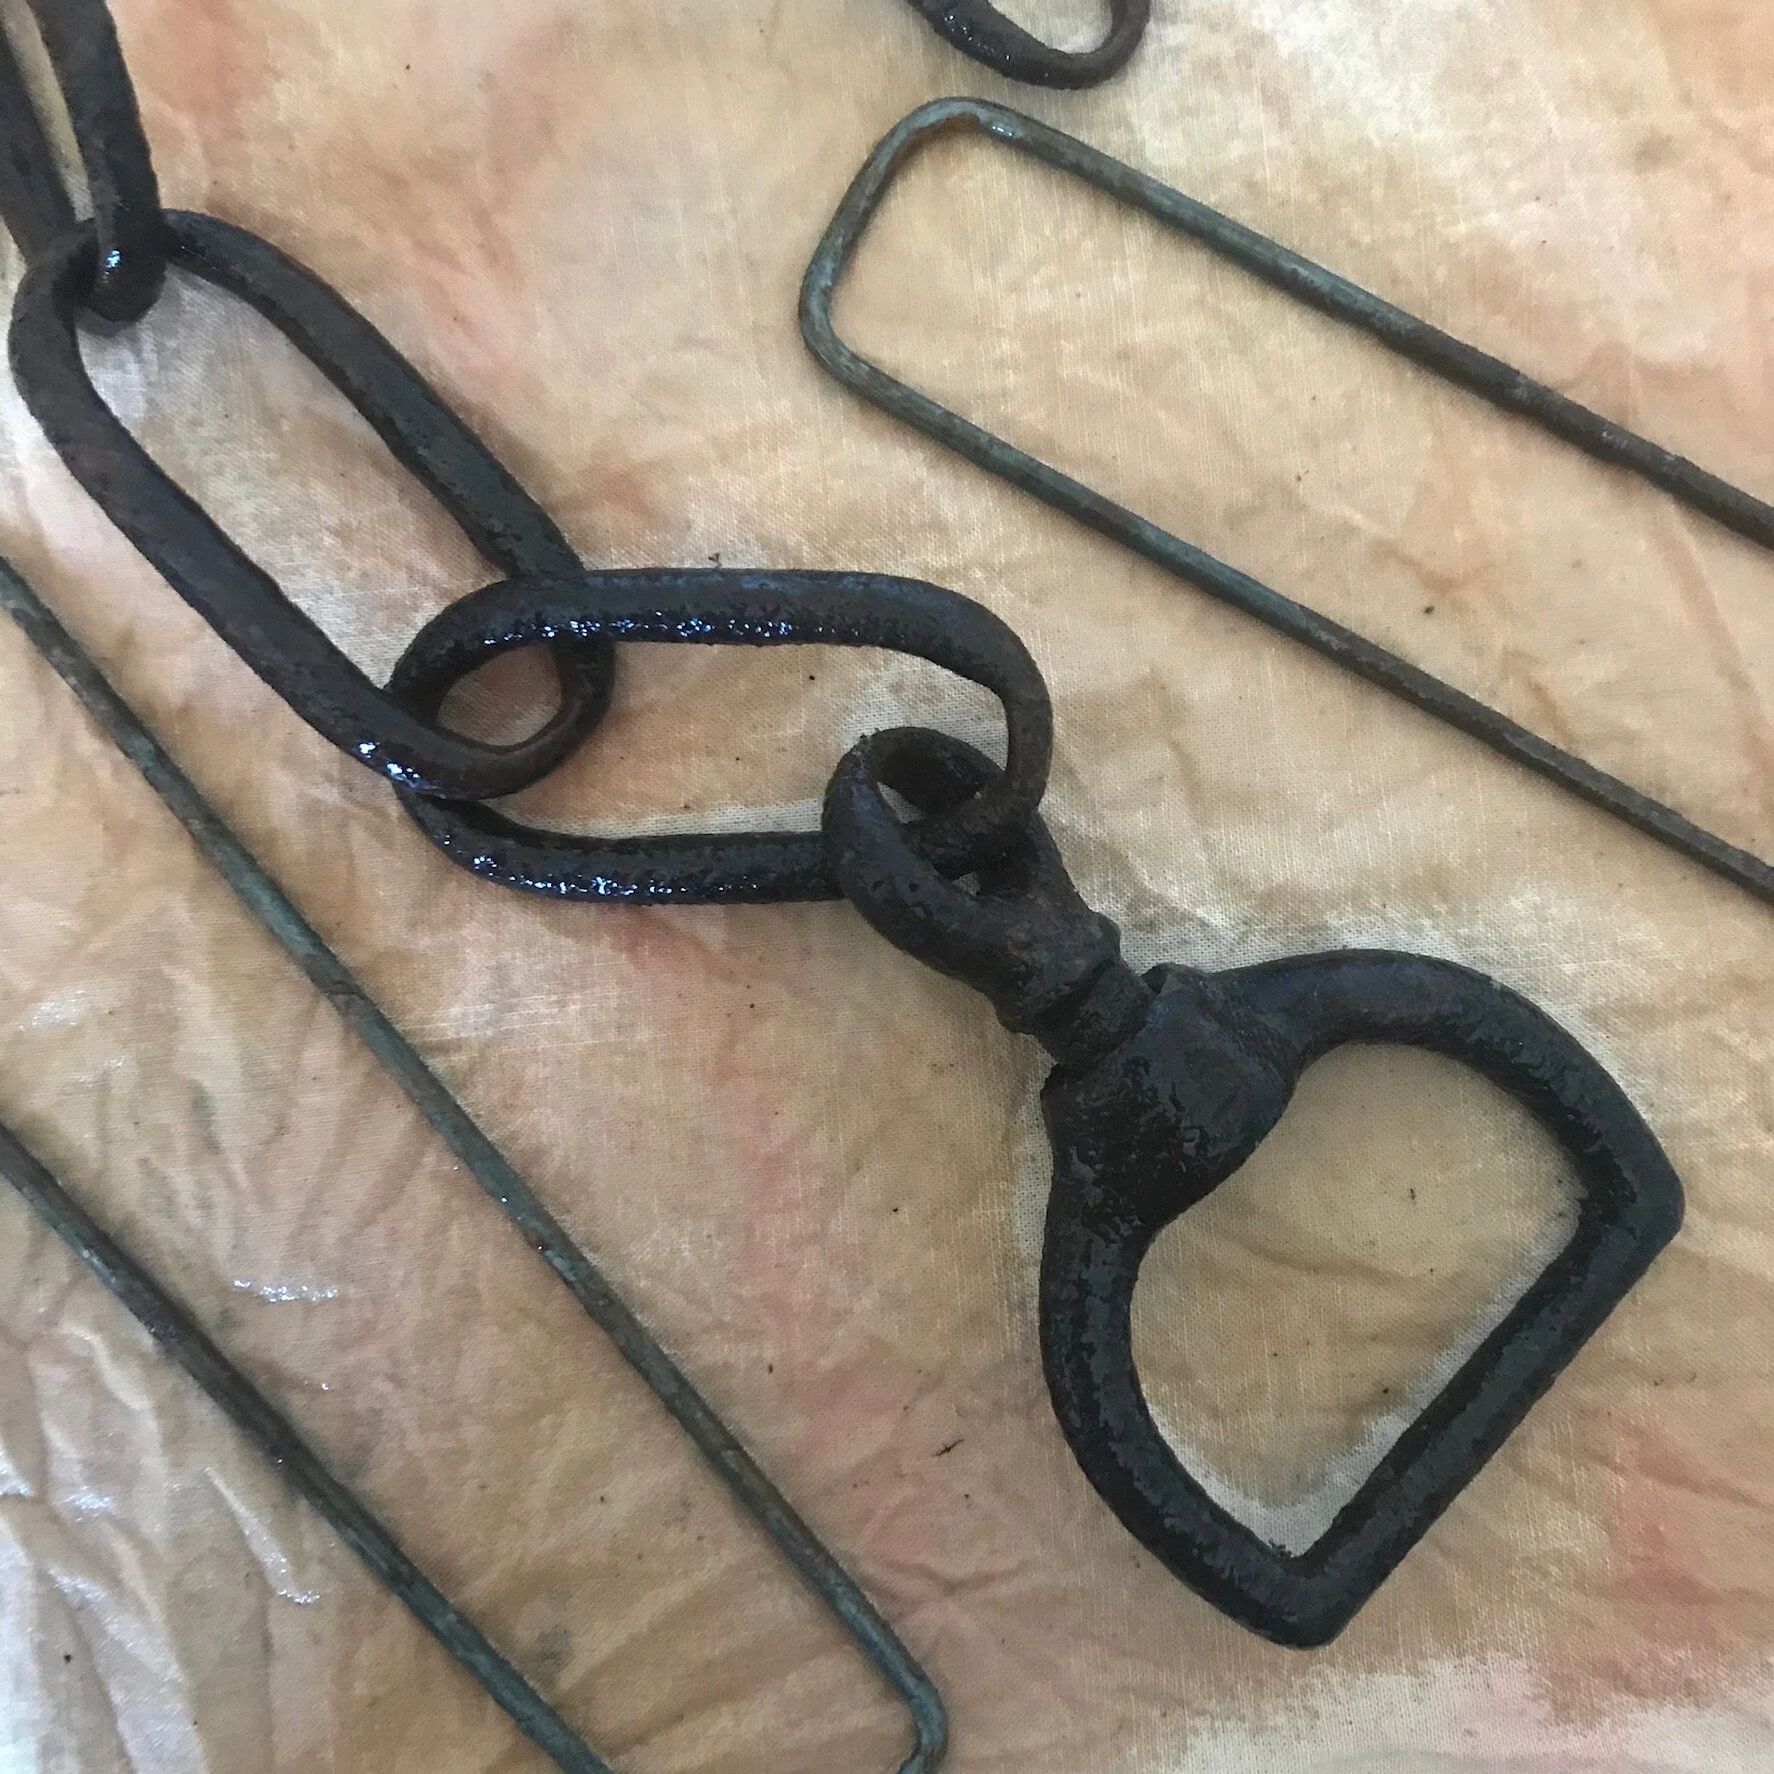
Get the fabric nice and damp.
You can already see the rust changing the color of the natural dyes.
Fabric is wrapped around the metal.
More rusty metal bits are added on top of the already bundled rust objects.
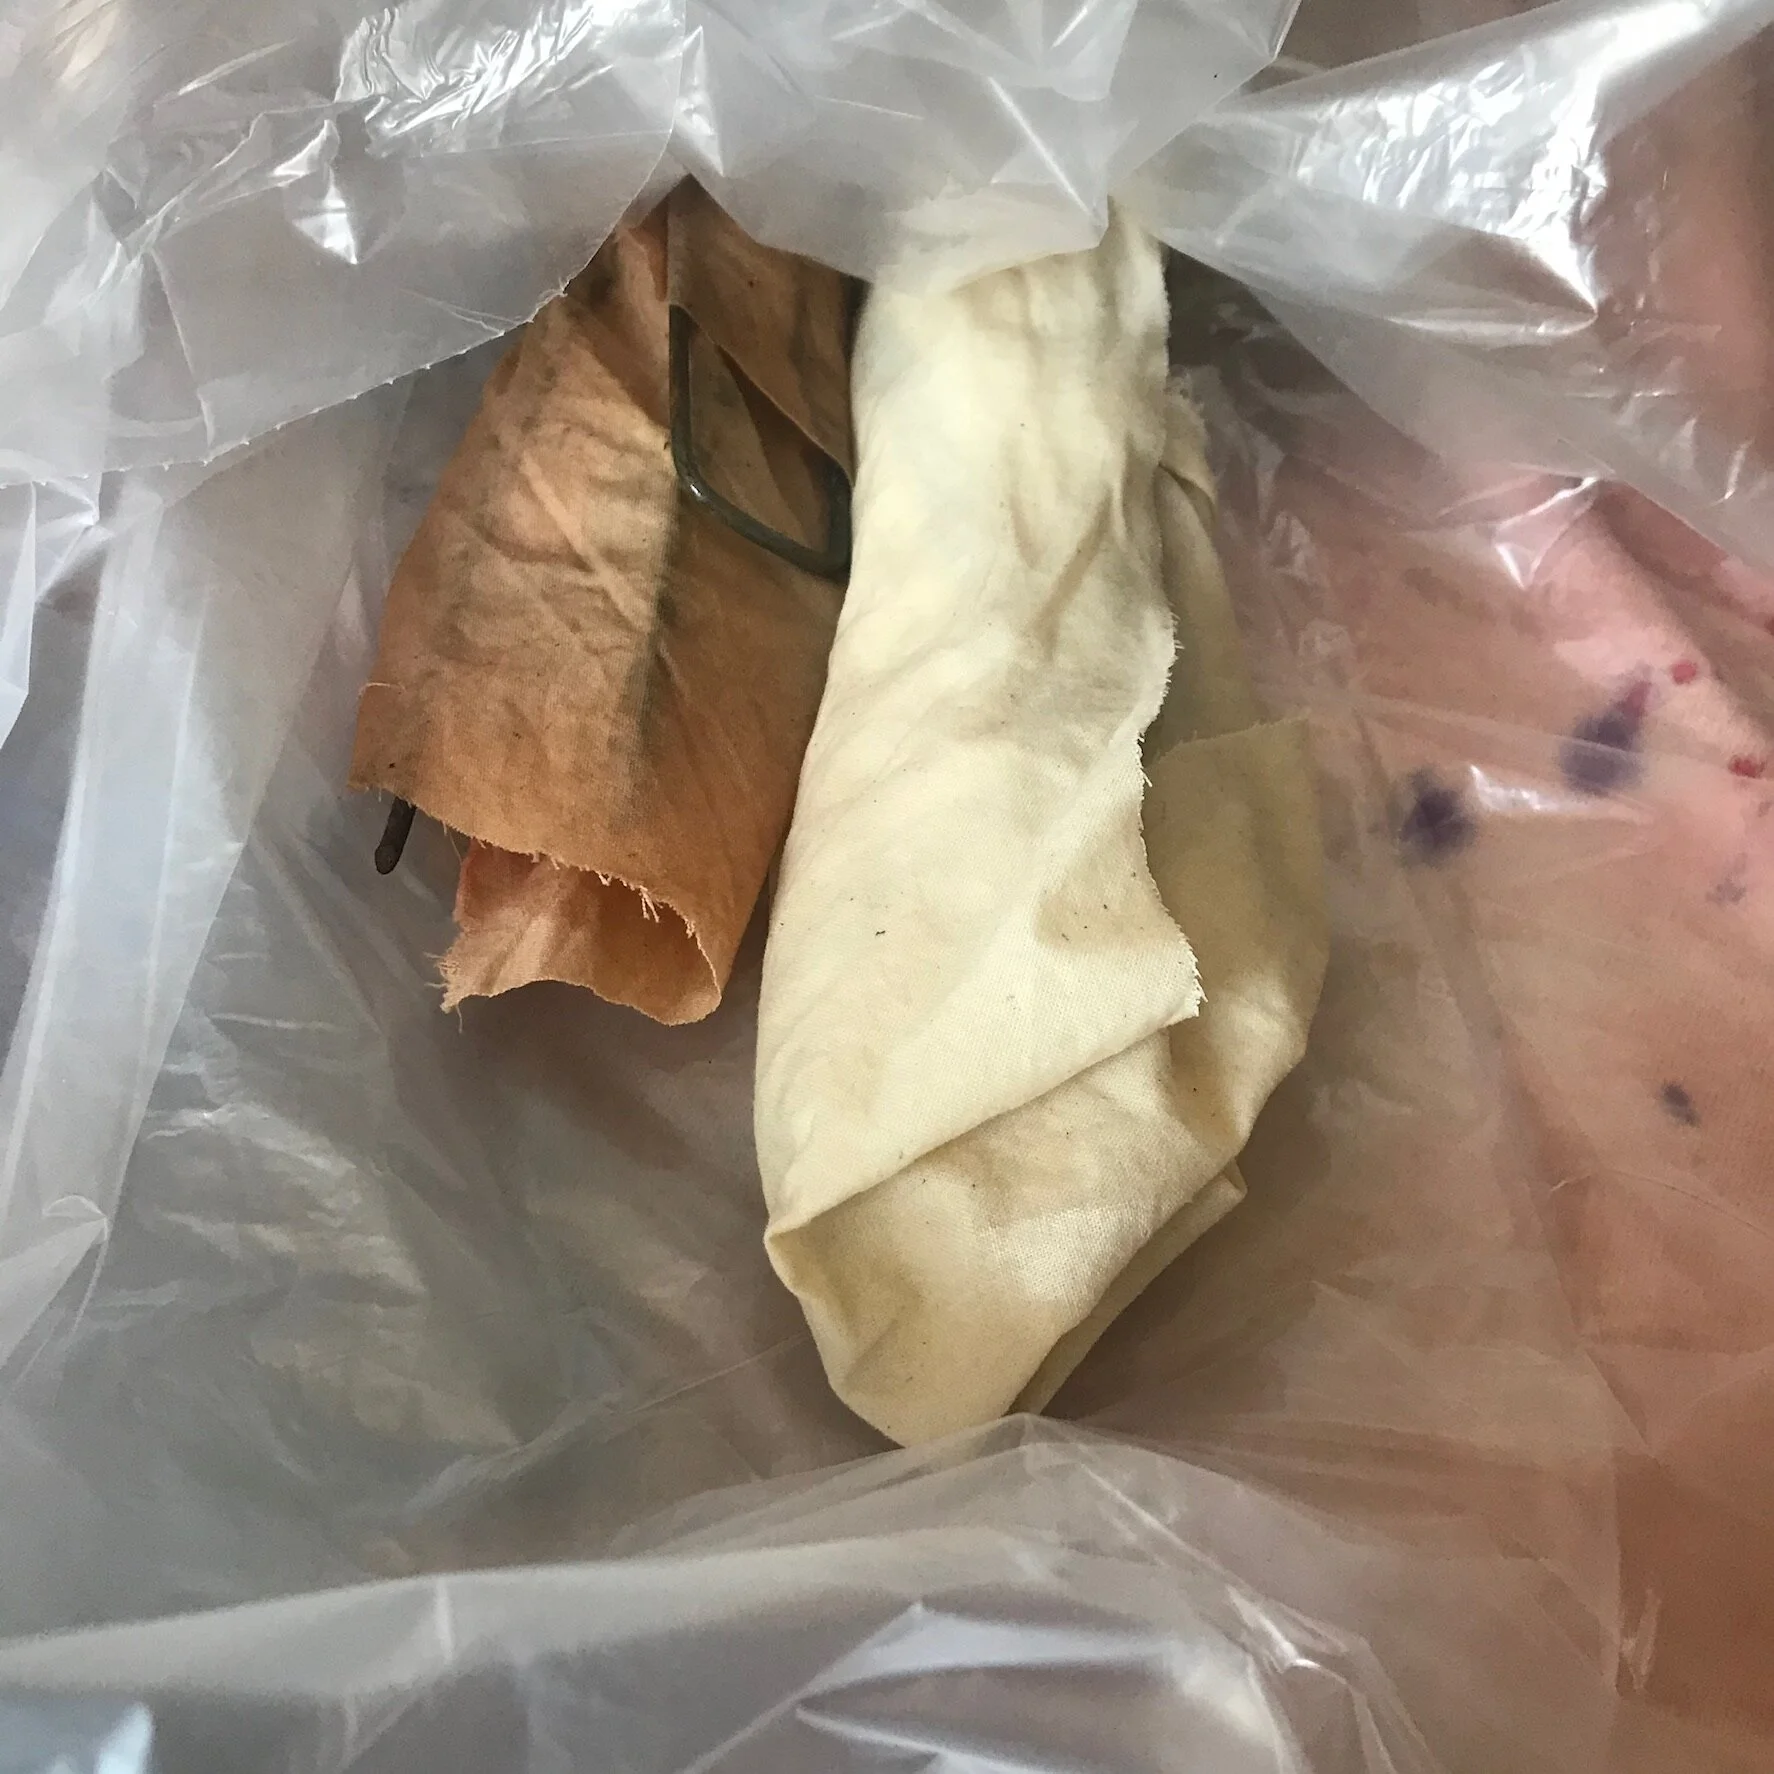
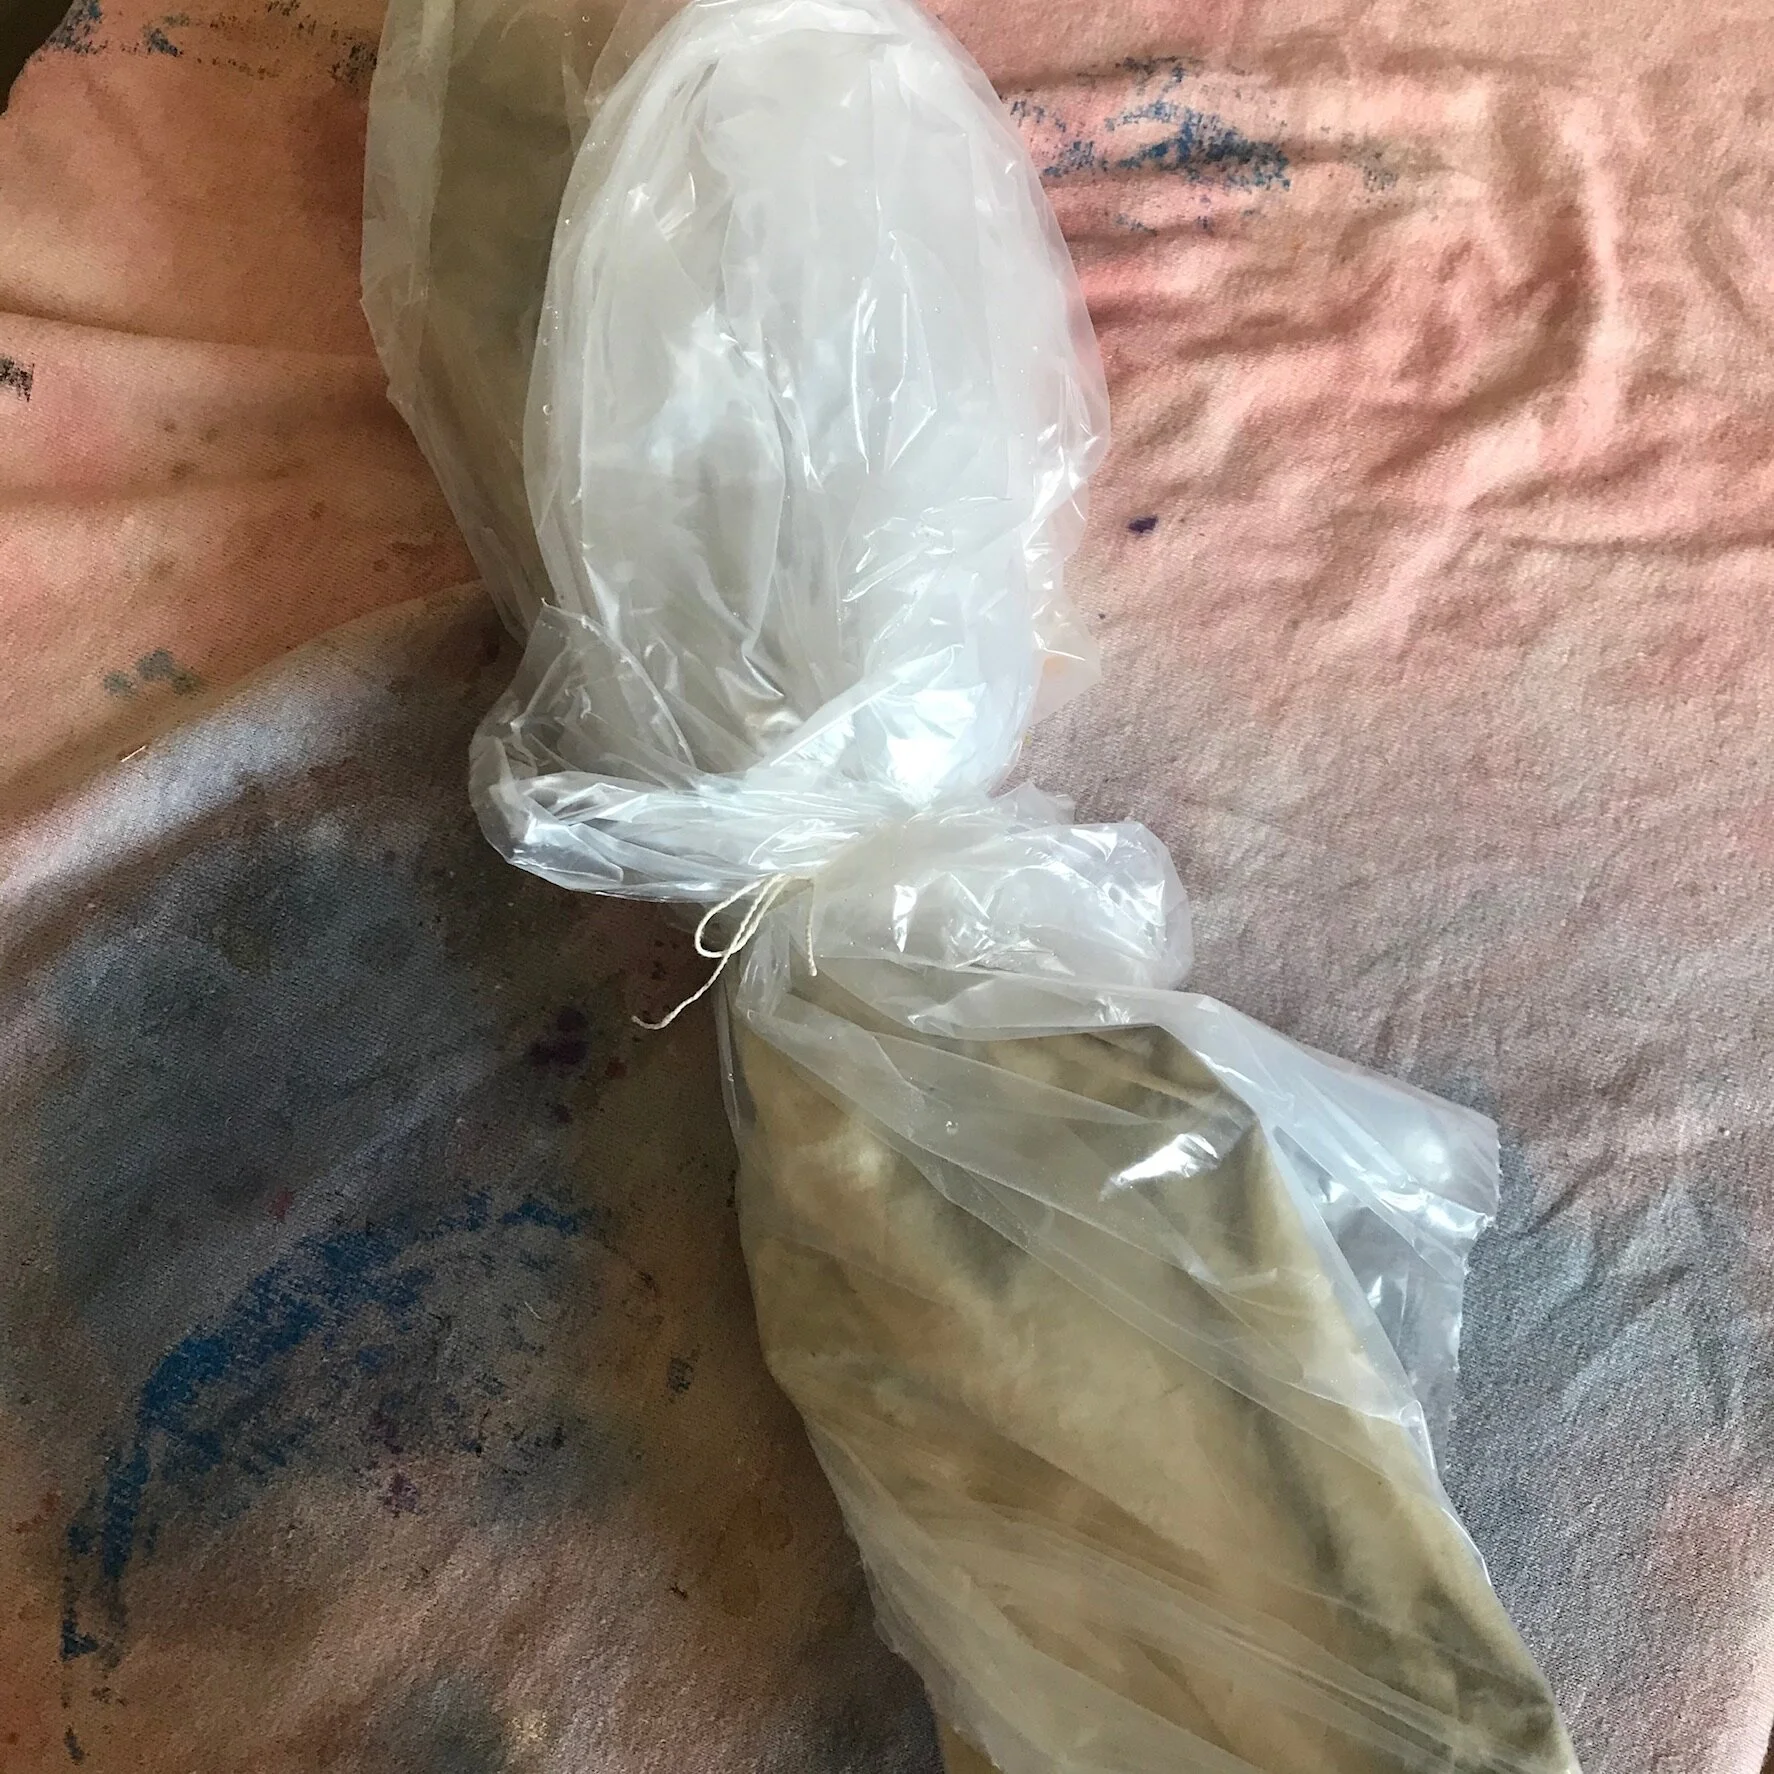
Place you fabric with rusty objects in a plastic bag or cover with a tarp and give one last vinegar water spray. Wrap the bag up, not so much that no air can get in, but so that the vinegar water doesn’t dry up.
Rust bundles placed in a plastic bag.
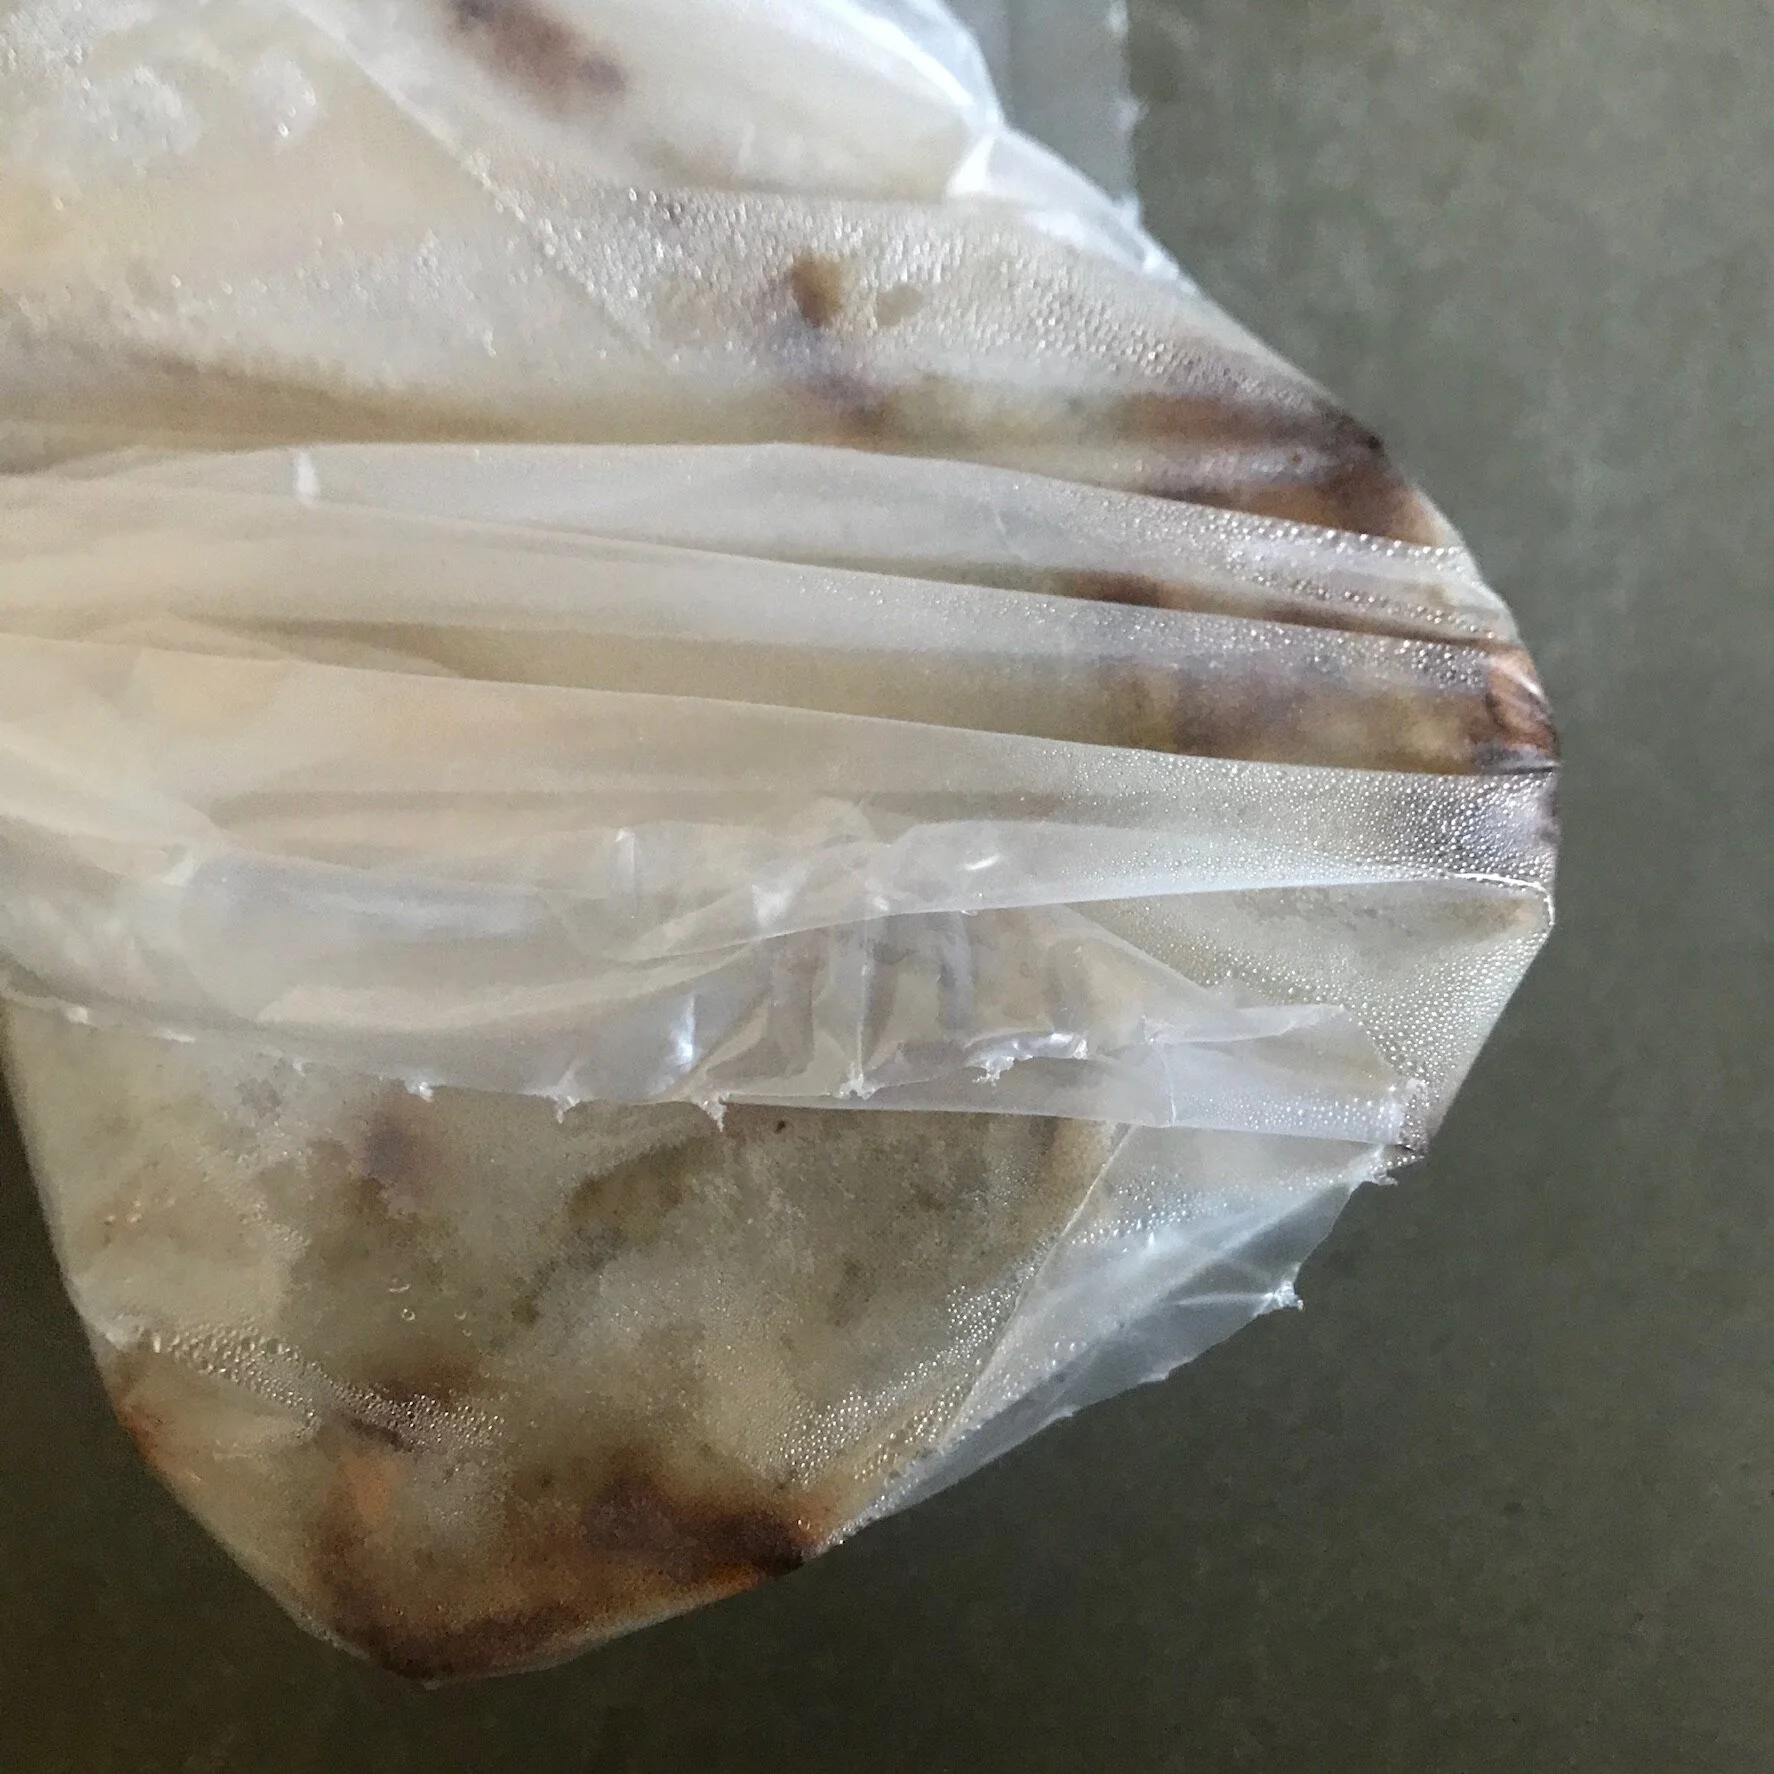
Keep the fabric covered for a least a day and up to three days. Because rust is a corrosive, if left for more than three days, the rust could eat though your fabric. You can also play with the strength of your vinegar solution. You can use a weaker solution and dye your fabric slowly. I would not recommend using more than 50% vinegar as it can destroy your fabric.
Bundled, bagged, and ready to rest for 1-3 days.
If you are covering your fabric out side under a tarp, check on it to make sure the fabric is still damp after a day. You can always spray more vinegar water on the fabric.
This has been sitting for two days. Time to open it up.
If you are using an unmovable object, such as a fence, soak your fabric in vinegar and water and wrap your fabric around the object. Using a tarp or large garbage bag, cover the object the best you can using ties if necessary, and check on it to make sure the fabric is still damp after a day.
Rust bundles after taking them out of the bag after two days.
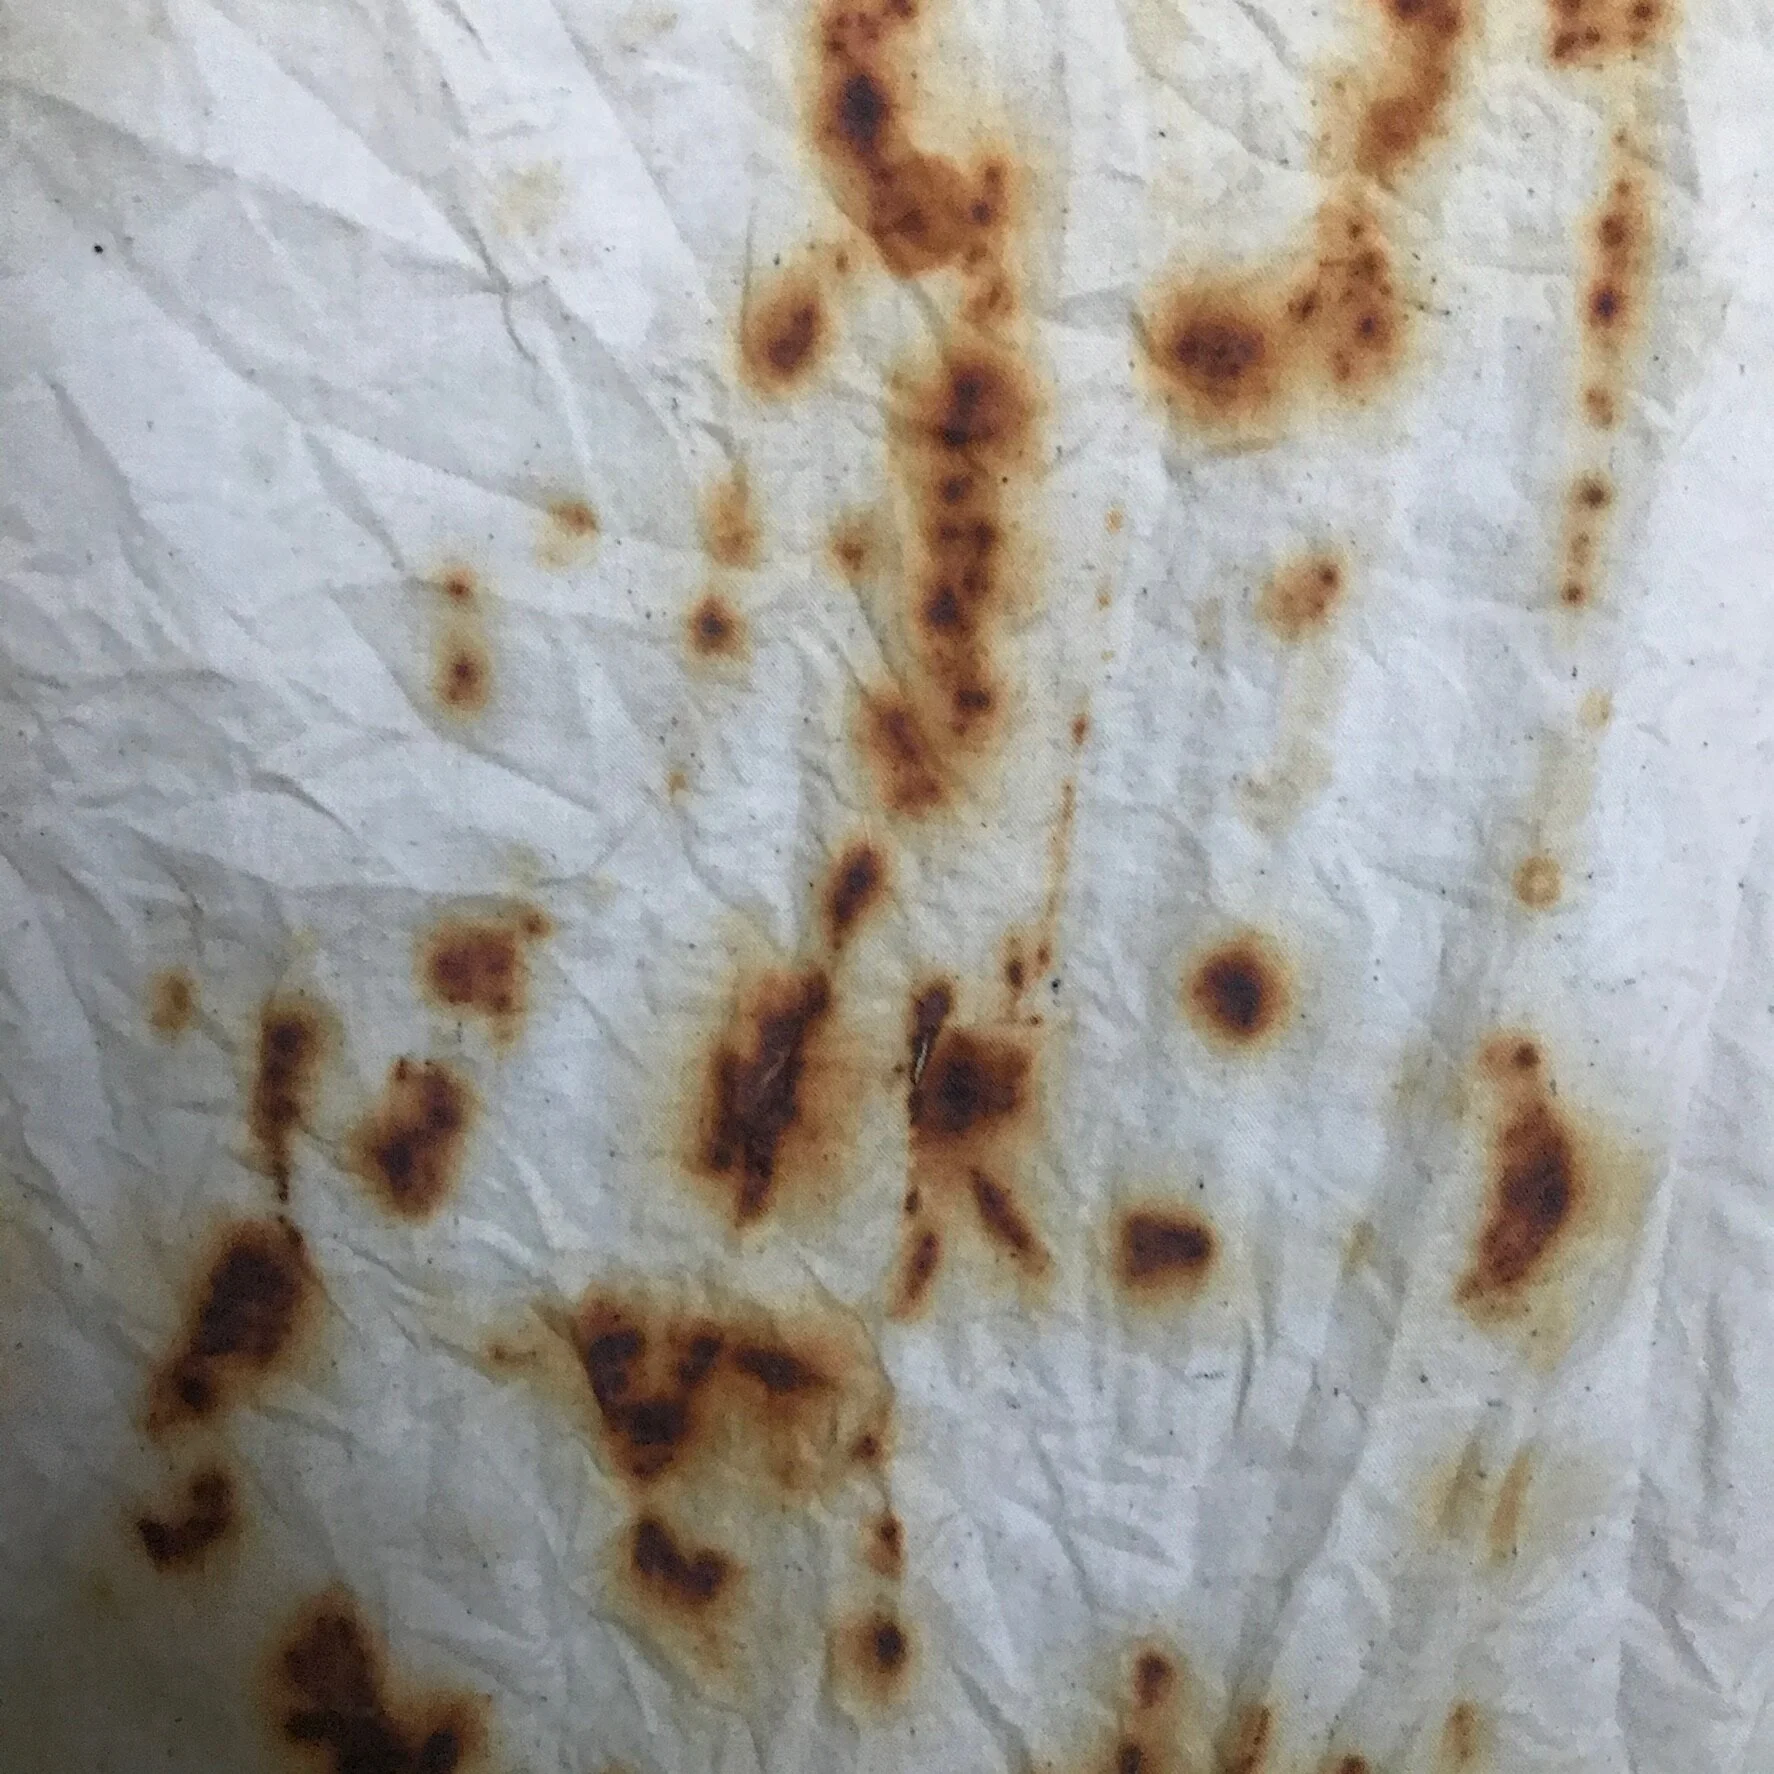
Rust on undyed cotton.
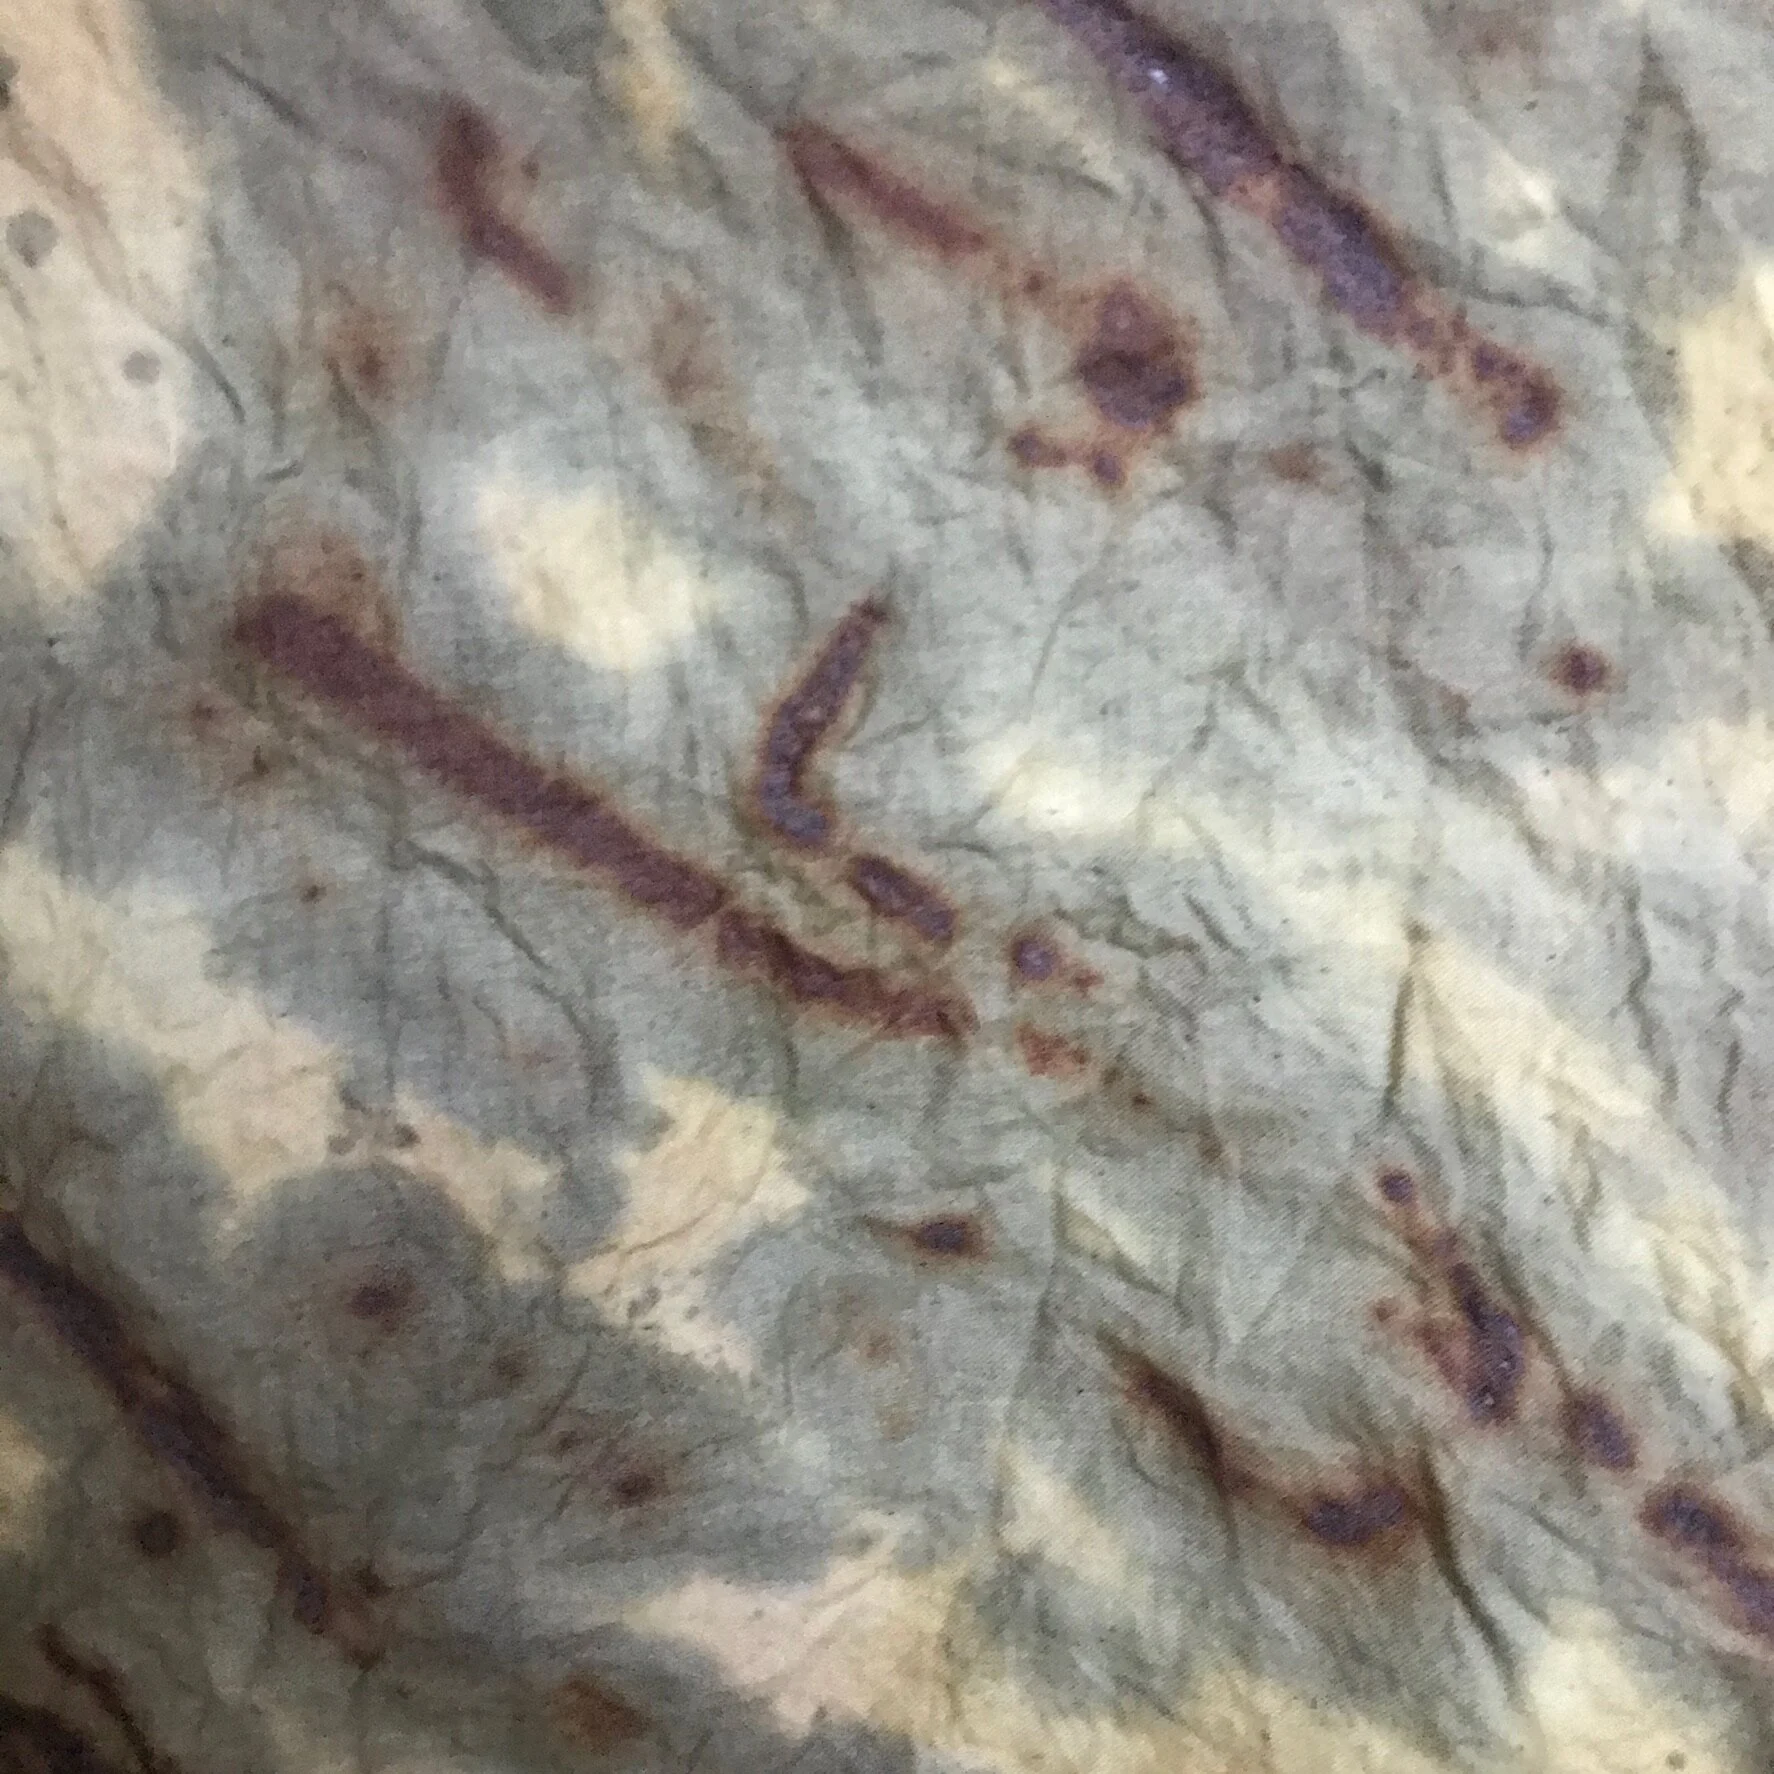
Rust on naturally dyed cotton.
In a few days, check on your fabric. Know that you can always un-wrap and re-wrap your fabric for a more varied design. When you are happy with your results, mix up a a few spoonfuls of baking soda in a bucket of water and rinse your rust fabric. The baking soda neutralizes the acid from the vinegar and will stop the rust from rusting more.
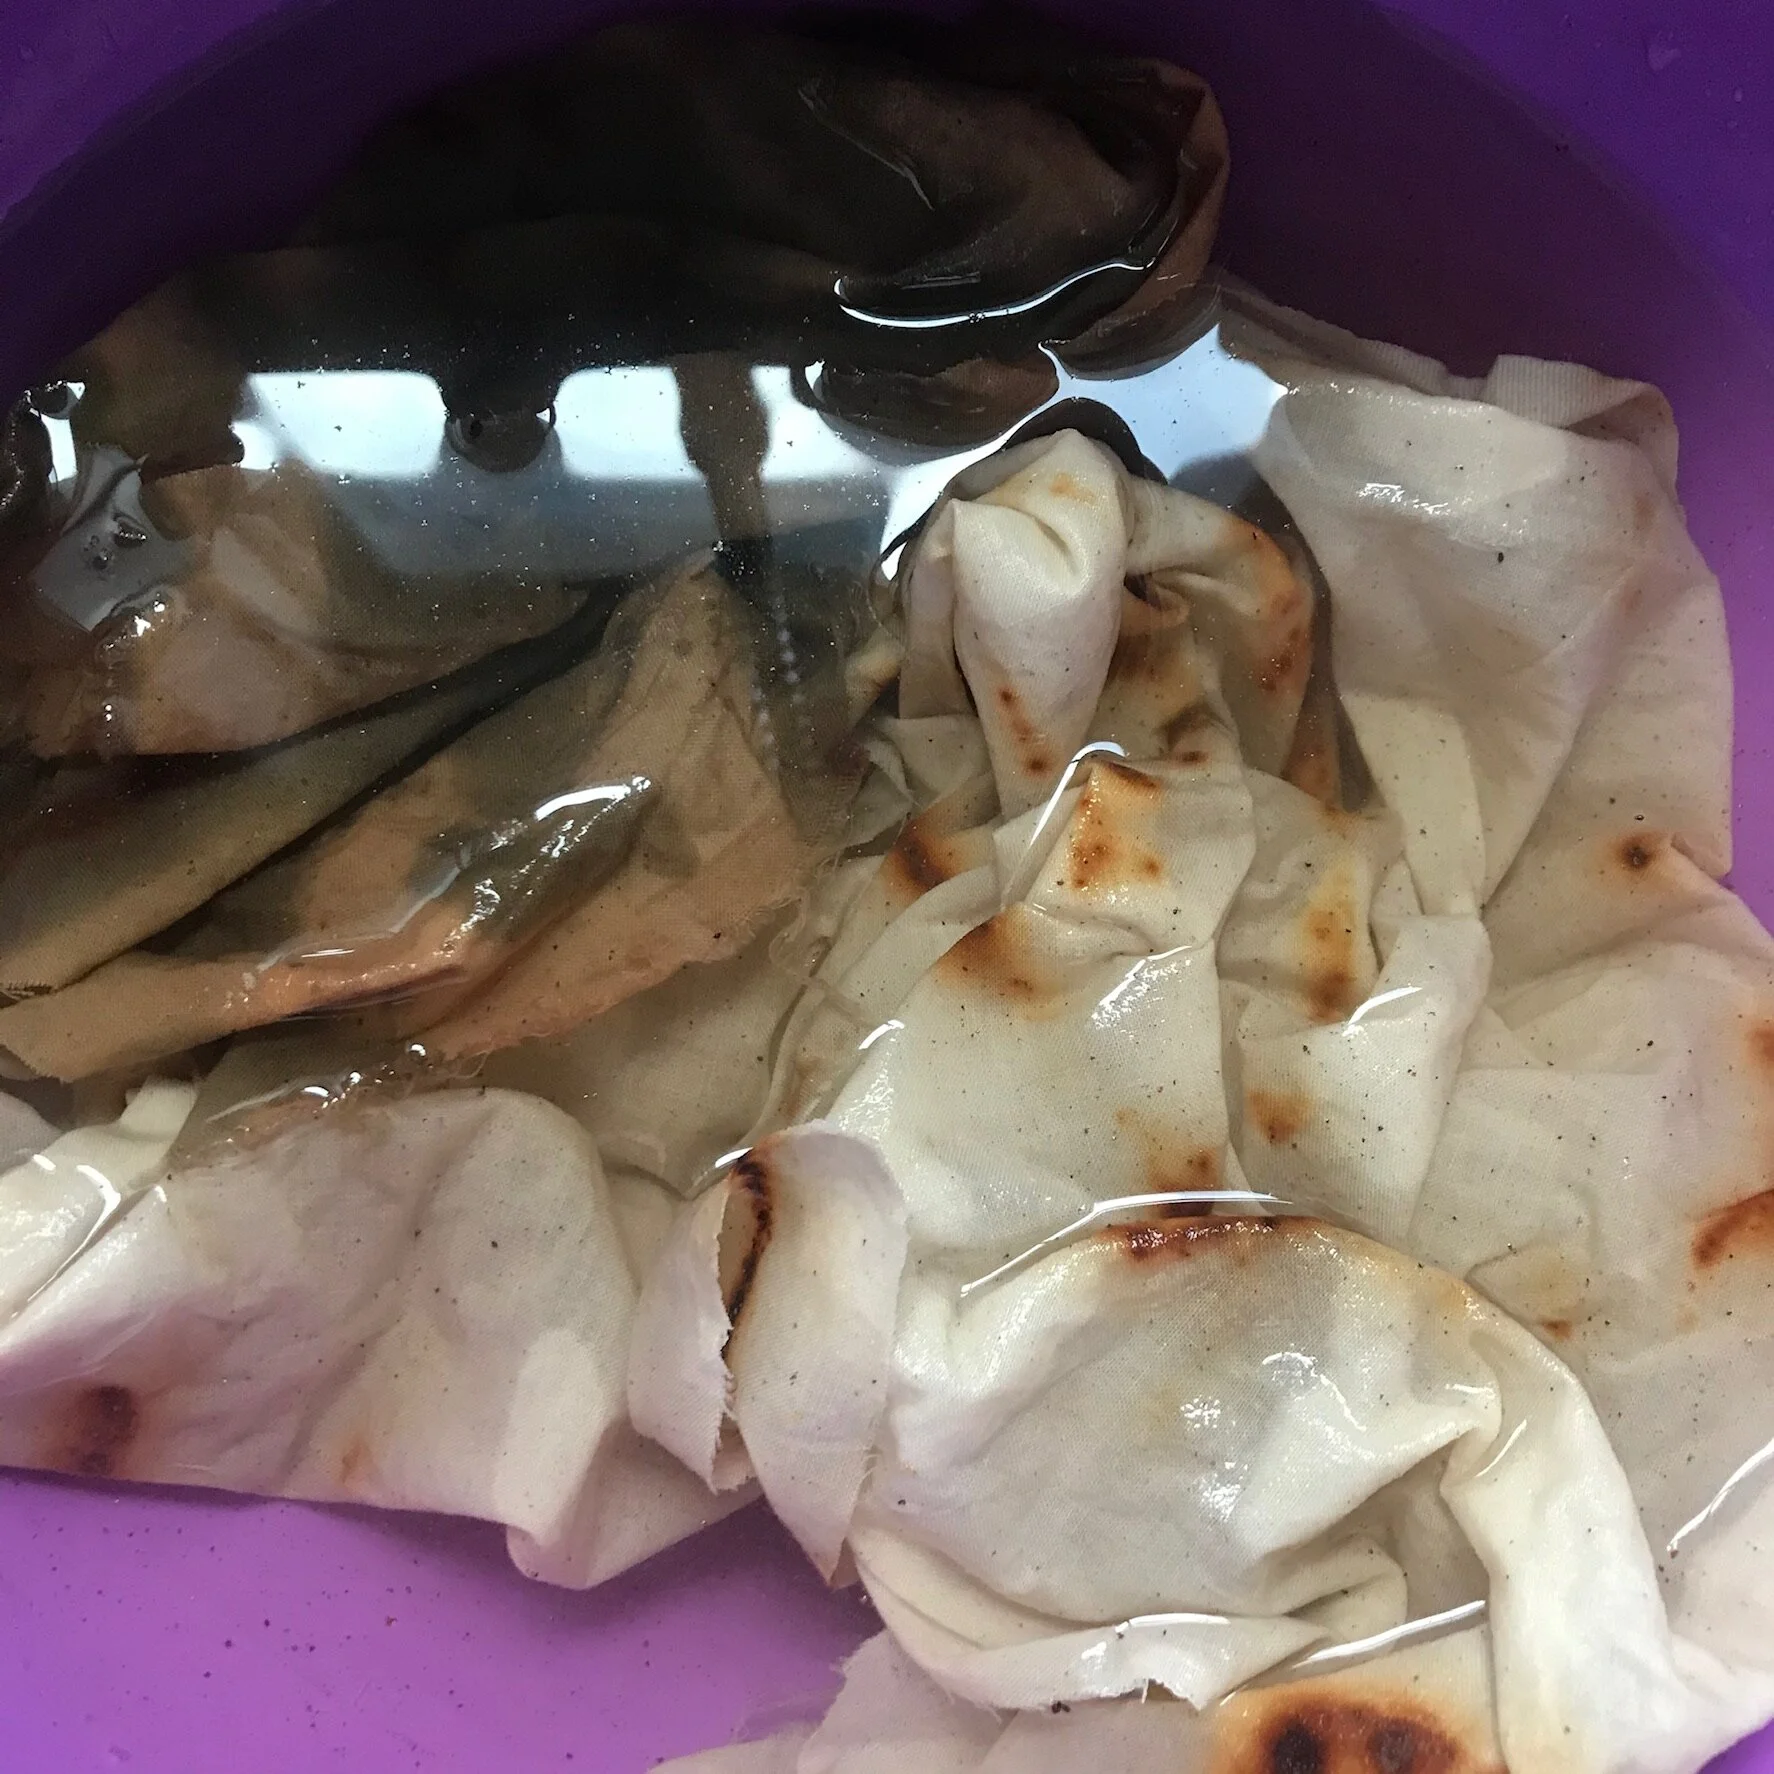
Rust dyed fabric soaking in a baking soda and water solution. Wear gloves if your hands are sensitive to chemicals.
Hang dry and press with an iron to seal in the color.
Rinsed and hanging to dry.
Rust is a very stable dye, meaning it will wash well and stand up to sunlight without fading.
If you liked this tutorial, let us know in the comments below. Check out our other tutorials HERE. Sign up for our very once in a while newsletter to keep up with us. Happy dyeing!

