Dyeing Paper and Making Ink
Paper dyeing with Natural Dyes
Paper dyeing is not unlike dyeing textiles. Paper is, similar in its makeup to cellulose fibers, which are textiles made from plants like cotton and linen. Paper is made from trees, a plant.
Through a bit of experimentation, water color paper, or heavier cotton papers work best for dyeing. Since the papers will be soaked in water, even briefly, they need to stand up to the soaking without turning to mush. These kinds of papers also soak up the dye much better than a regular copy paper or card stock.
Now that you have some watercolor paper, you’ll need a few more things. Concentrated natural dyes, a shallow dish, and a place to dry your paper. This can be a clothes line and pins to hang dry the paper, or old rags to lay your paper down to dry on. Other items that you can use, but are not necessary are modifiers for your dye. See my last tutorial, pH modifiers HERE to get more information.
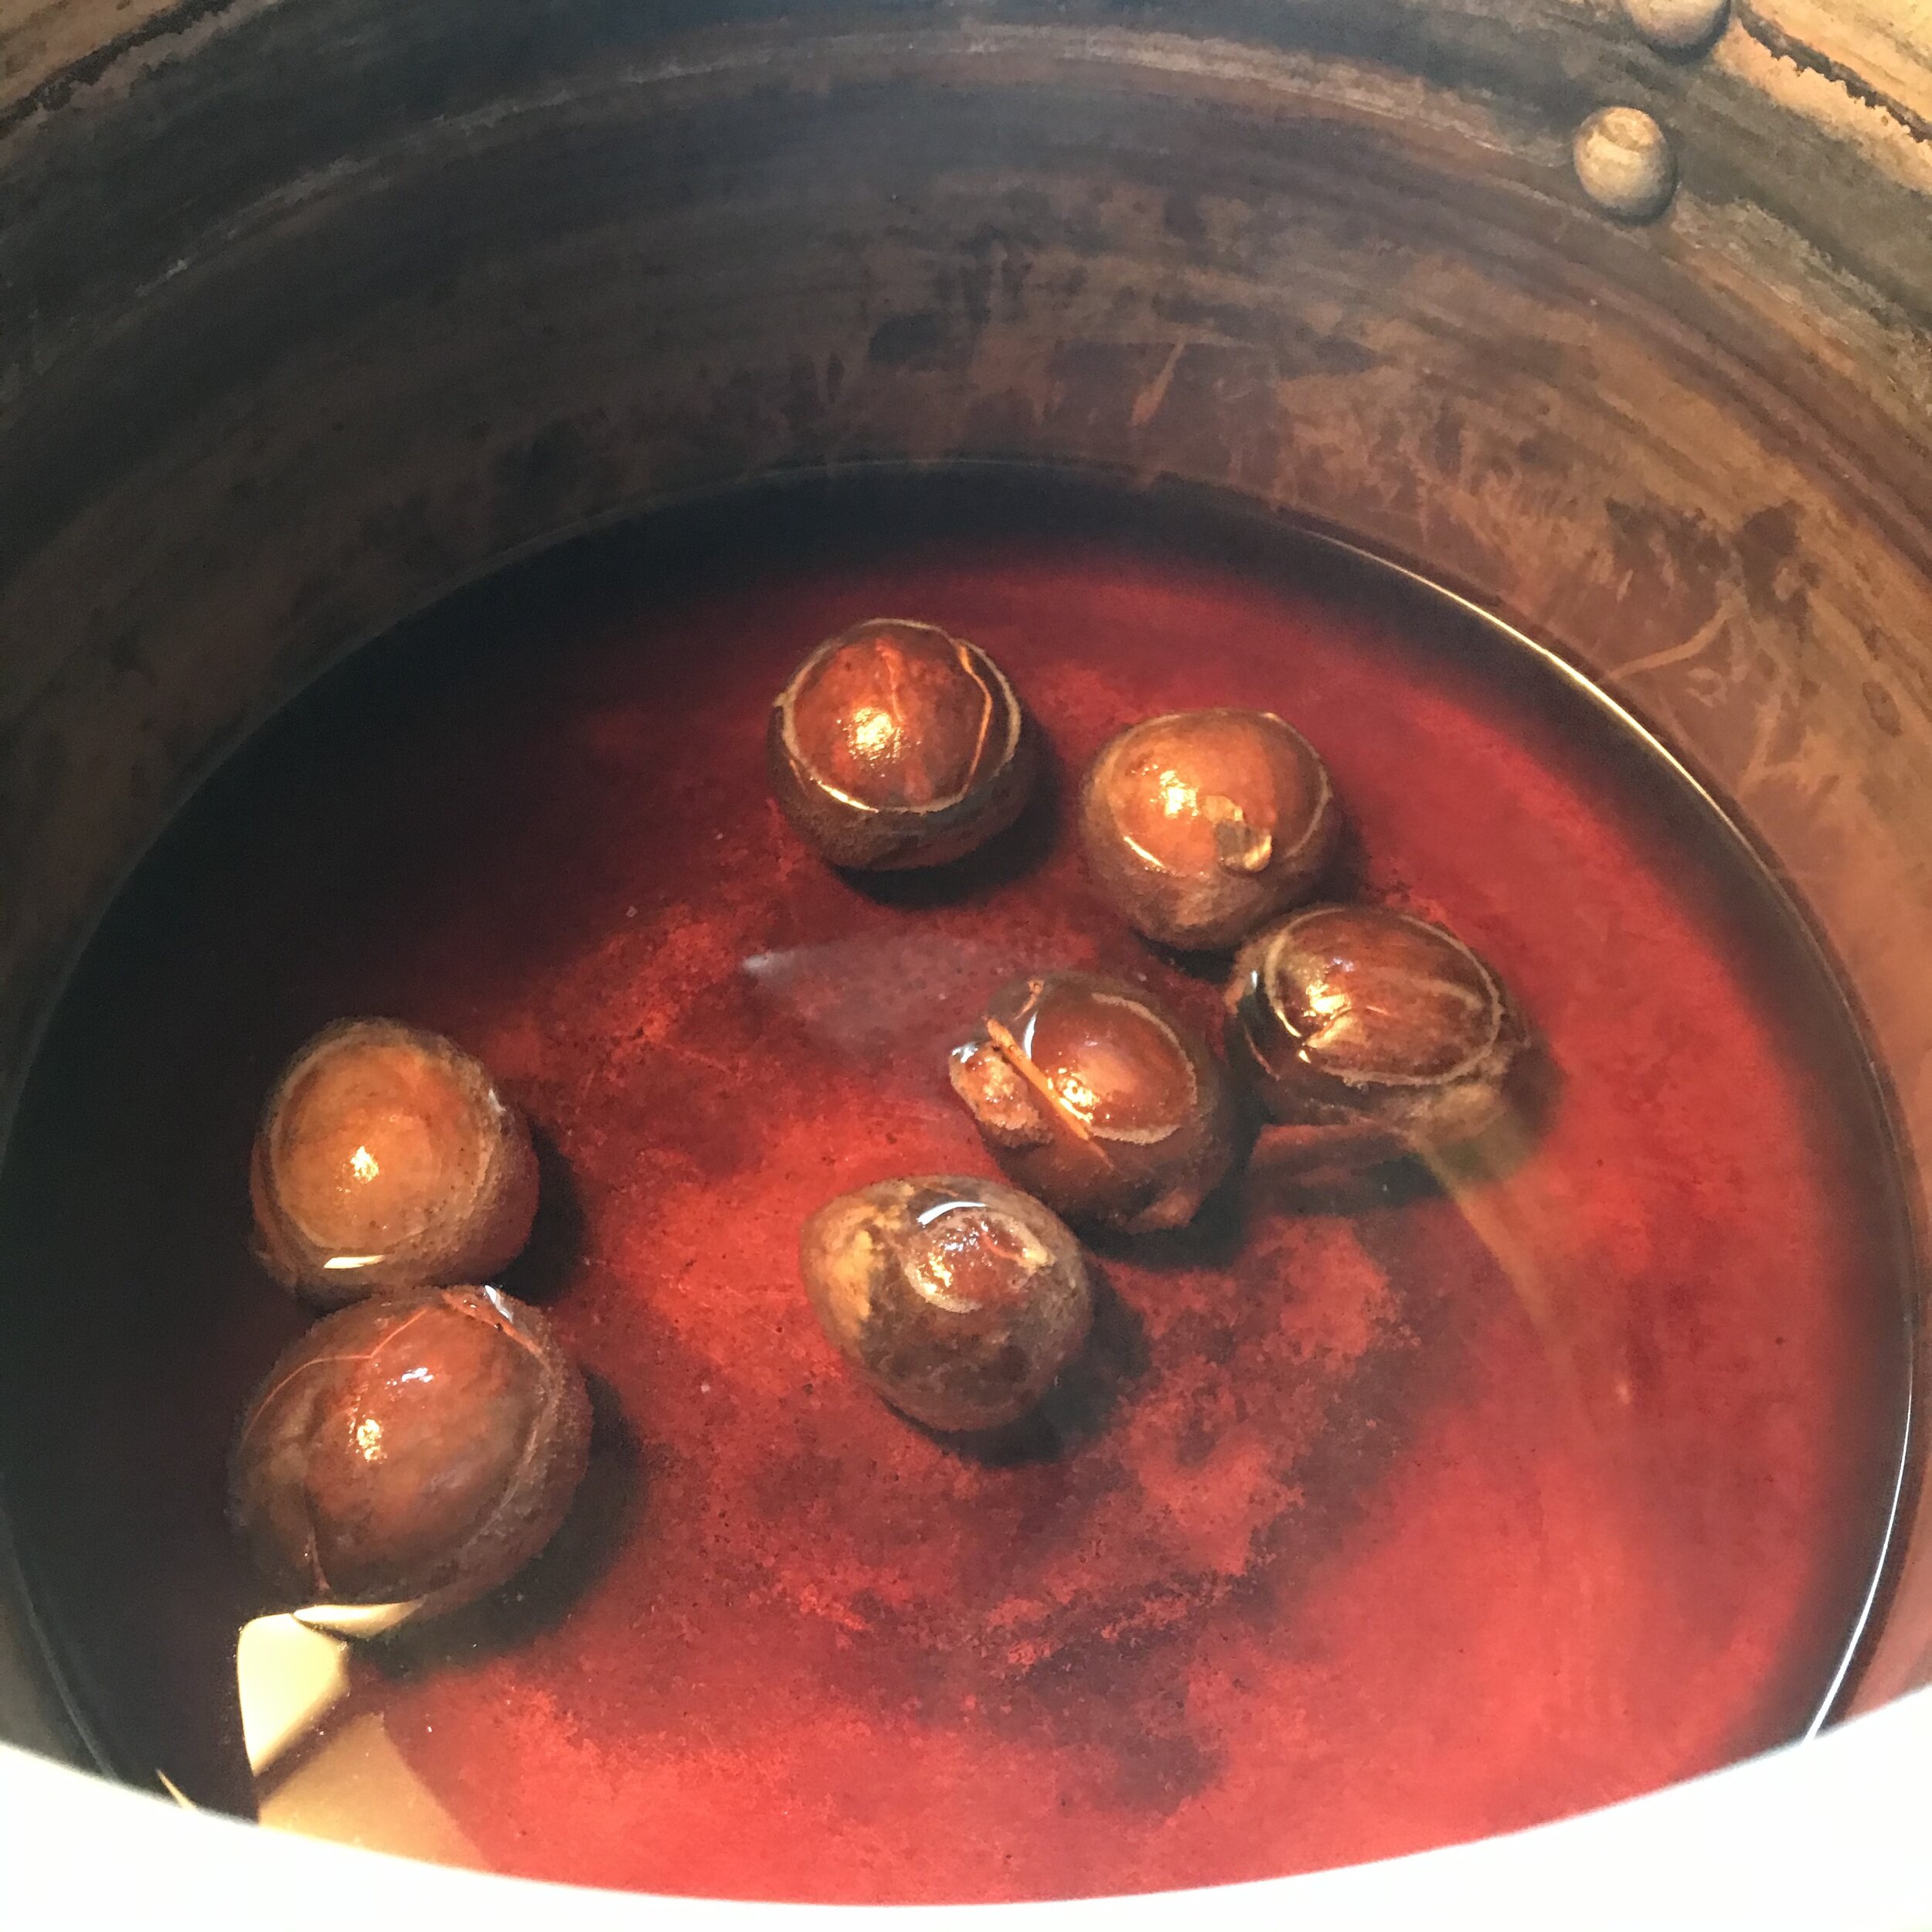
Simmering avocado pits to make a concentrated dye bath.
To make a concentrated dye is just like making dye for textiles. I’ll be making an avocado dye and a turmeric dye for this tutorial. You can see the avocado dye tutorial HERE and the turmeric dye tutorial can be found in the kitchen dyes tutorial HERE.
To make a concentrated version of the dye you have already made, either simmer off most of the water (keep and eye on this while it cooks down so you don’t burn the pot) or add more dye material to an existing pot and simmer to extract the color outlined int the previous tutorials.
Concentrated avocado dye.
If you are making a dye bath from scratch, use quite of bit of dye material and less water. I have used seven avocado pits and about three or four cups of water. While the pits simmer, I am constantly keeping an eye on the dye, making sure my water level doesn’t get too low and adding water if it does. For this tutorial, I will have simmered and cooled my avocado dye four times over 24 hours (approximately).
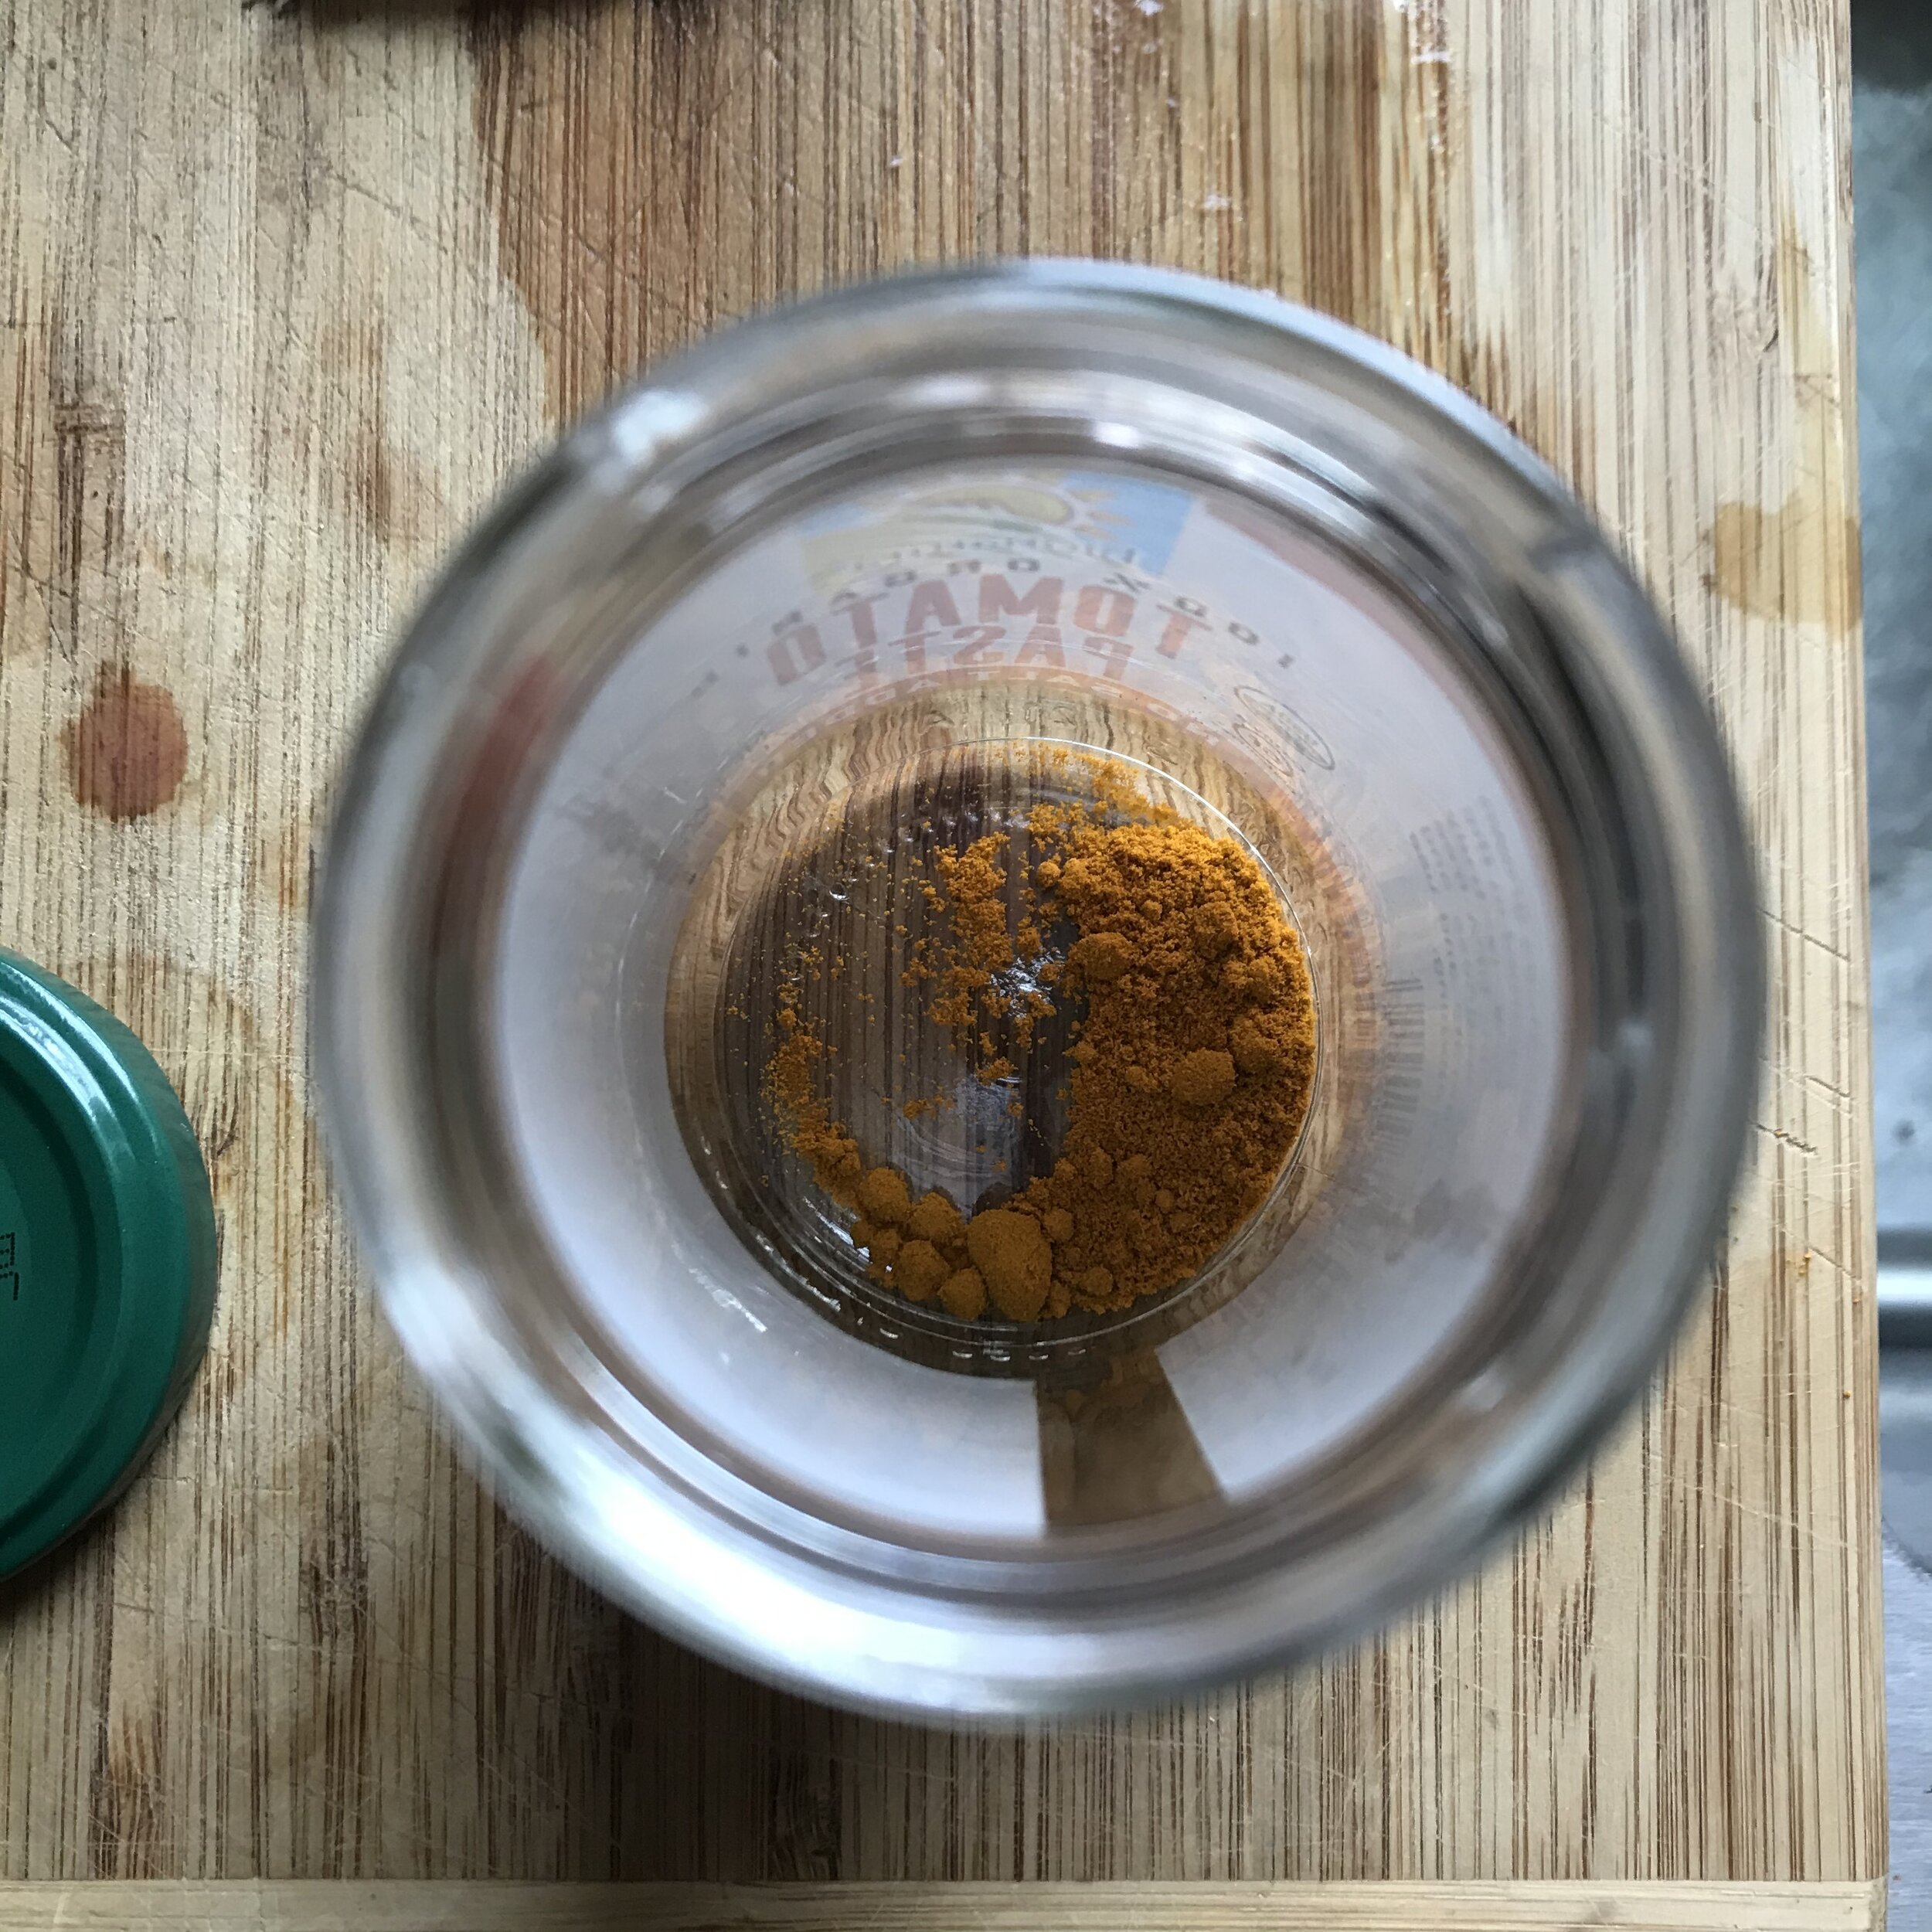
Turmeric powder in a small jar. Just adding a little hot water and giving a good stir will be enough to dye paper.
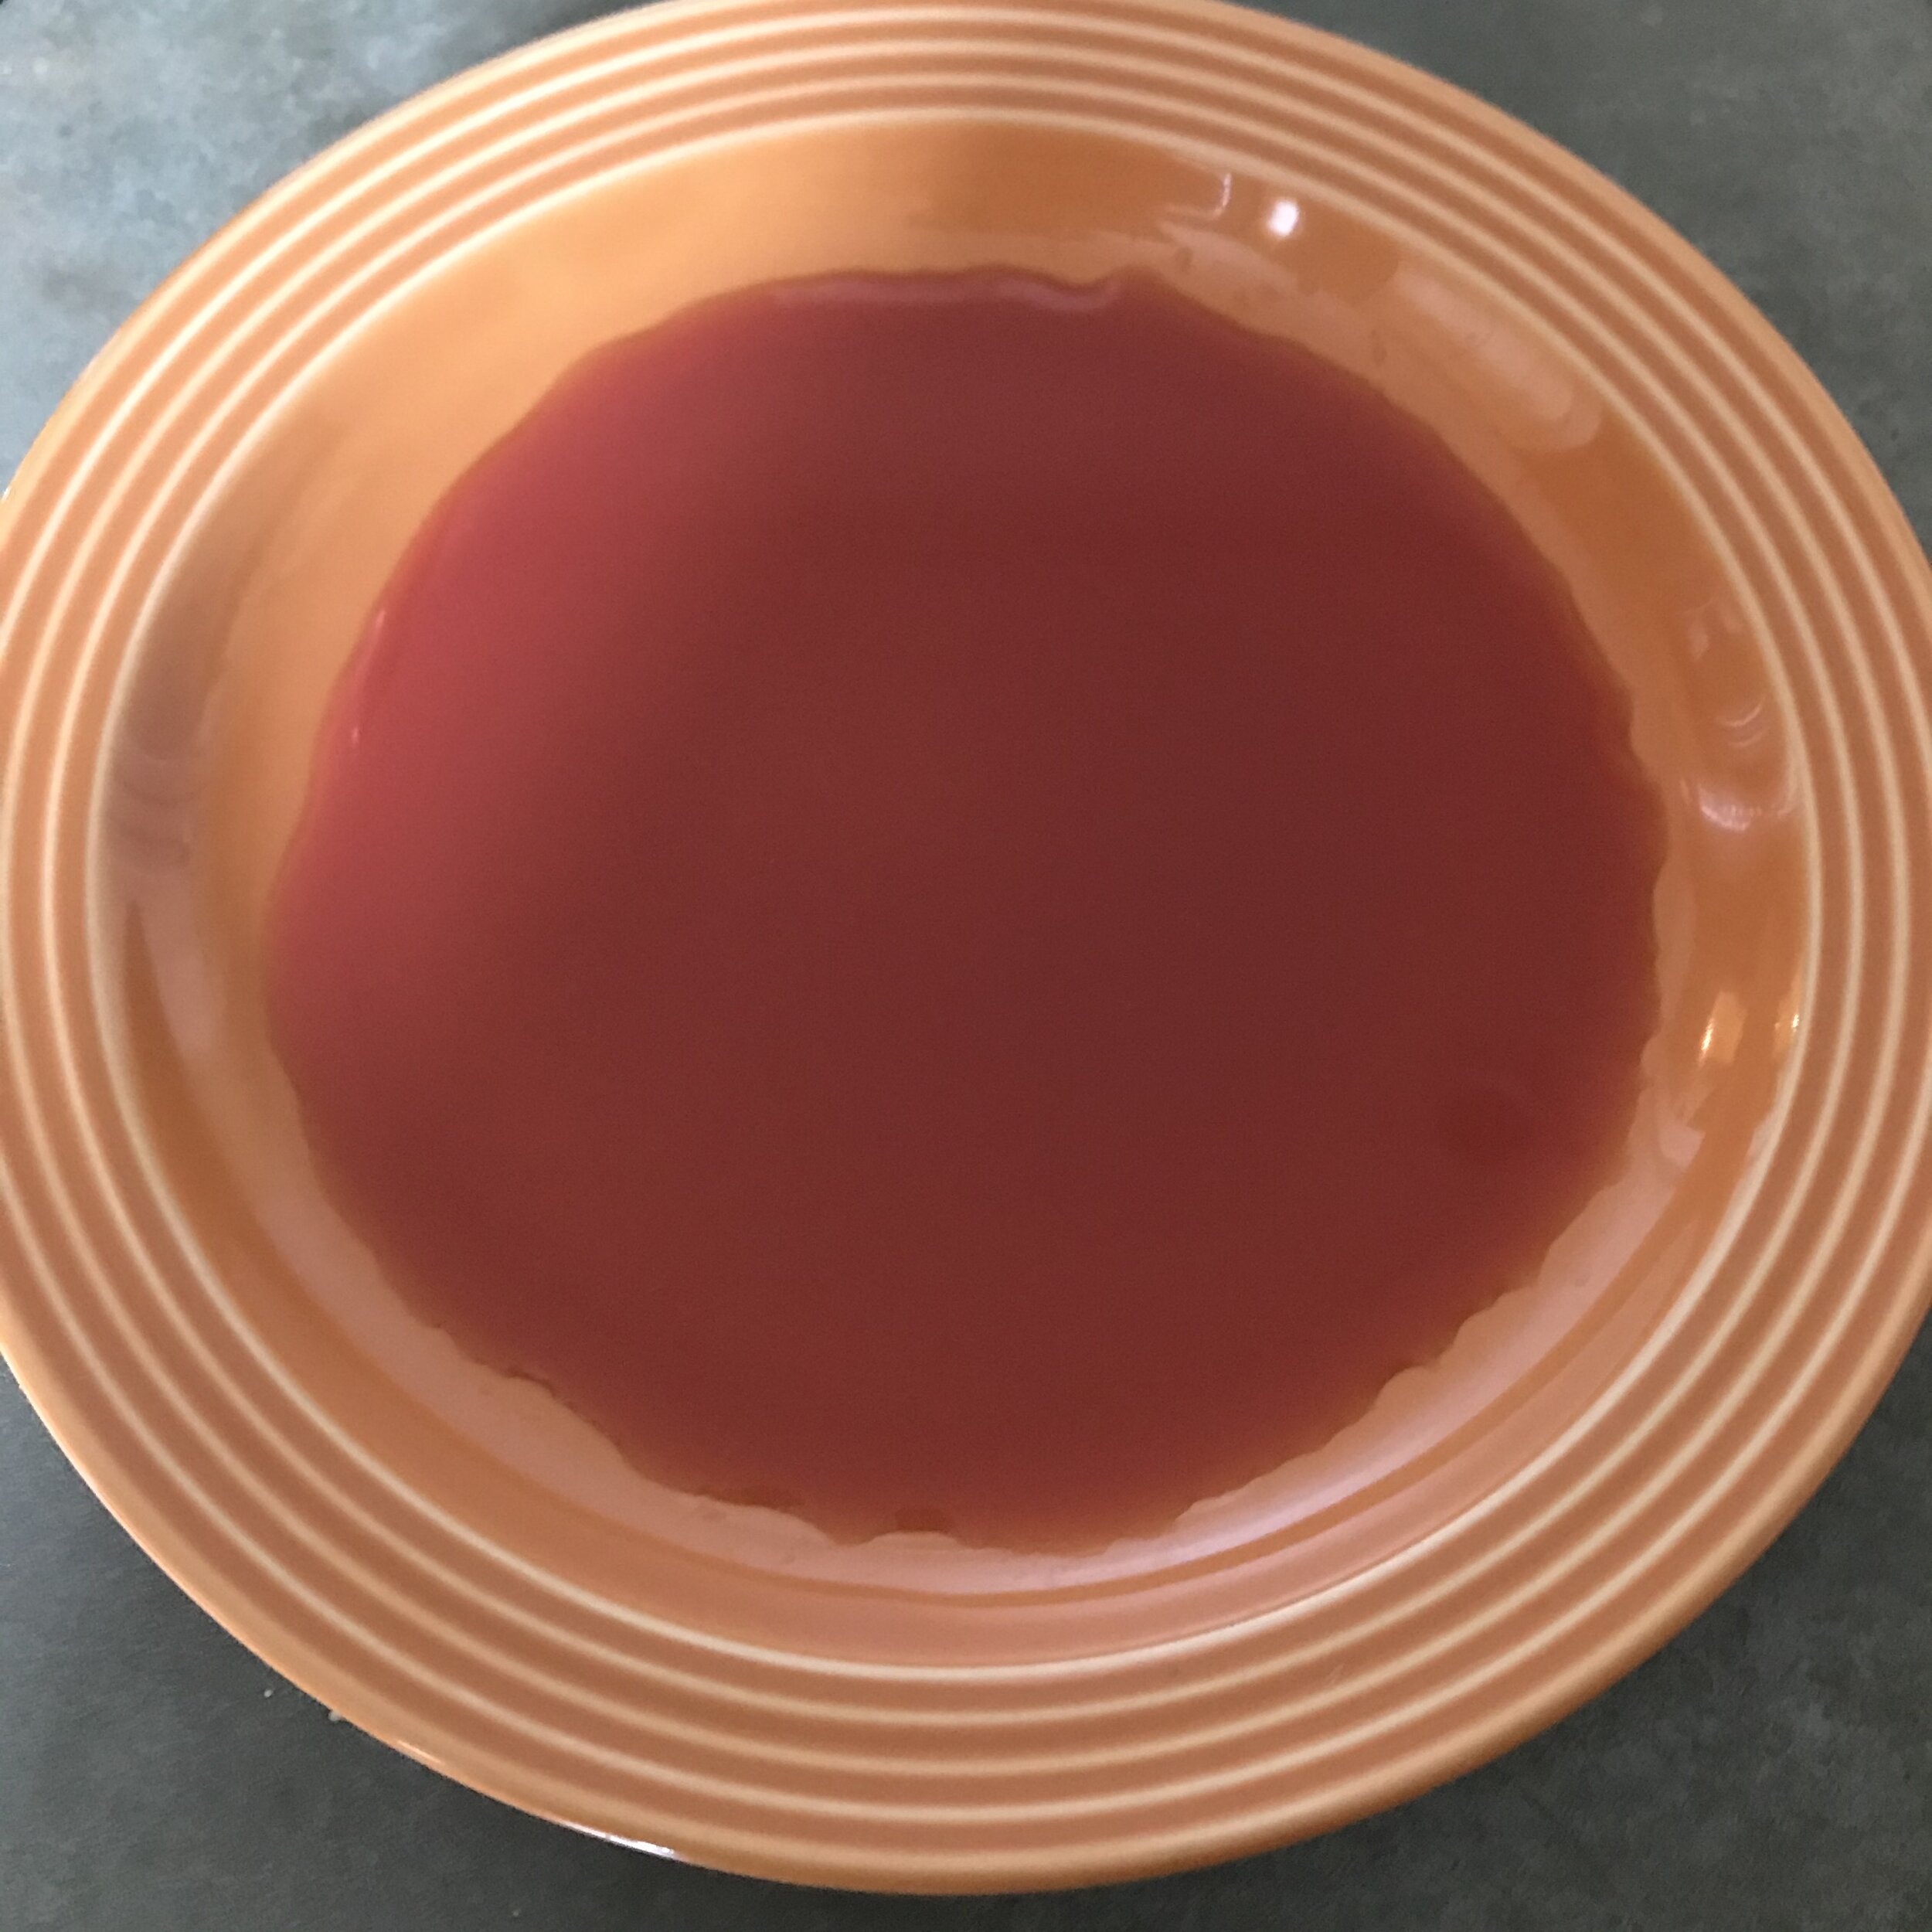
Avocado dye in a shallow dish.
When you are ready to dye your paper, there are a few methods. Let the dye be hot, but not too hot to burn you, think a really hot bath. The paper can be dipped into the dye bath for a dip dyed effect, or can be completely submerged. You can also carefully pour the dye into a shallow dish big enough to accommodate the size of your paper, and submerge the paper in the dye in the dish. Third, using a paint brush, you can paint the dye directly onto the paper.
Submerging the watercolor paper in the dye bath.
Avocado dyed paper, ready to be hung dry.
Leave the paper in the dye for no more than a few minutes. If a deeper color is wanted, allow your paper to dry and dip again.
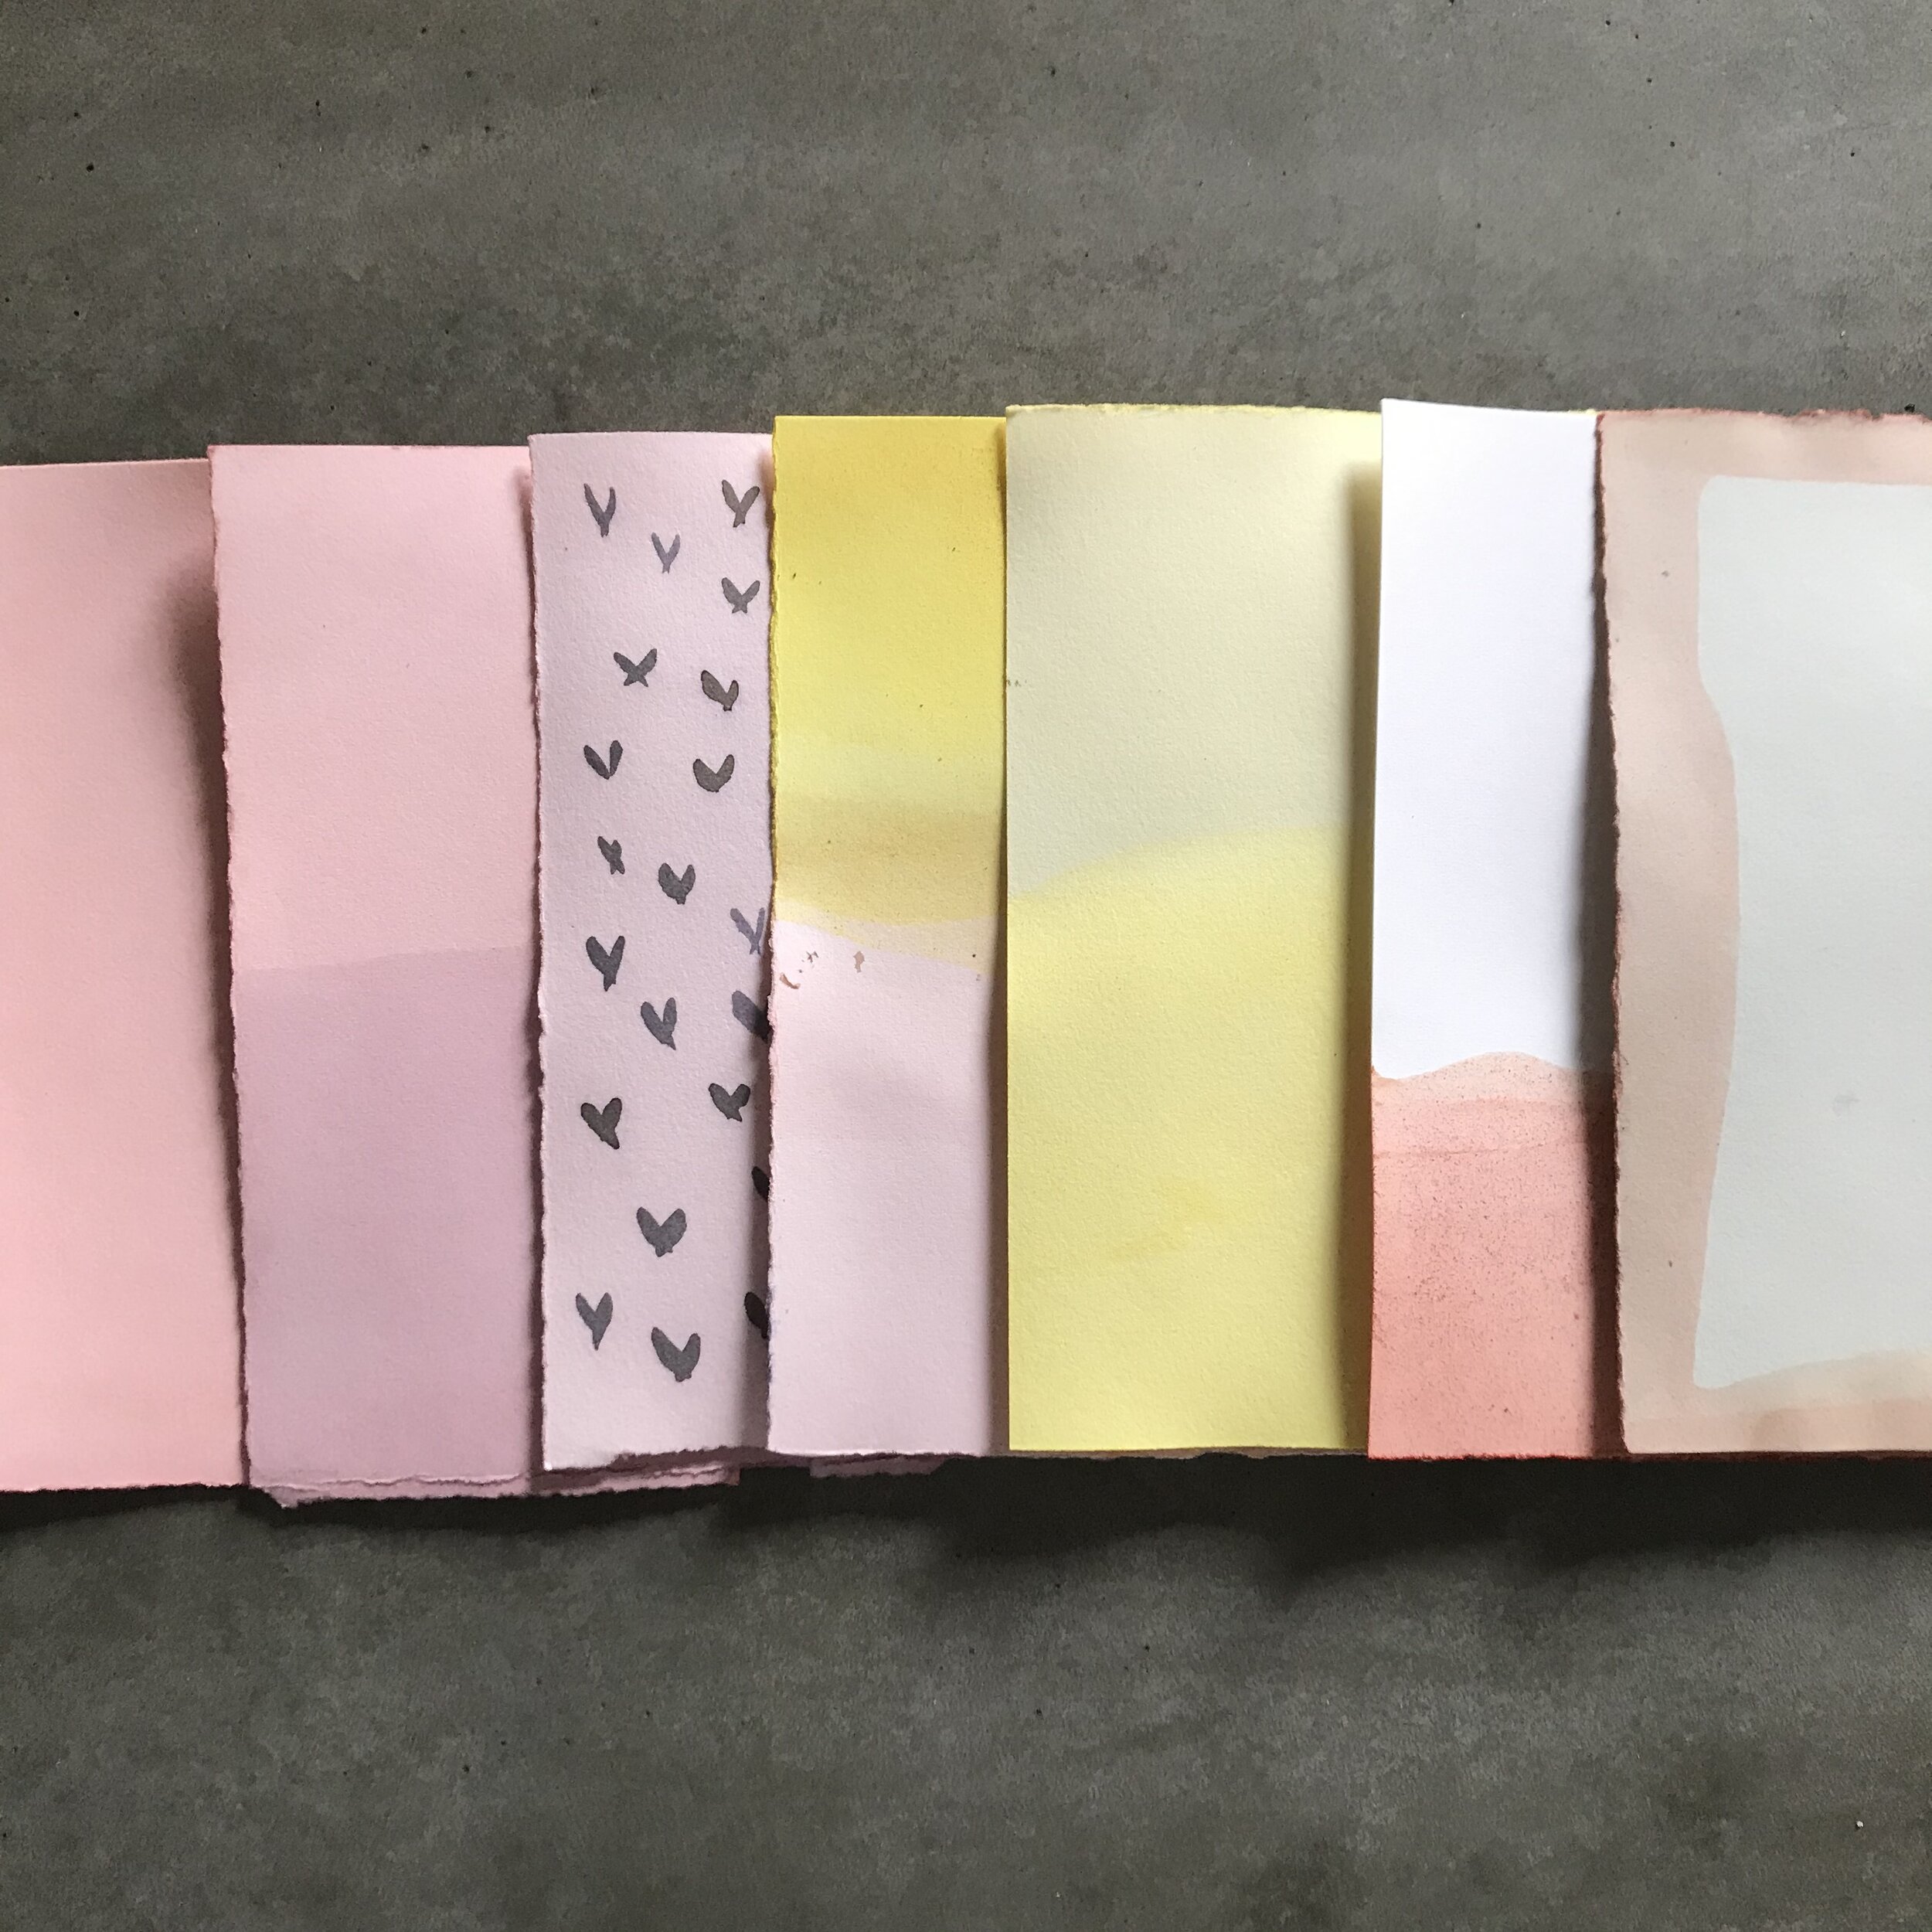
Avocado dyed paper, dried. Different batches of avocado dye were used to dye each sheet paper. Notice how different each batch of avocado dye is.
Using modifiers with your paper dye is a nice way to add texture and color to your papers. By adding modifiers to your dye bath to change or alter the color before dipping your paper will give you a range of colors to play with. You can also paint, with your rust liquor directly on your paper, let dry, then dip in the dye. Where the rust has been painted will be a darker version or gray color of your dye, and the un painted paper will be the color of your dye bath.
This piece of paper was dipped in a diluted rust bath half way and let to dry. Then it was dipped fully in an avocado dye bath. The rust modifier turned the avocado dye soft gray for a two tone effect.
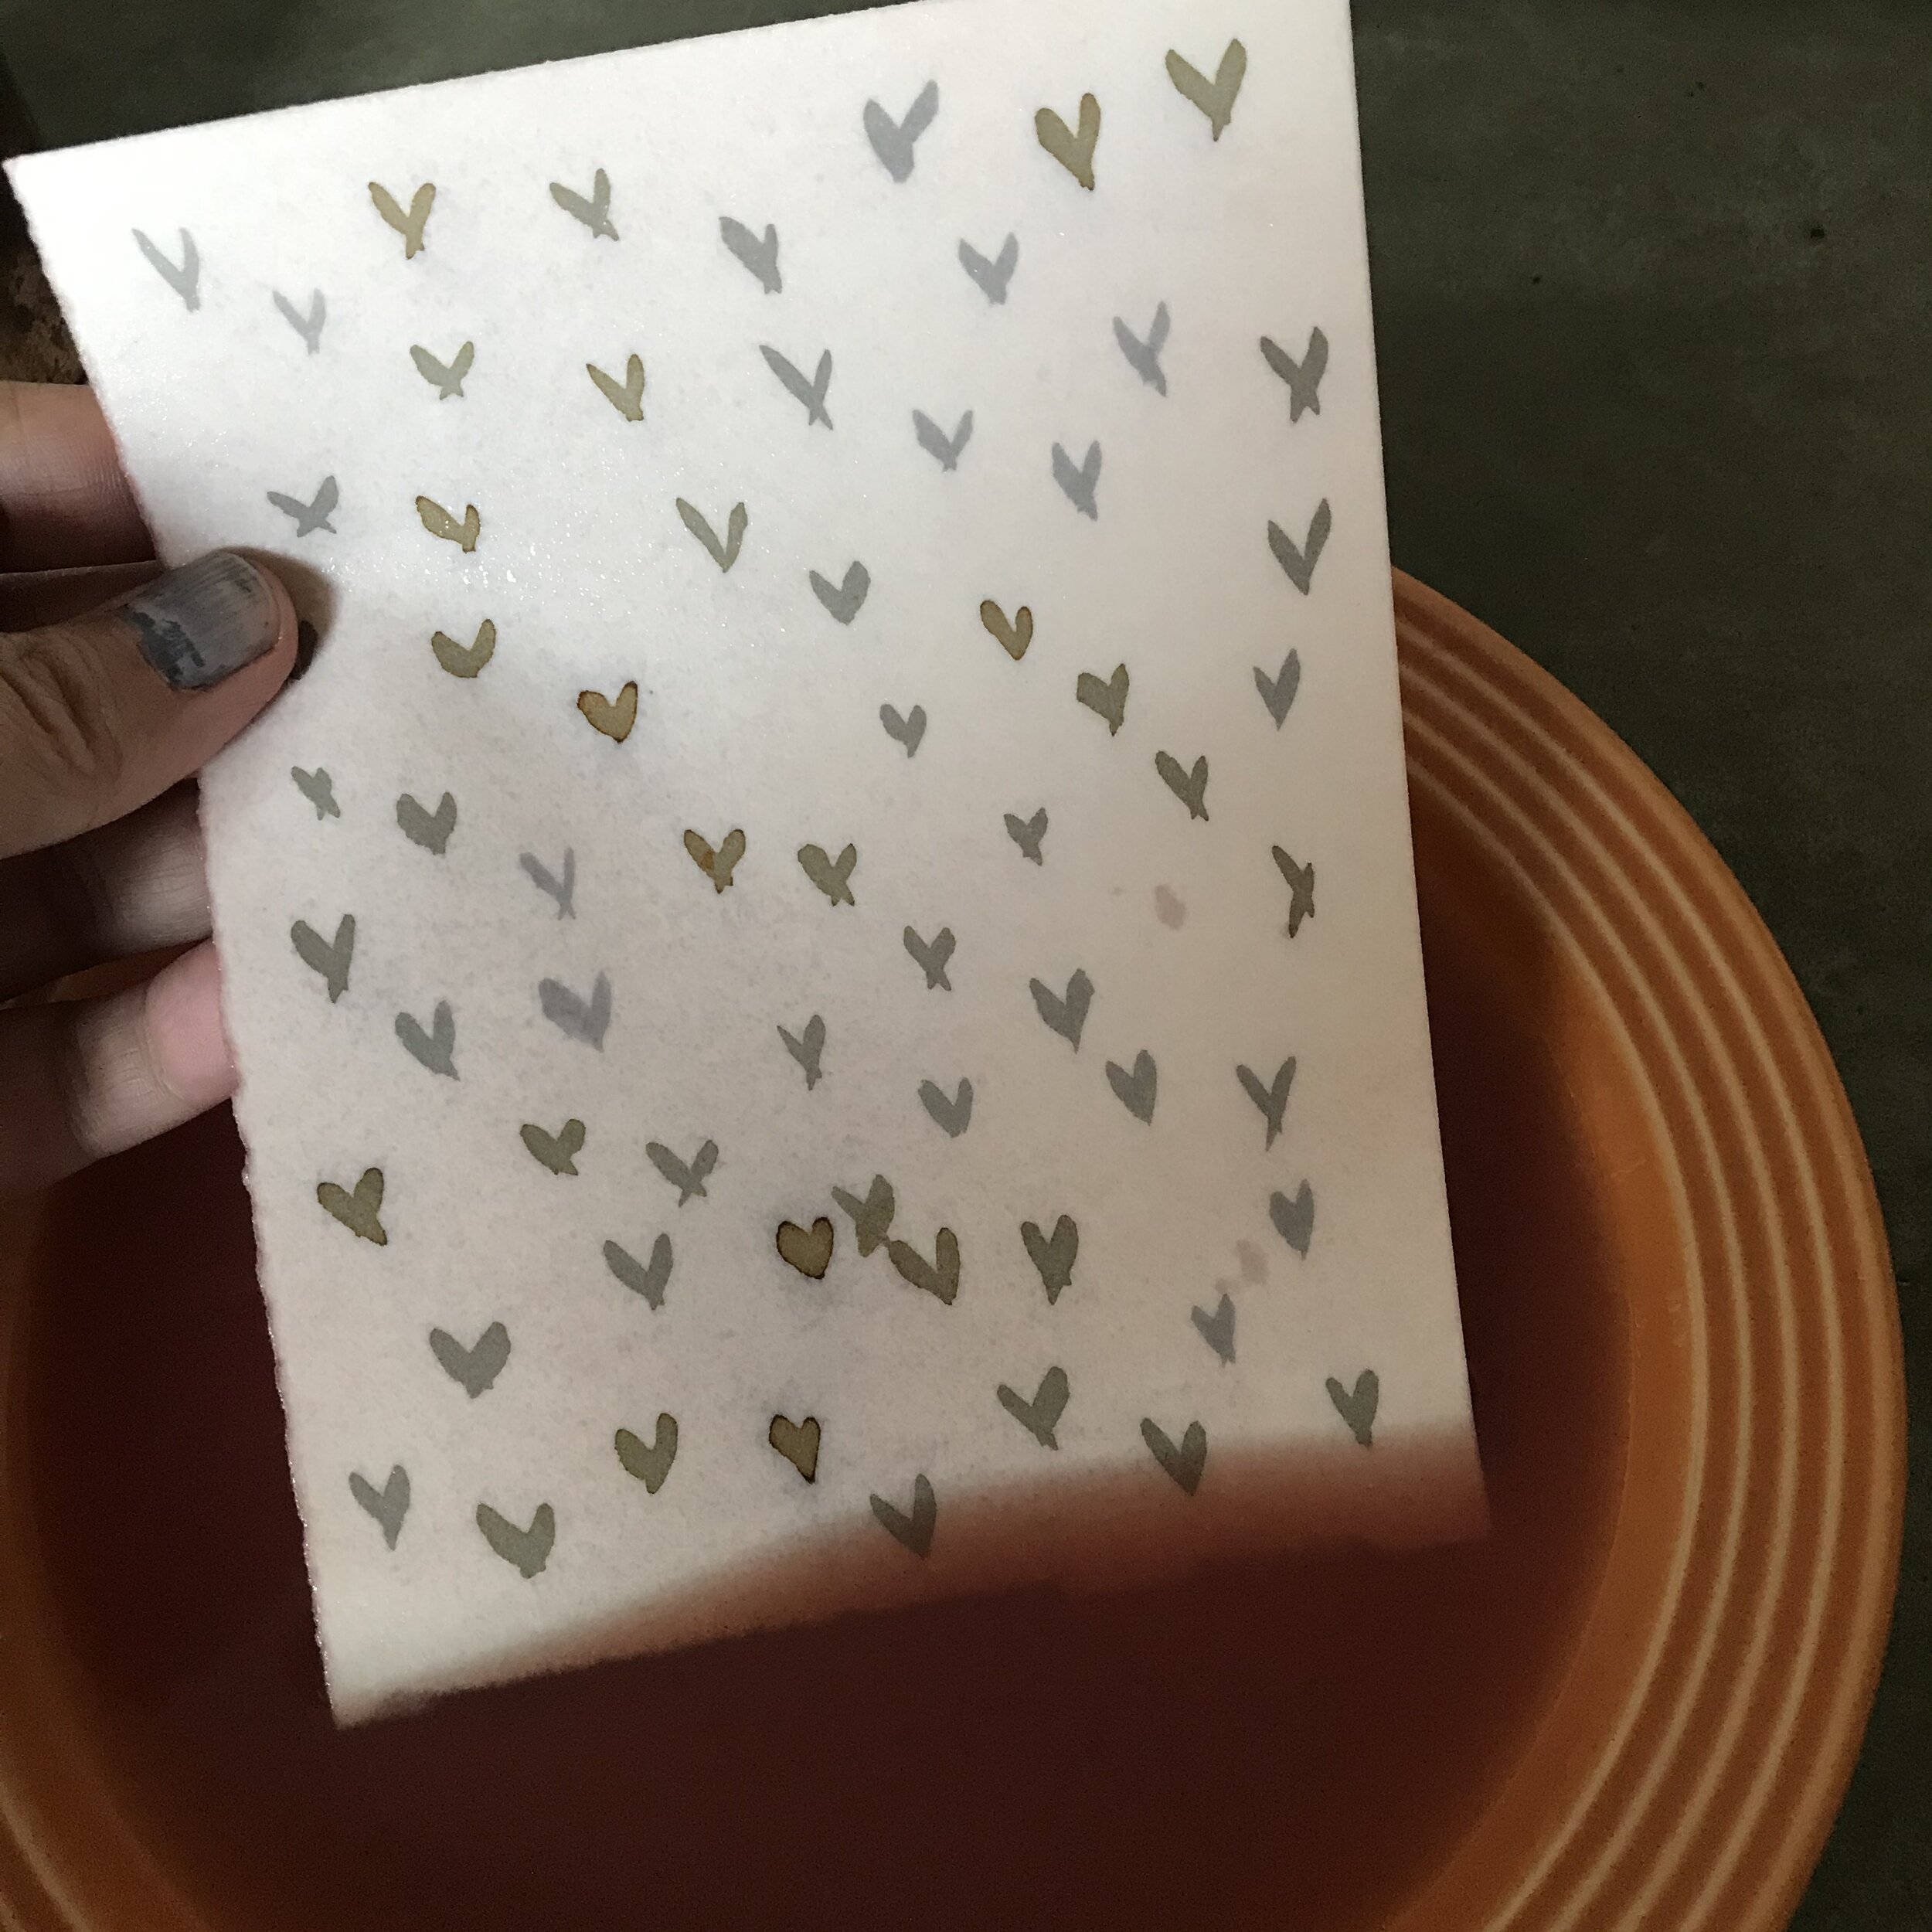
Rust liquor has been painted directly onto the paper in a design. The rust was allowed to dry, then the paper was fully submerged in avocado dye.
Where the rust was painted turned gray, and the back ground color is the avocado light pink.
A dipped sheet of avocado dyed paper that has dried, being dipped into turmeric dye for an ombre effects.
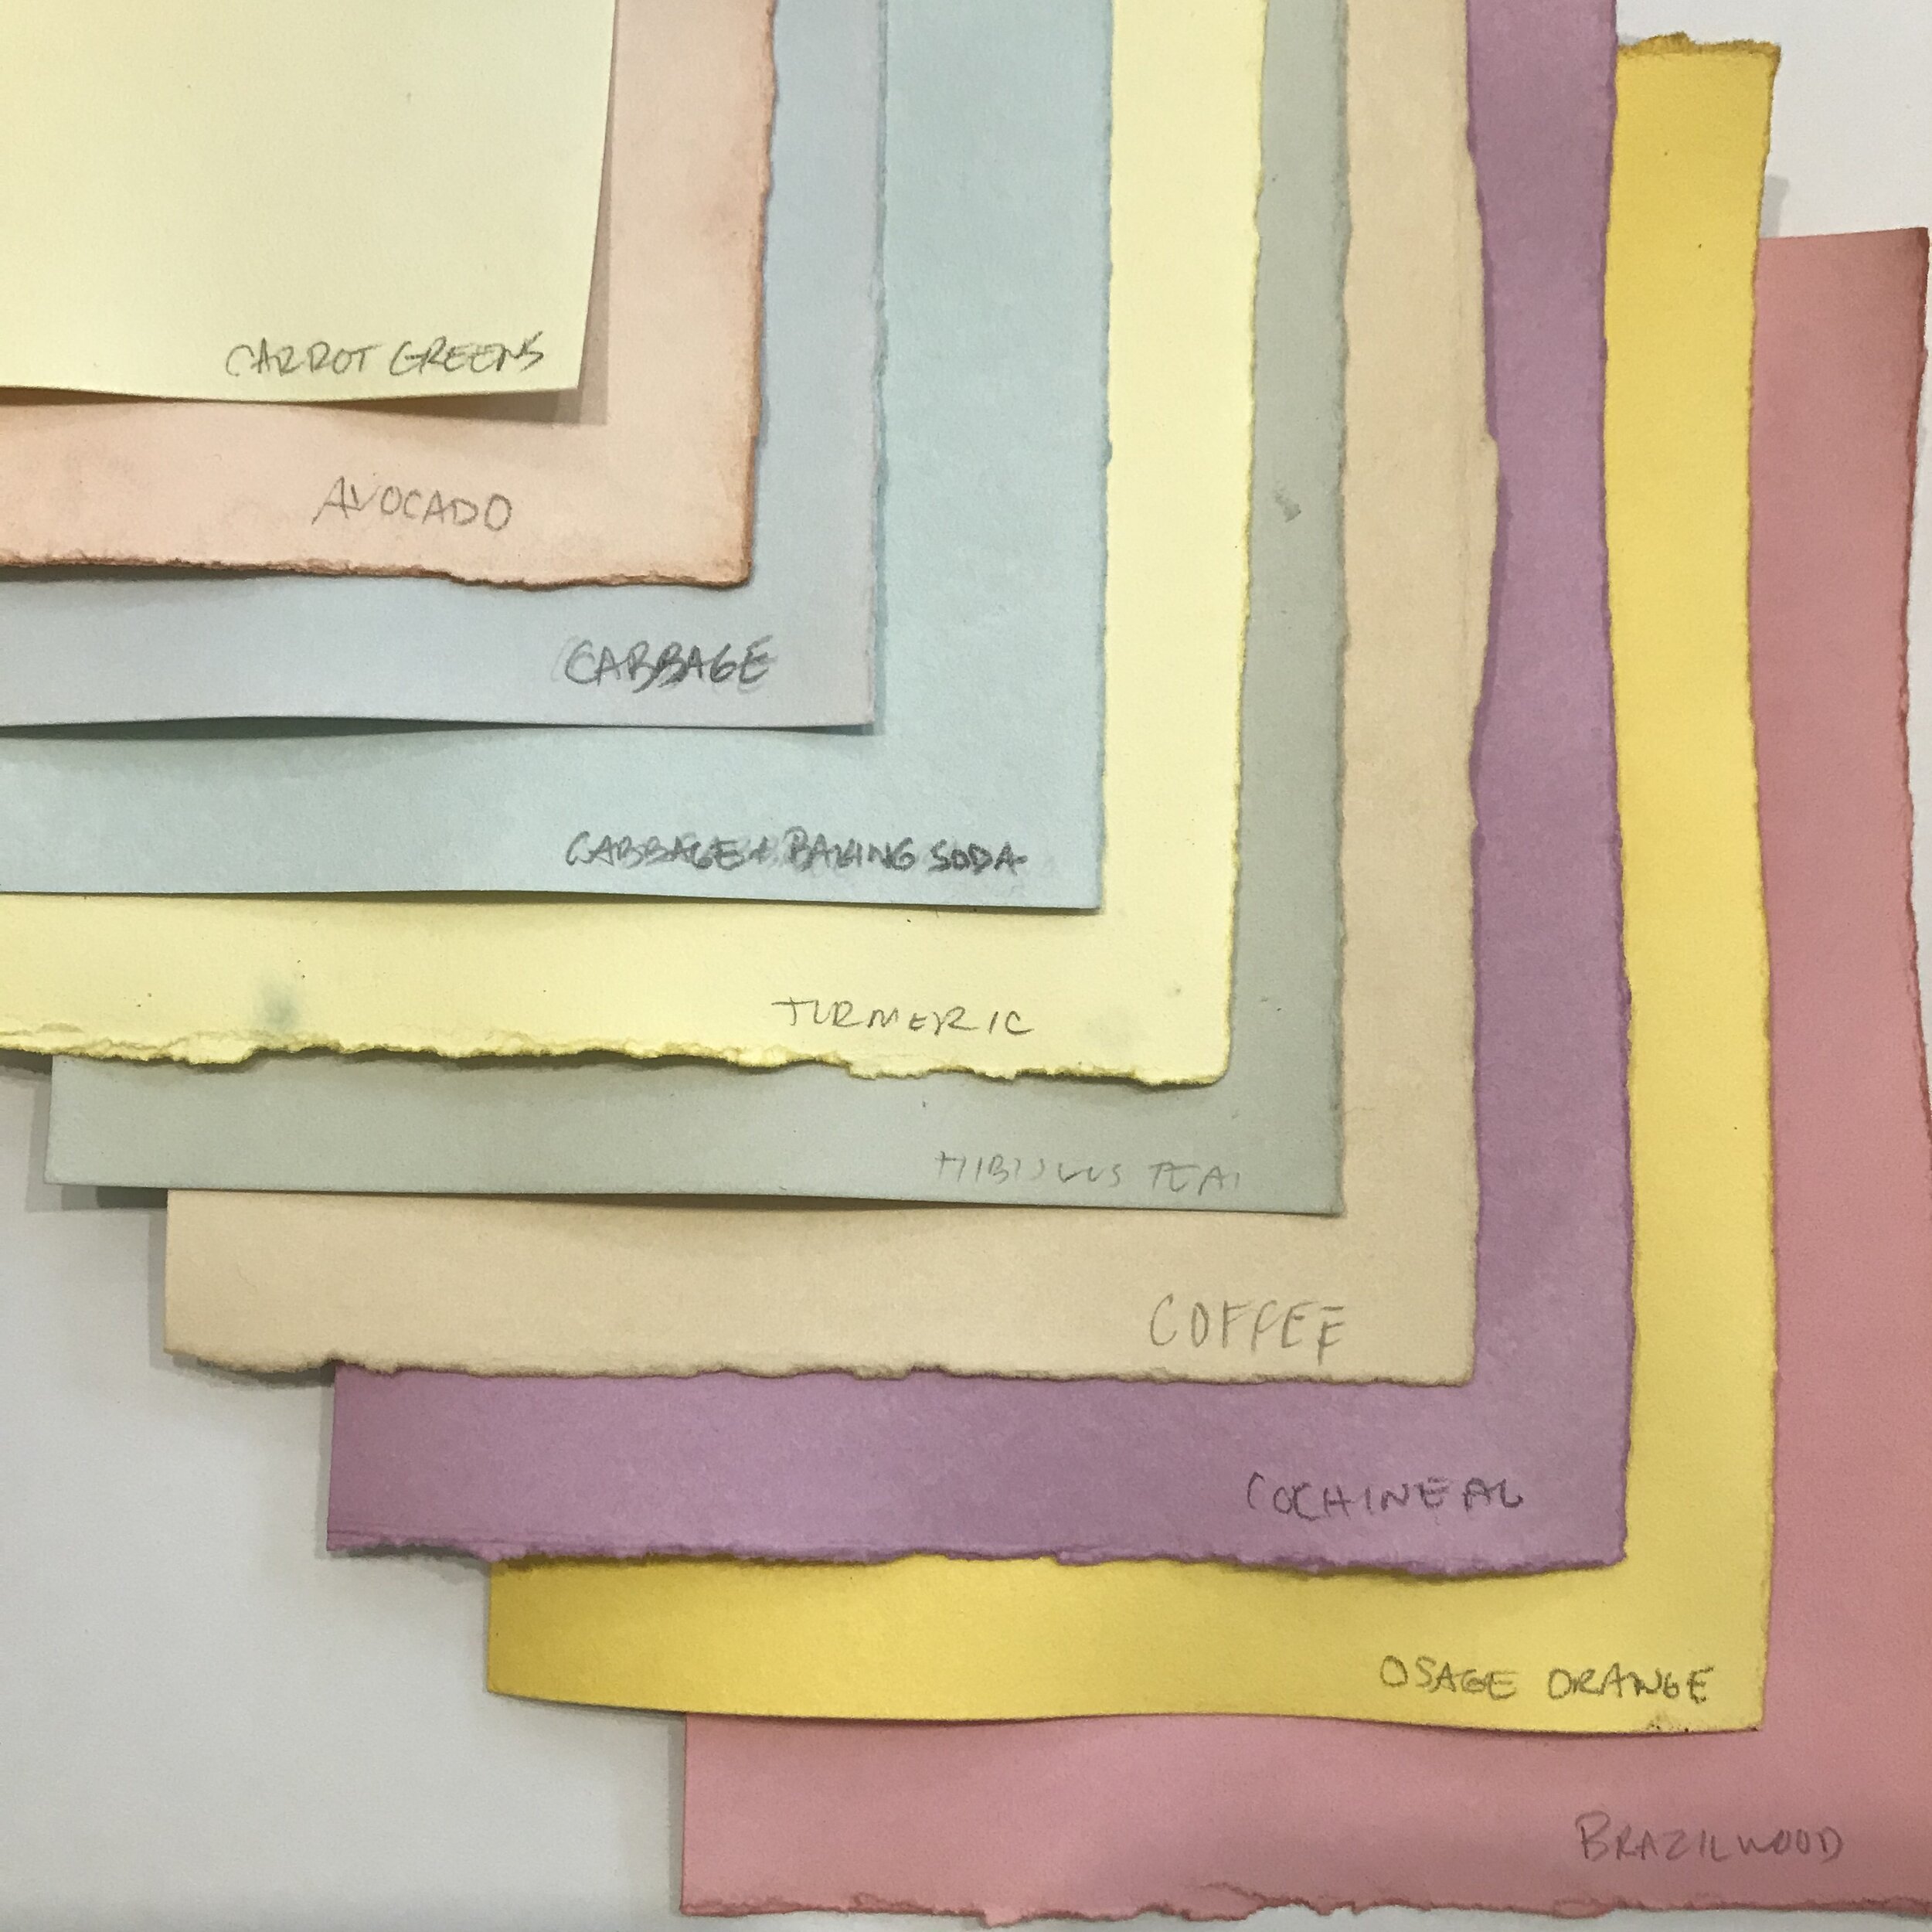
Naturally dyed paper results. The deeper orange color was made from adding baking soda to the turmeric dye.
Now that you have all of this beautiful naturally dyed paper, what will you do with it? A few fun projects are using your paper to make note cards and gift tags. You can also put all of your paper together and make a little sketch book with colored pages. The Traveling Book Binder has a great tutorial on Toast Magazine for a simple Japanese book binding. See how to do that HERE.
Making Ink
Because you can paint directly onto paper with your natural dye concentrates, you can use your dye colors as drawing inks. Very carefully boil your color down until just a little liquid remains in your dye pot and let cool completely.
A few things you will need. Natural dye concentrates (shown here in brazil wood, osage orange, turmeric, avocado and cochineal), rust liquor (optional), a small palette or small containers to mix and store your inks, Gum Arabic solution, paint brushes and essential oil if you plan to store your inks for a few weeks.
Cochineal ink in the palette.
Adding a few drops of Gum Arabic solution to the dye and stirring really well.
Find a small bottle to keep your natural painting ink. Add a few drops of gum arabic solution, found at any art store in the painting aisle, to thicken the paint just a bit and give a good stir to mix.well. The ink will last a week or two in the fridge. To make your ink last longer, add a few drops of essential oil, clove oil works best, but other oils to substitute would be oregano or even lavender.
To learn more about making your own inks, this book, MAKE INK, is a great resource.
Painted paper with dye inks. On the left, the paper is painted with cochineal, cochineal with rust, turmeric and turmeric with rust. On the right, the paper was dyed with cochineal and left to dry, then painted with cochineal with rust and turmeric and rust.
